Chelsea Square Dusk

A project from earlier this year that I reworked a bit. Added some more props and lighting and other things I didn't get time to do previously. The photos are some of my favourite ones from my Dad's portfolio, and winter themed as the first snow has just started to fall here in Sweden. As usual, the renders are more or less as they were directly from vray, just added some glows to the lights.


Farnsworth House

by Mies van der Rohe

Something I've been working on for the best part of the last year (I previously blogged about the trees in... May, and the grass even before that!). Unfortunately paid work keeps getting in the way, I'm yet to figure out a solution to that problem.

I'm planning a tutorial on how I did the fog, (another) grass tutorial on how I did the mowed lawn and a making-of post summing up the whole process. Can also do one on optimizing the trees and making the tree materials if there is interest. The sketchup model of the house itself will be available on pushpullbar - details to follow in a separate post.

Technical Info:

  • Grass (short, medium & long), clover and plantago major all scattered with vrayscatter as per previous tutorials.
  • Trees are all made with Onyxtree. Species as per previous blog post.
  • The total poly count comes to approx. 10 billion. 1.34 billion for trees, 8.4 billion for grasses, 270k for house, 550k for furniture.
  • Renders took roughly 6 hrs each @ 2200px
  • Rendered with vrayphysicalcamera, vraysun, HDRi environment
  • VRayenvironmentfog was rendered as a separate pass and screened over in photoshop
  • Final colour corrections made in Adobe Lightroom

Chelsea Square Day

Chelsea Square kitchen crop

A new project in my vizualisation gallery: Chelsea Square by Wilkinson King Architects. These images were for marketing purposes and were lots of fun to work on. The building was modeled in Sketchup and all textures were made from scratch from photographs. As usual with my projects, there wasn't much post work in photoshop (apart from the cross section).

The caustics in the pool were calculated with all the glass hidden, saved and then the glass was turned back on for the final render. The actual water surface was modeled by dropping a ball into some reactor water, totally over the top I know!

Chelsea Square water crop

I wanted the brick texture to match the existing building as closely as possible so I took photos of the end gable brick (in the shade) and then painted over every brick in photoshop. This was so that the displacement map worked correctly in displacing the bricks outwards while recessing the grout slightly, and also helped in the reflection map to make the grout less reflective. The traced bricks layer was used as a mask to lighten a greyscale copy of the diffuse layer. Painting over bricks in photoshop is as about as boring as it gets, but worth the effort.

k3lt0k.jpg
Chelsea Square stair view crop

architectural photography

process

New recently completed project in the photography gallery for Ian Springford Architects.

Typical processing workflow is something like:

- compare all bracketed exposures in Adobe Lightroom, flag the most likely ones, eventually end up with the best one - adjust exposure, white balance - remove chromatic aberration, vignetting - remove sensor dust spots with spotting tool - export tiff to ptlens, correct any distortion & perspective - back to Lightroom, final crop

Thankfully Lightroom takes most of the pain out of doing this to 250 odd shots, I just wish it was possible to do distortion correction on a dng without converting to a tiff.

Canova Museum Take 3

1200camB

A scene I keep coming backto, this time to test out the new atmospherics capabilities of the recently released vray 1.5 SP3 for 3dstudio max.

1200camA
1200camC
1500camD
1500camE

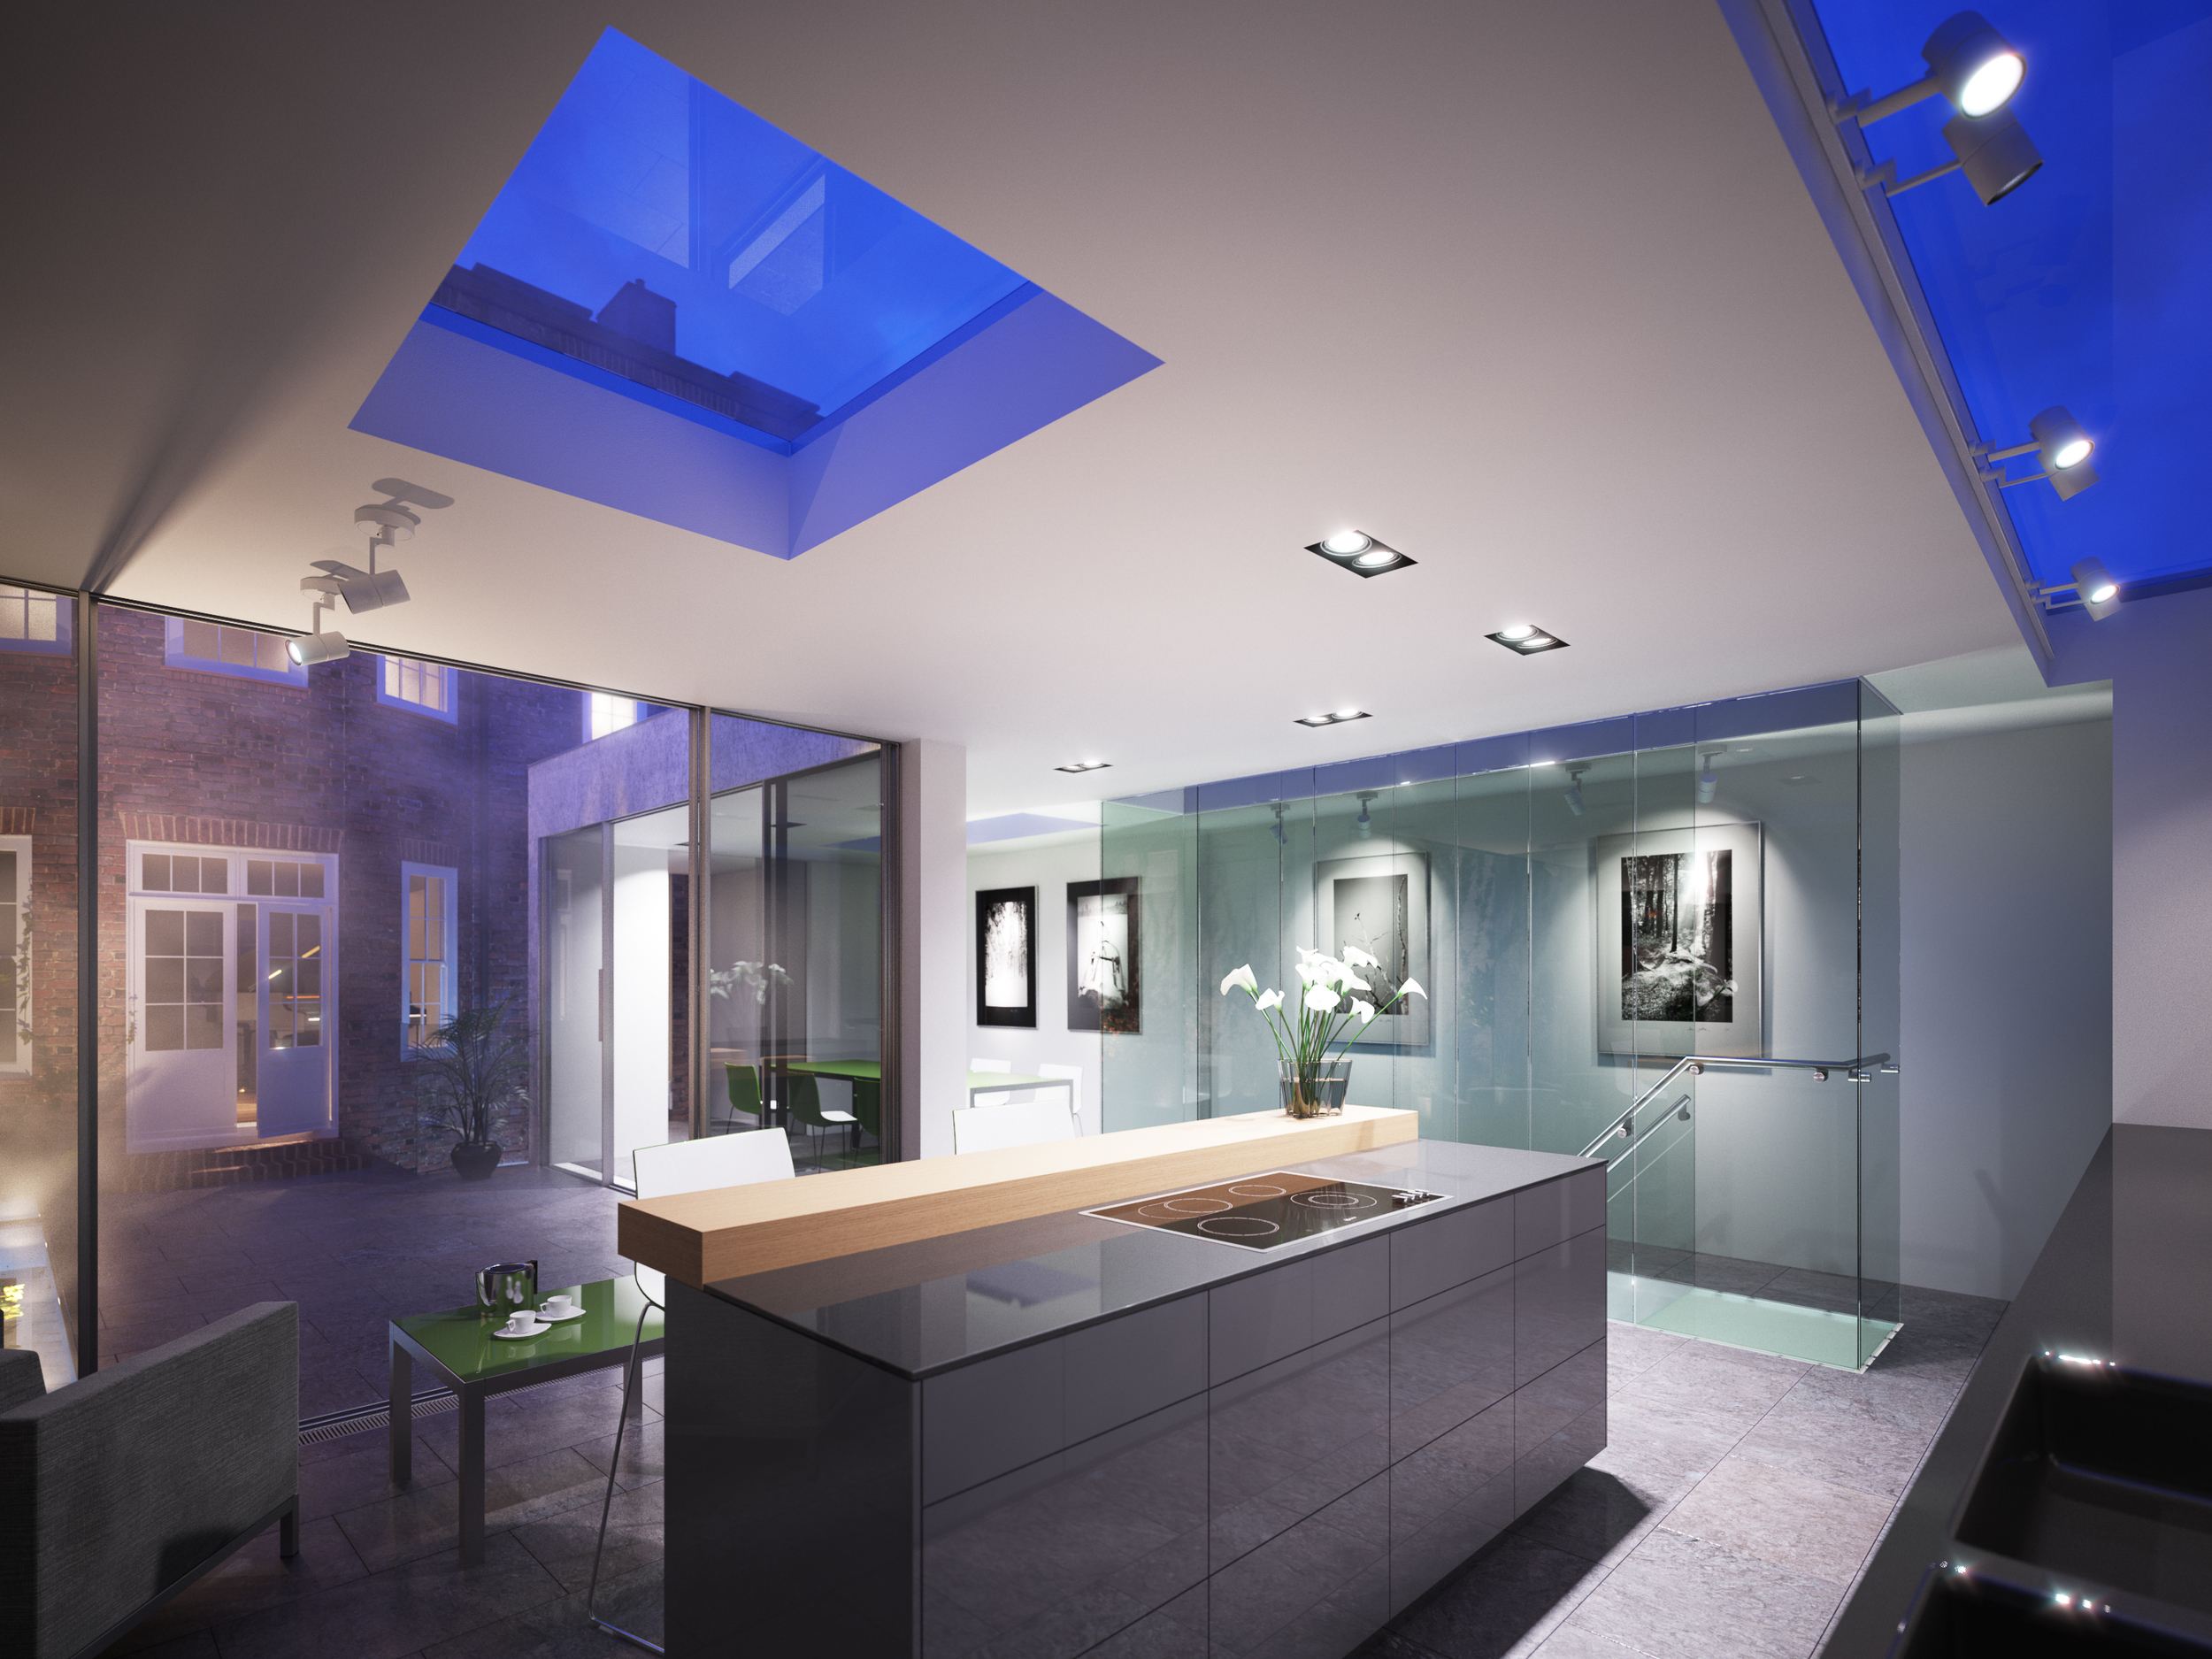
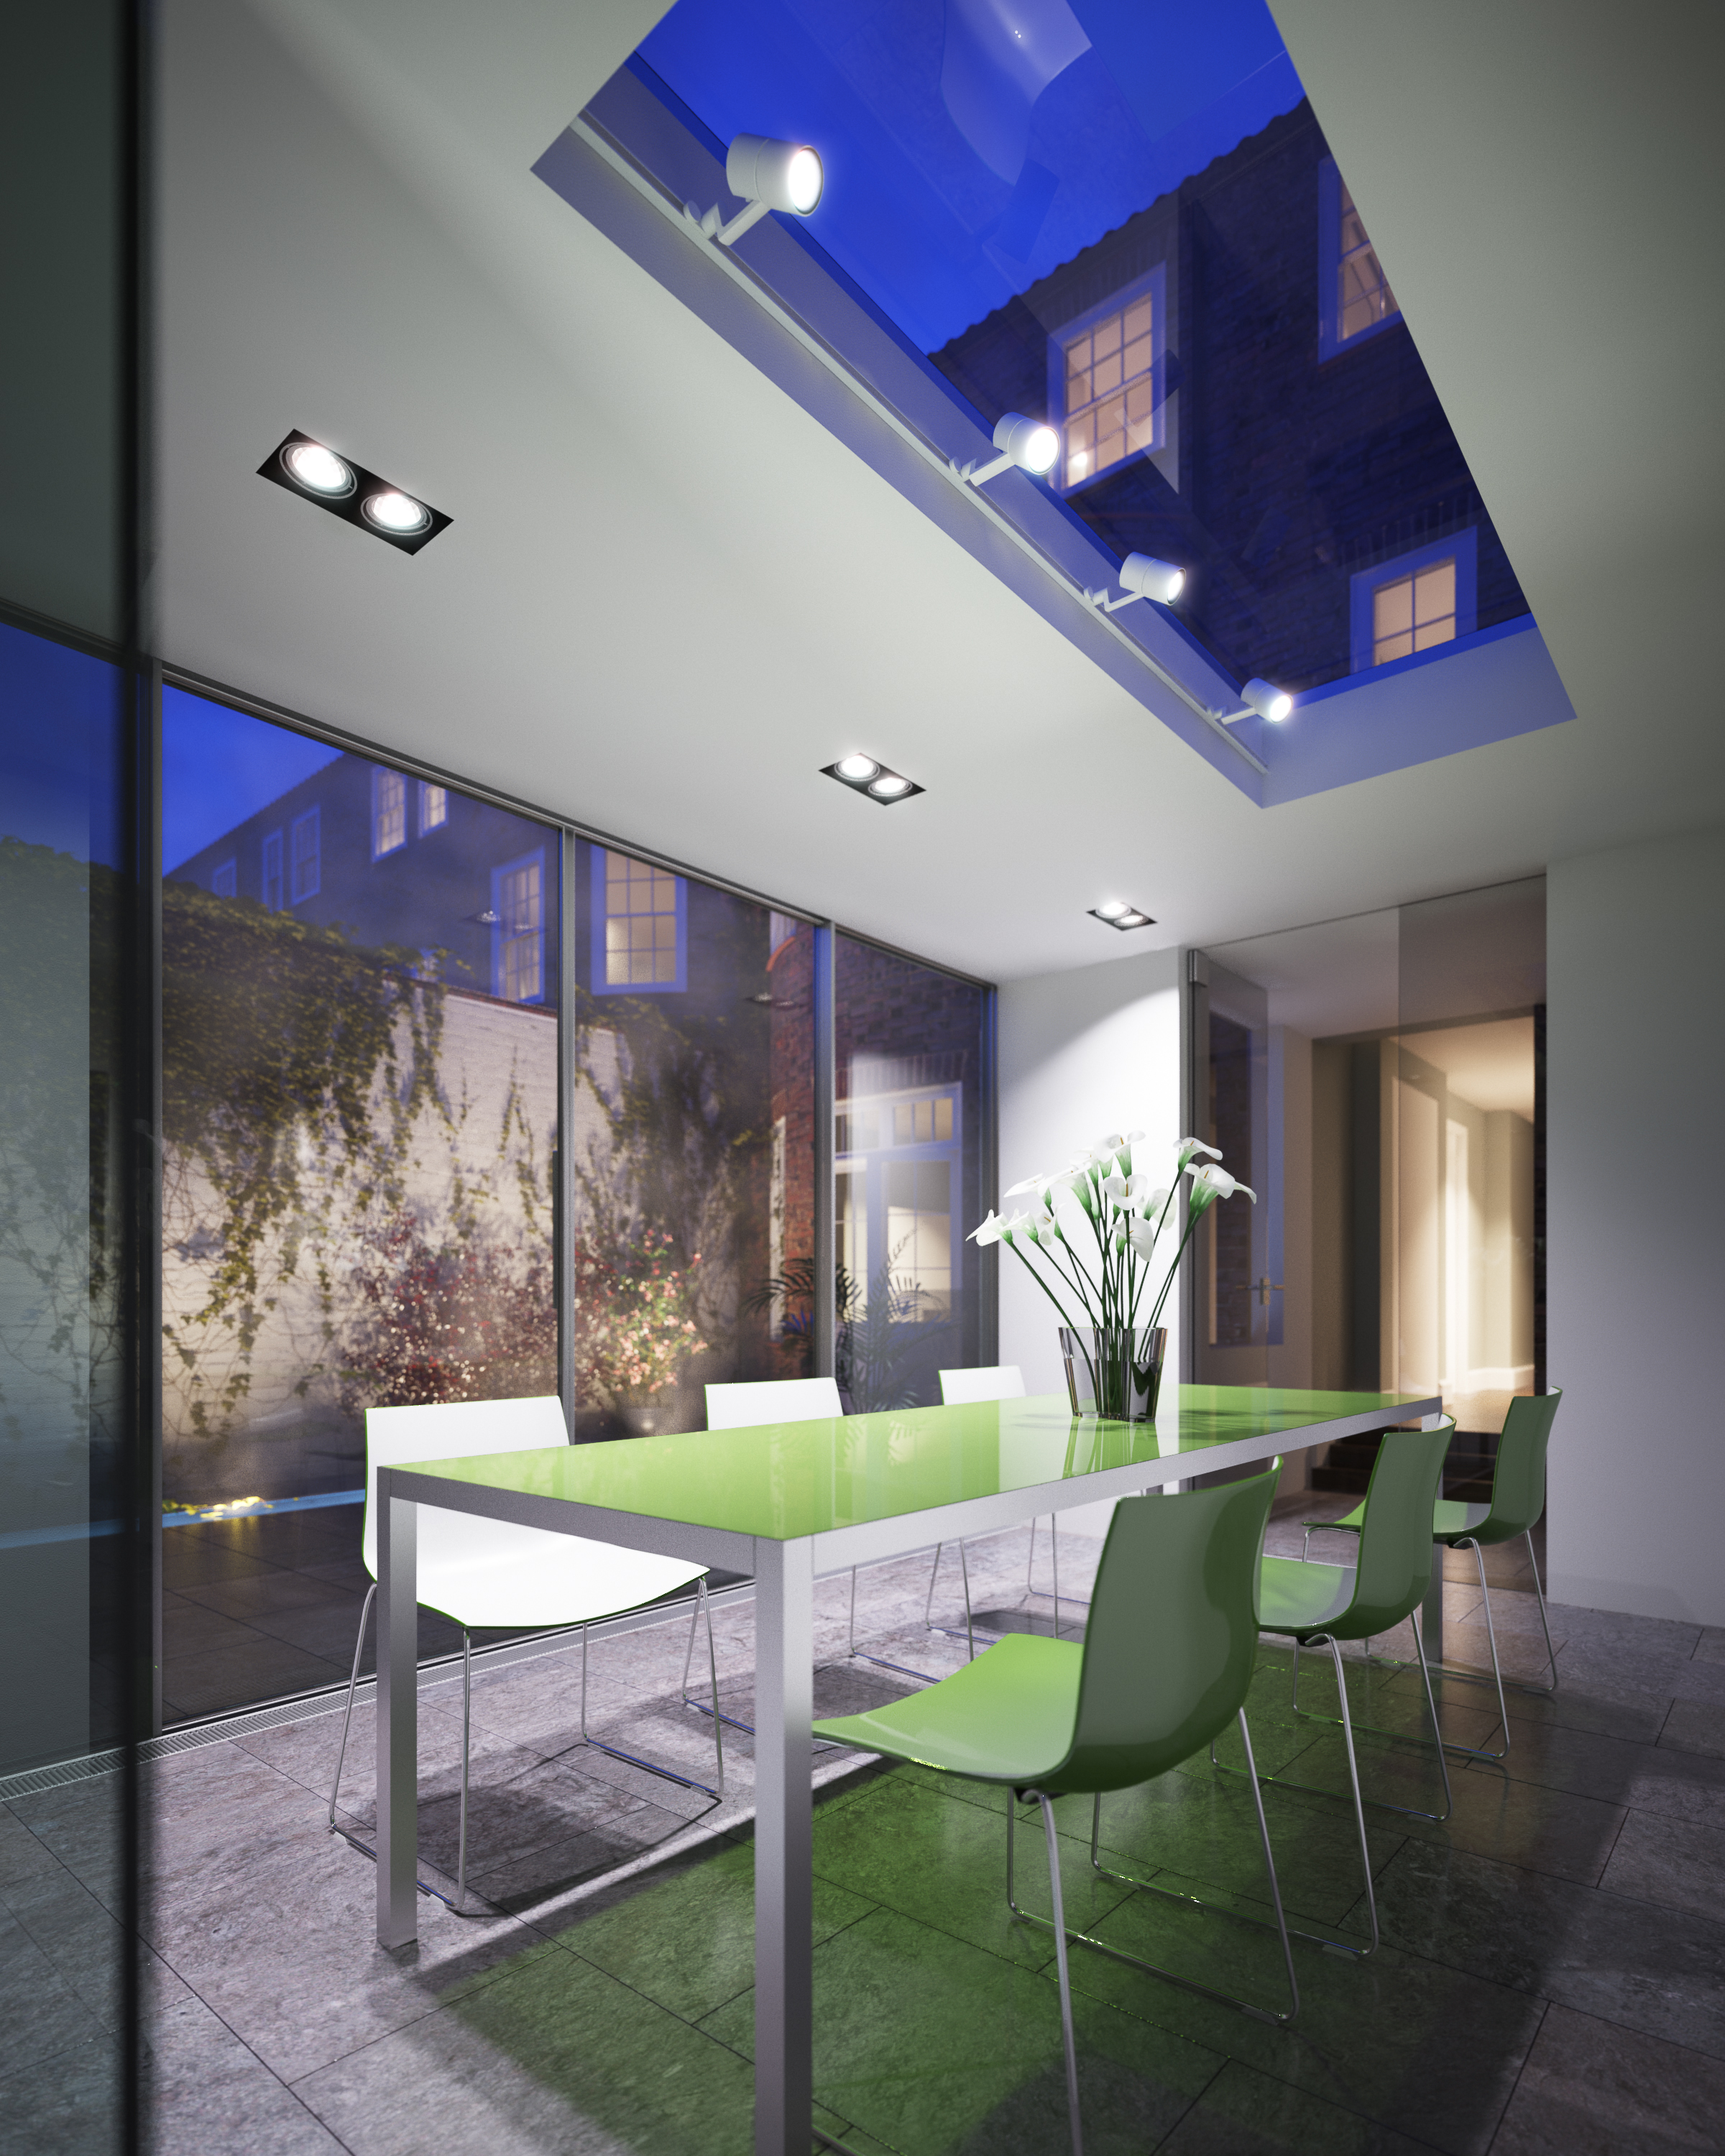
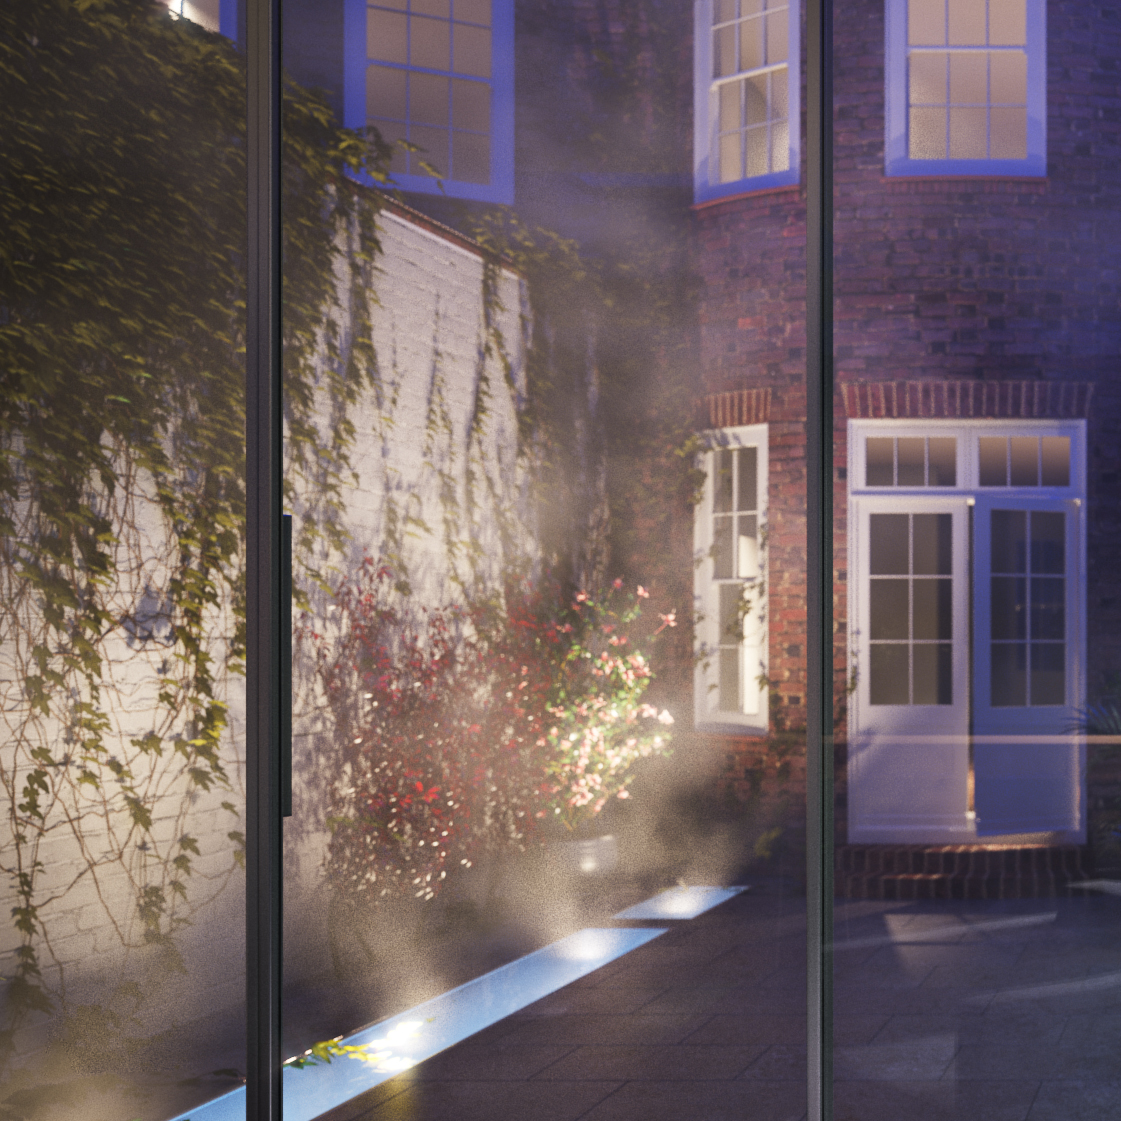
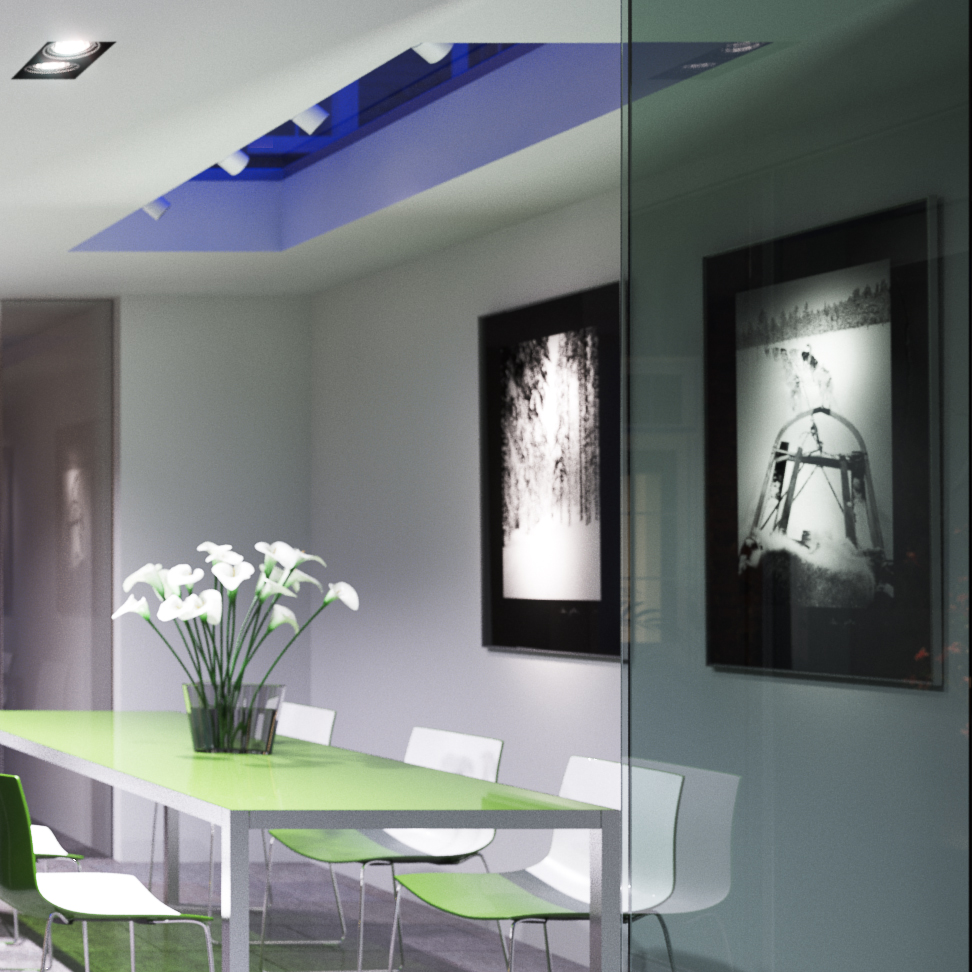
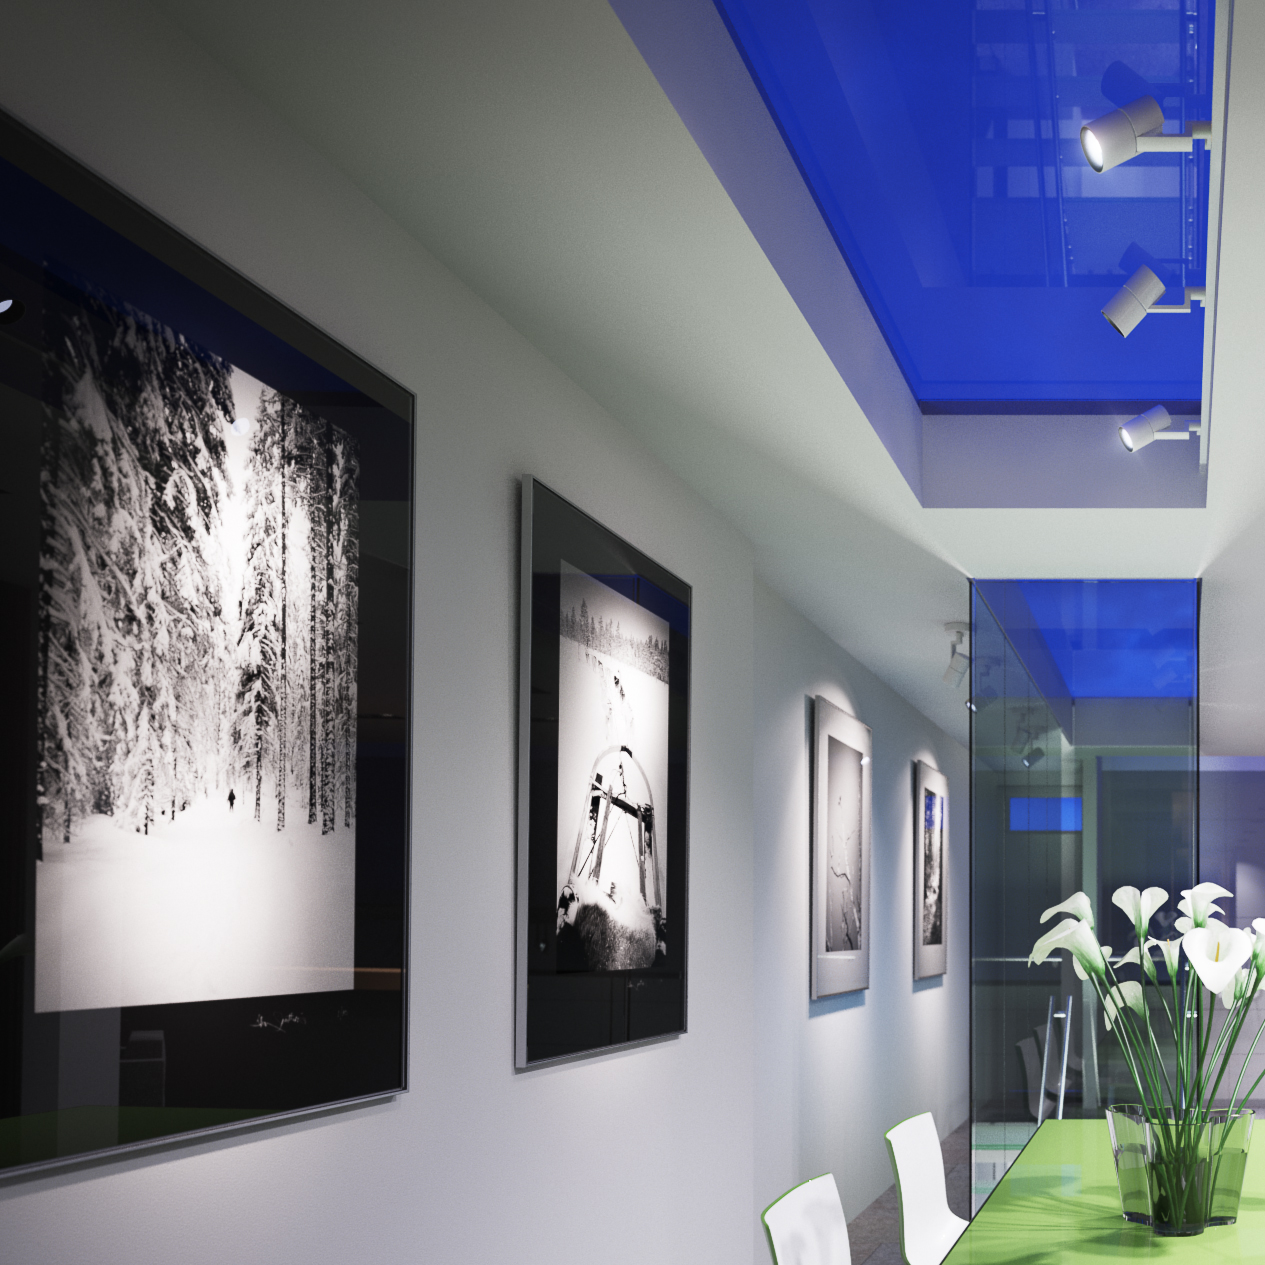
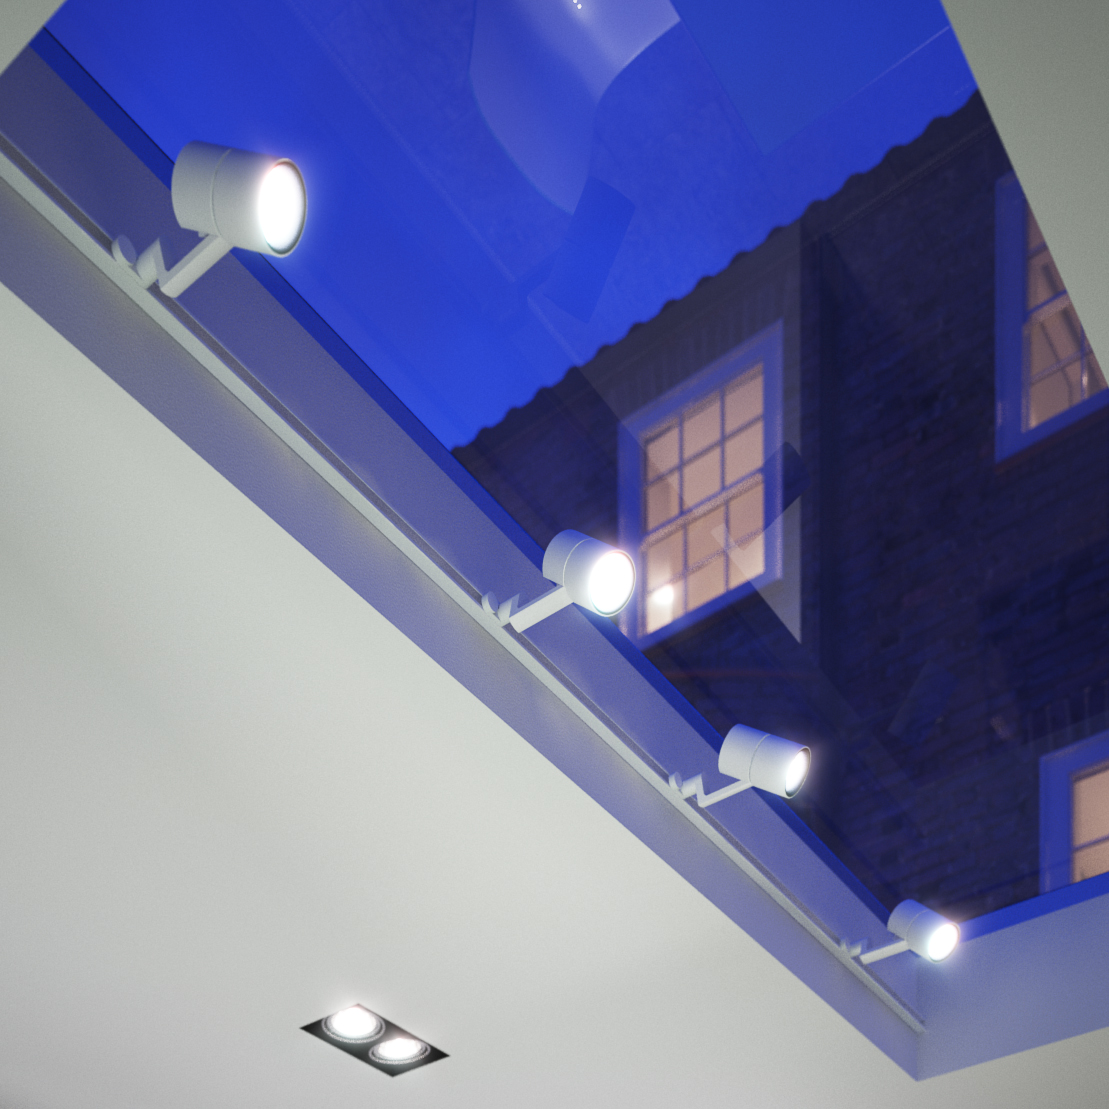
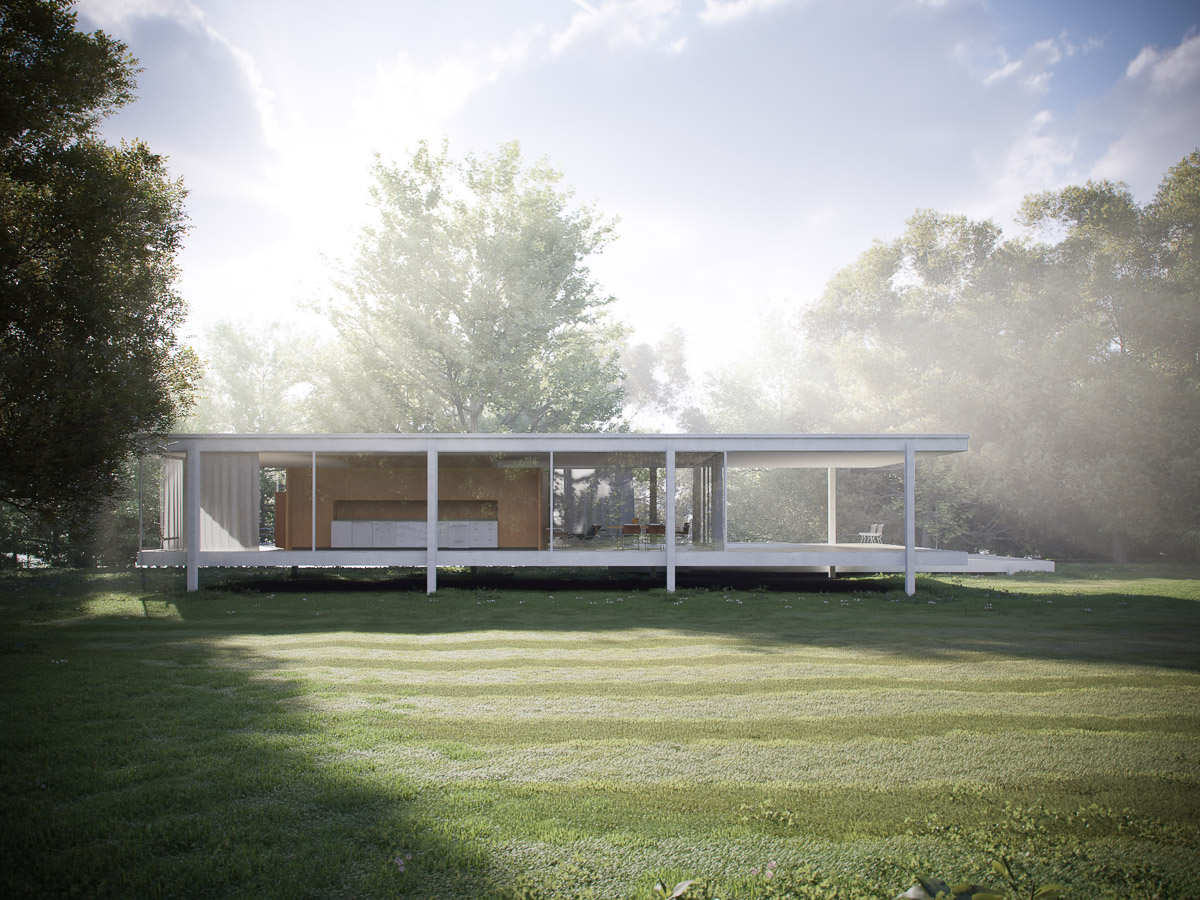
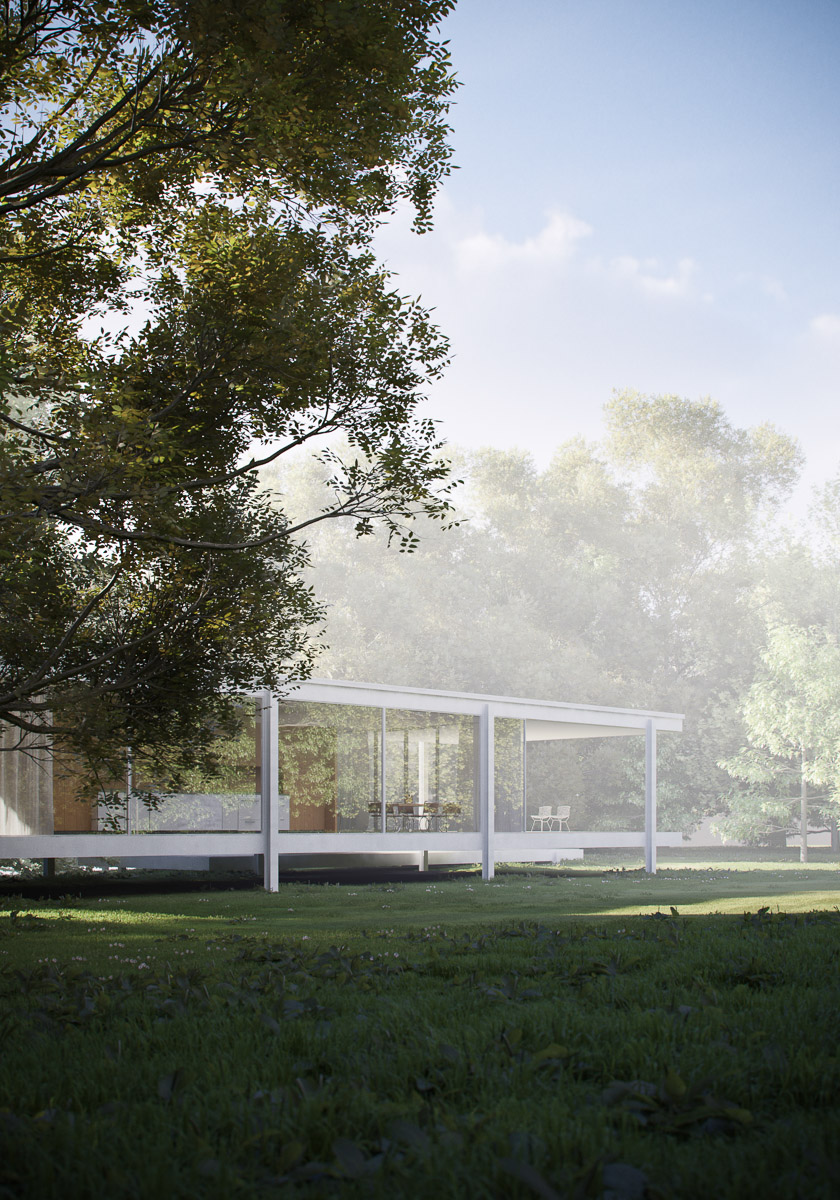
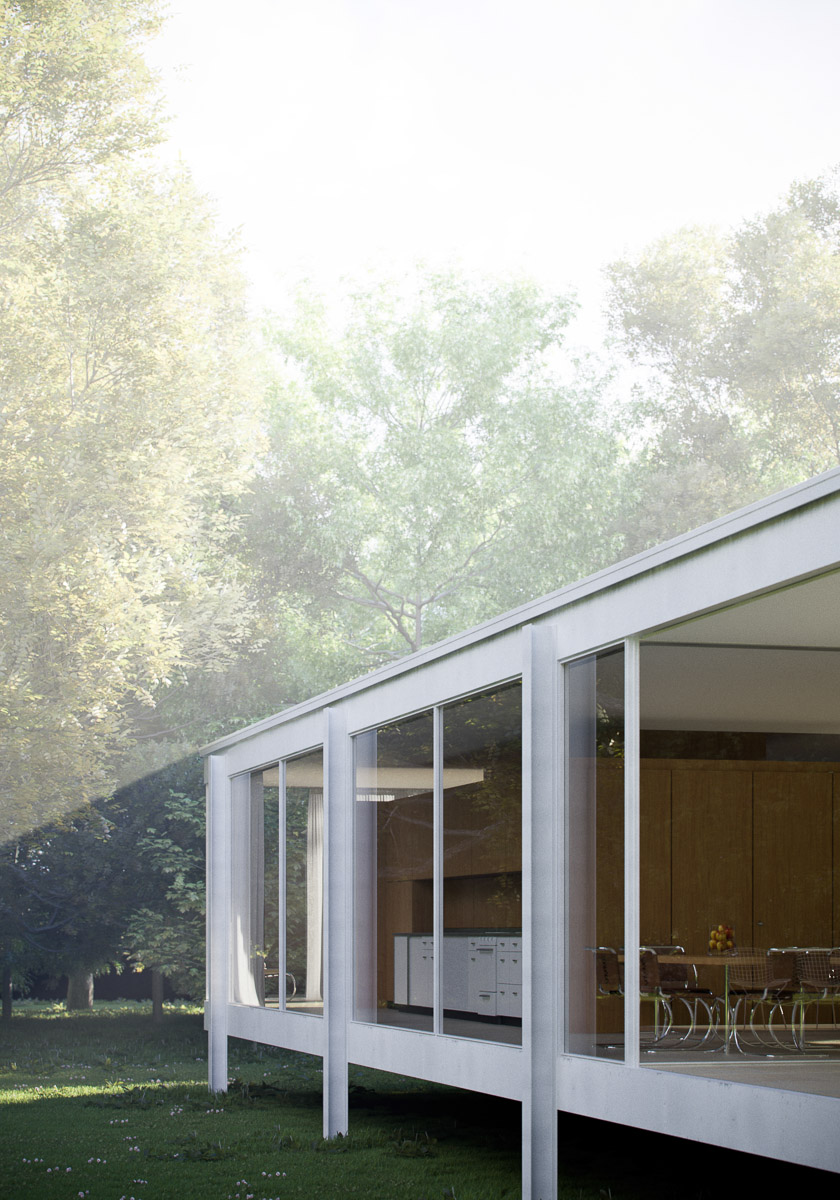
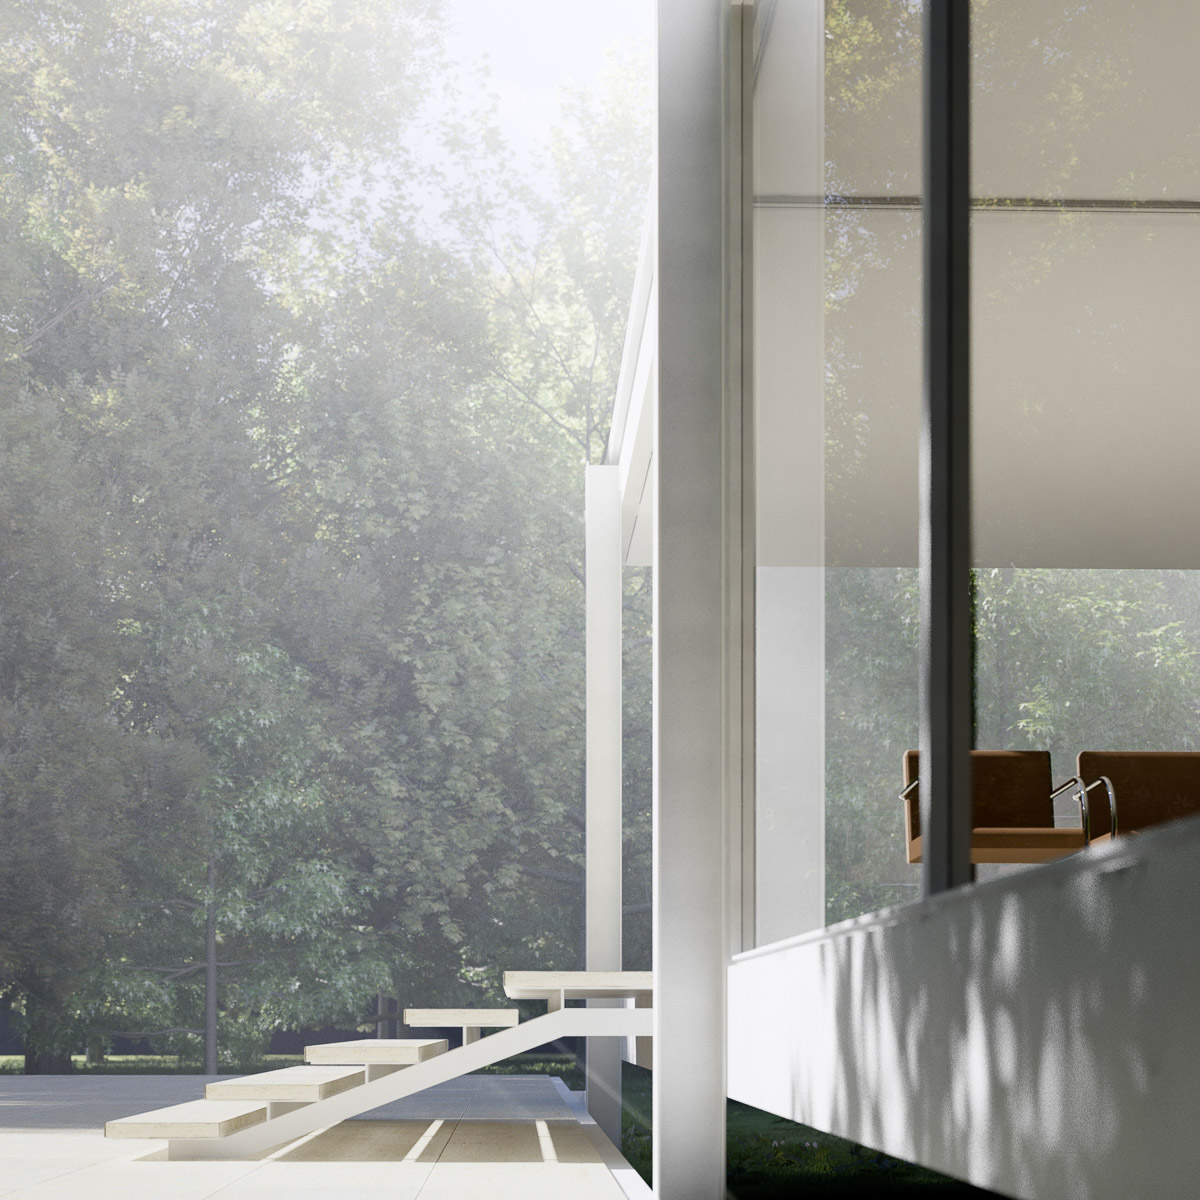
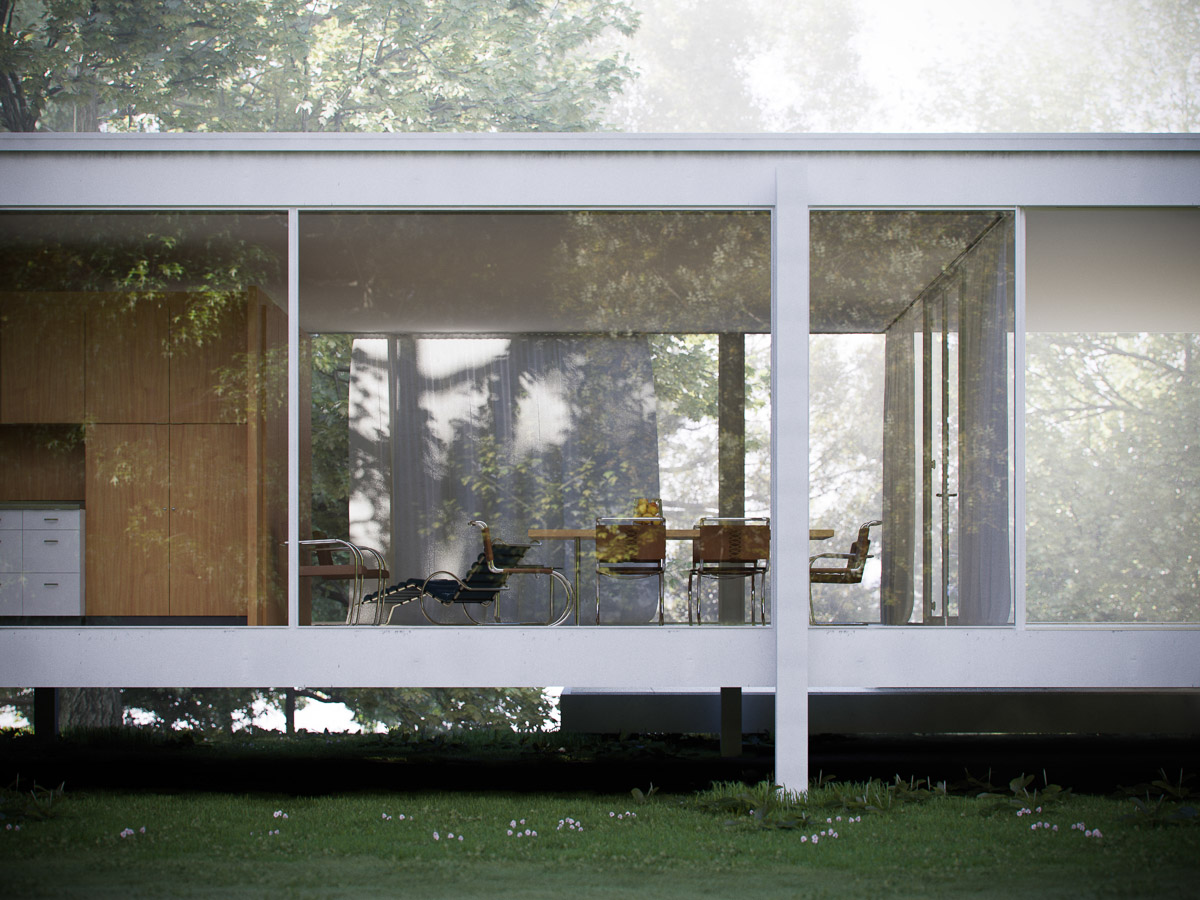
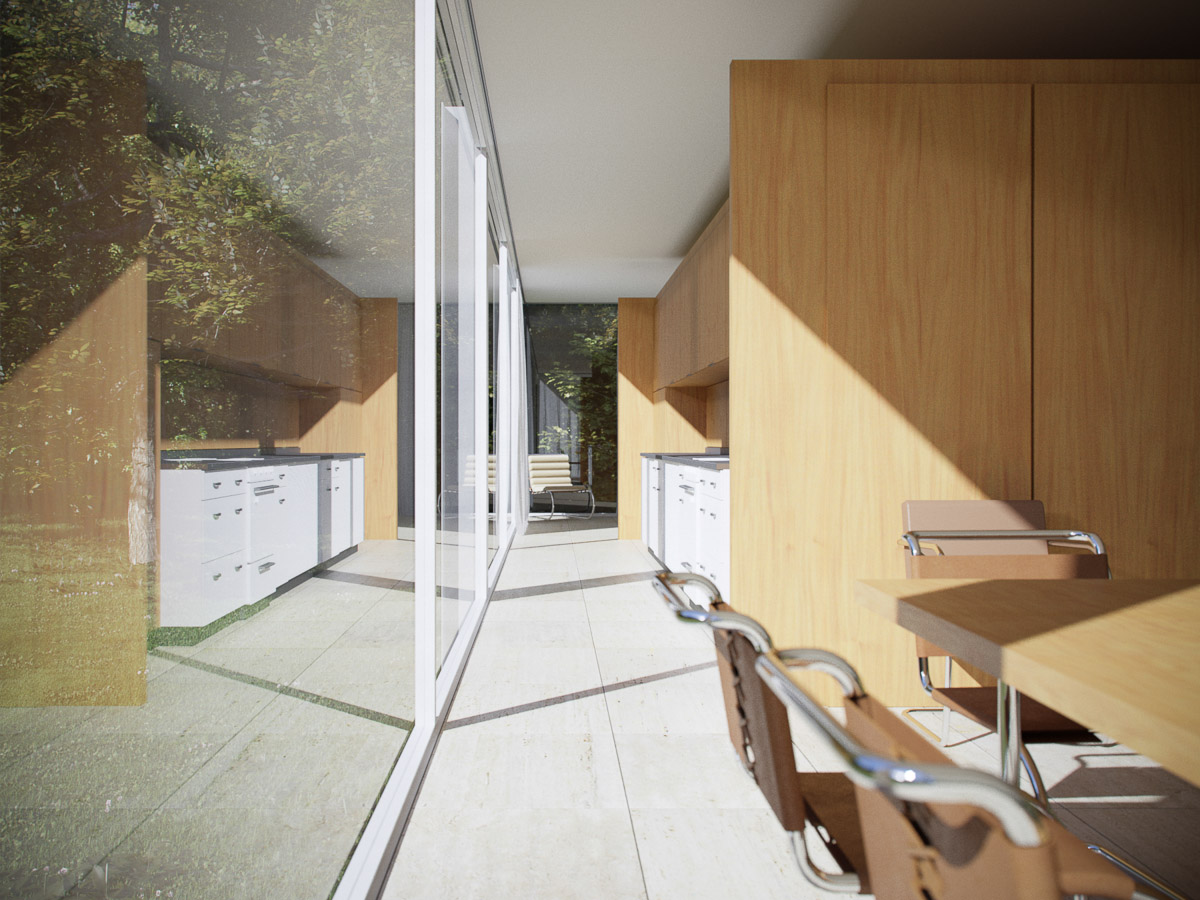
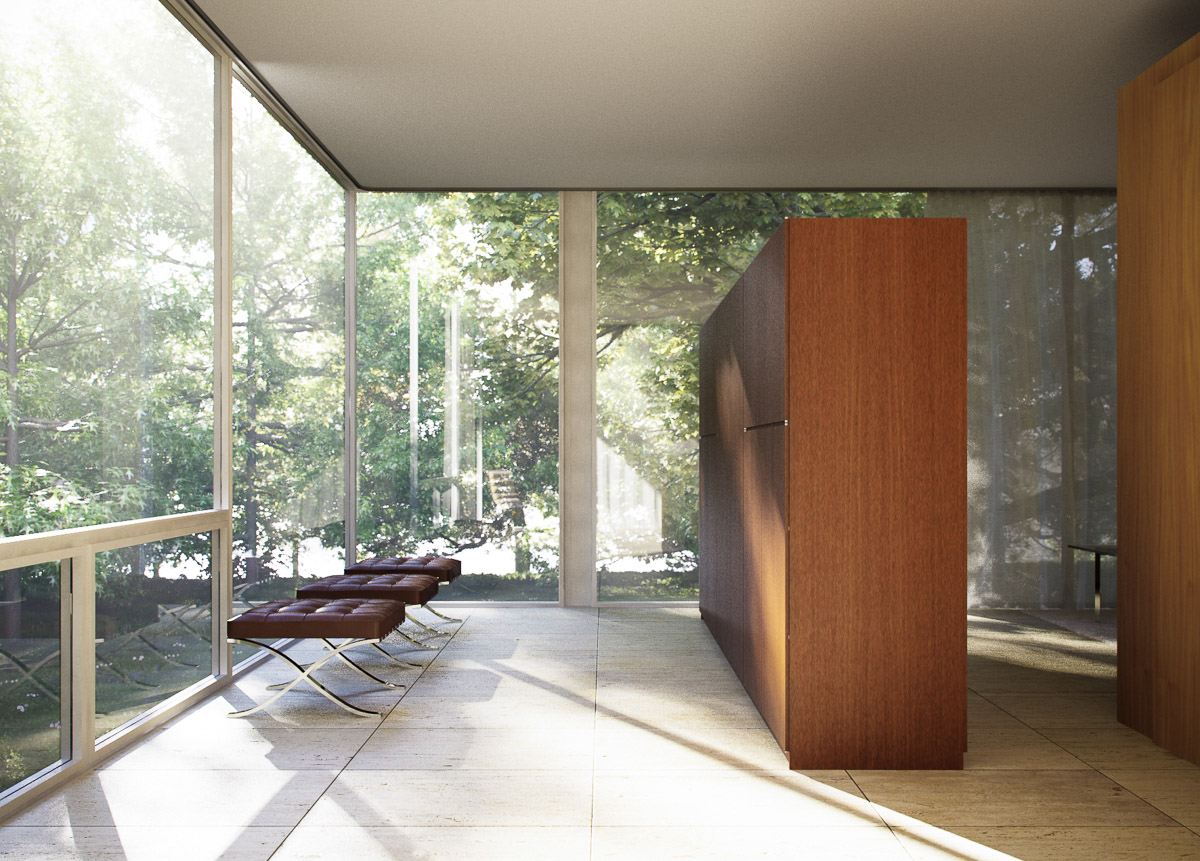
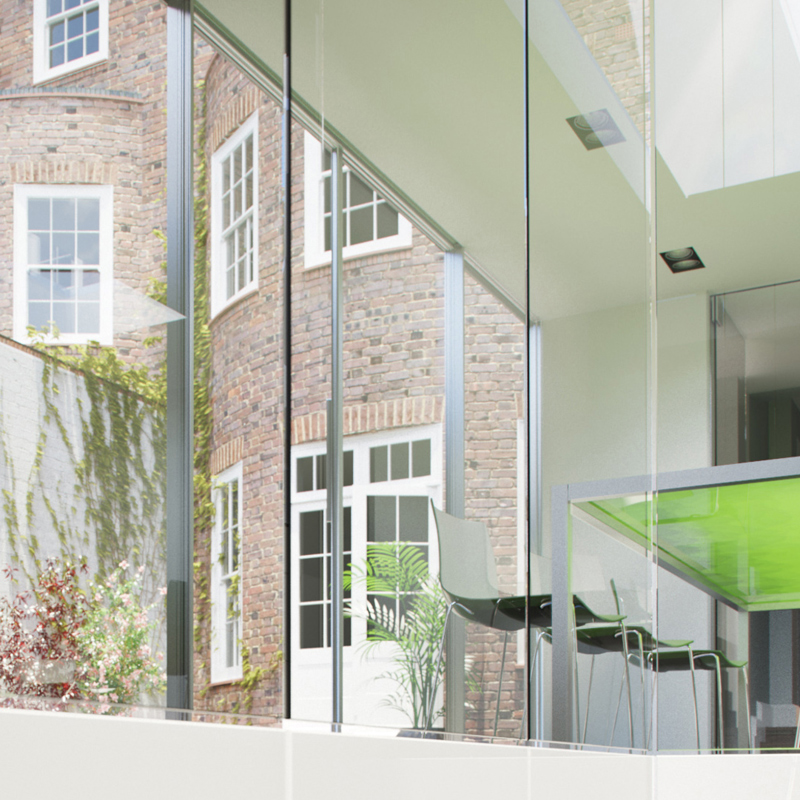
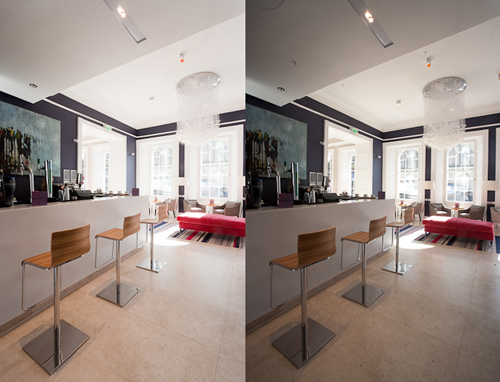
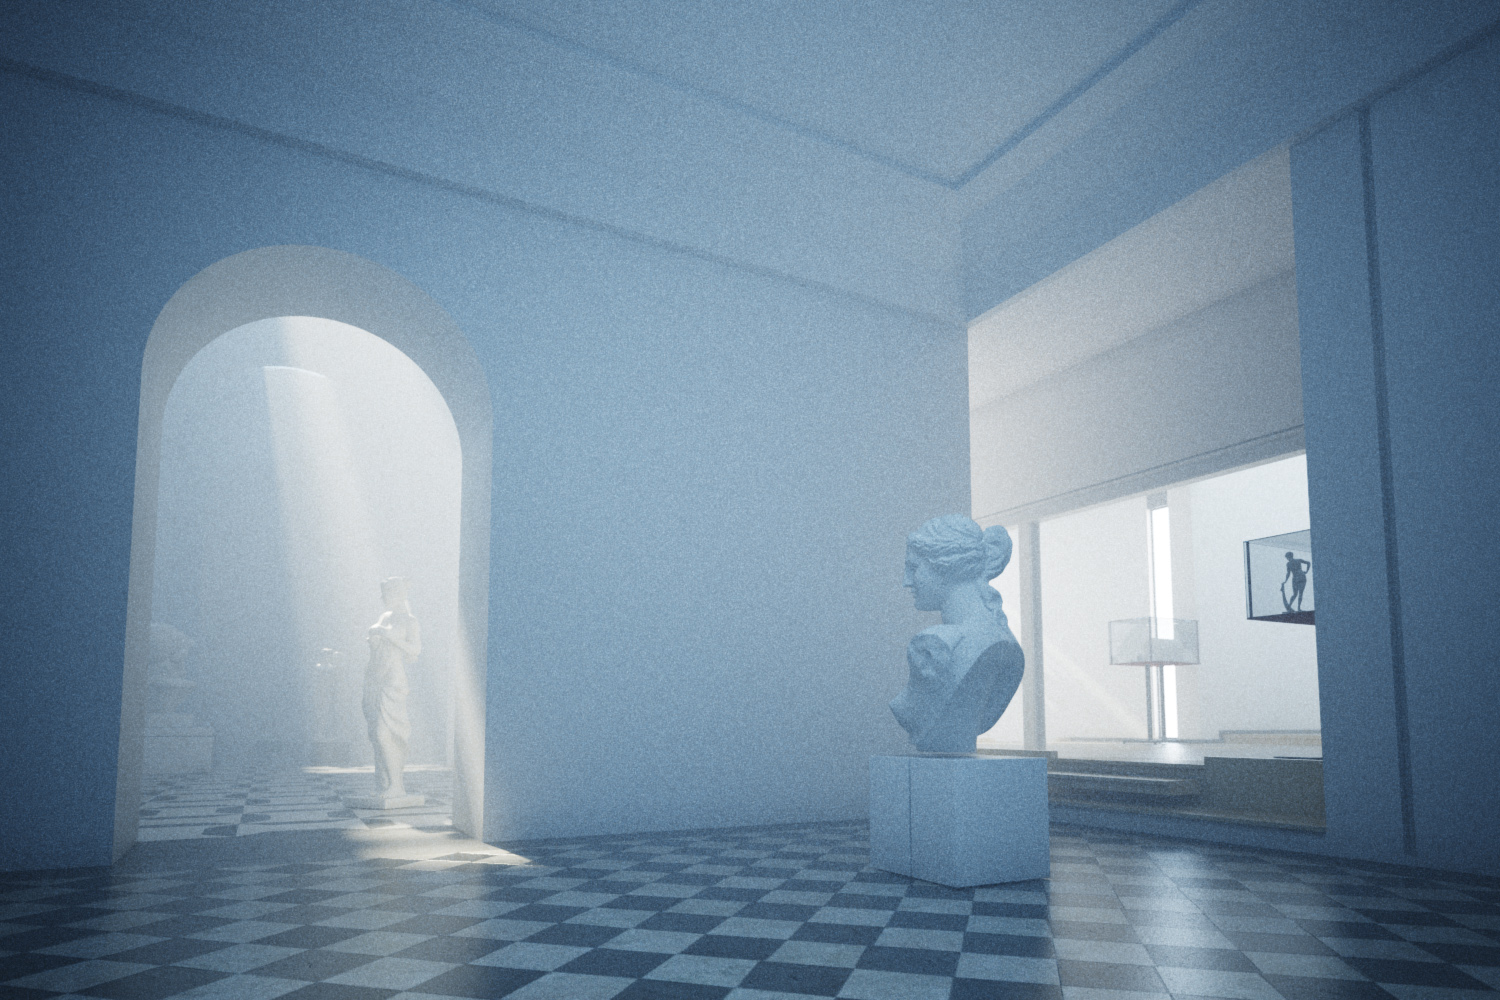
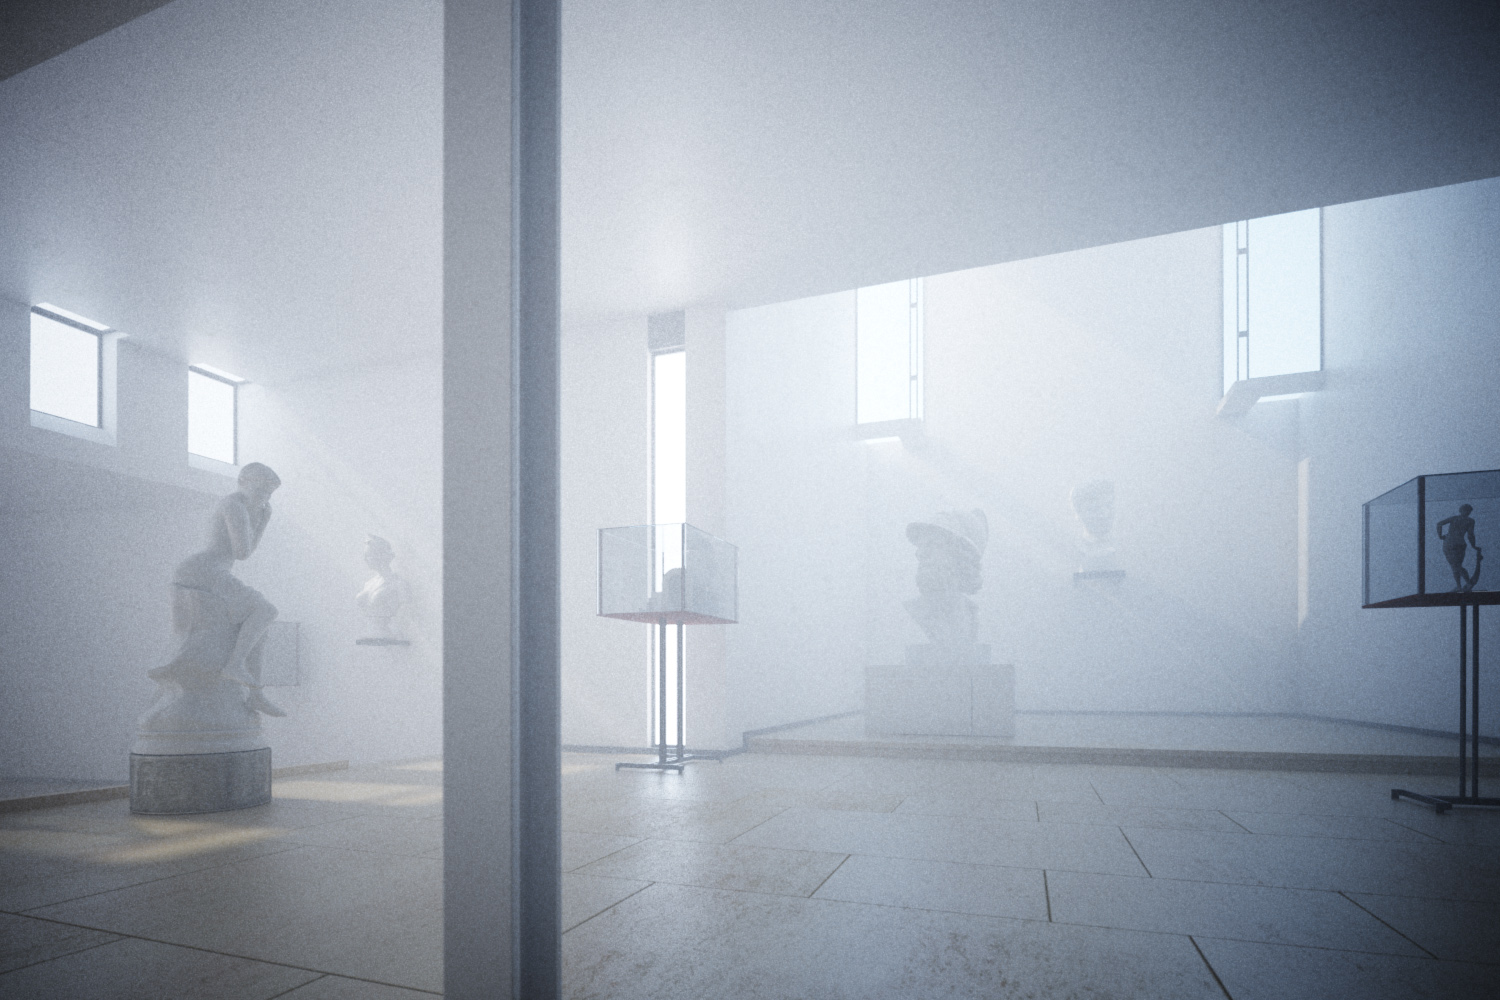
These renders are straight out of 3dsmax, I used vray for the depth of field (lack of), vignetting, distortion & fog.

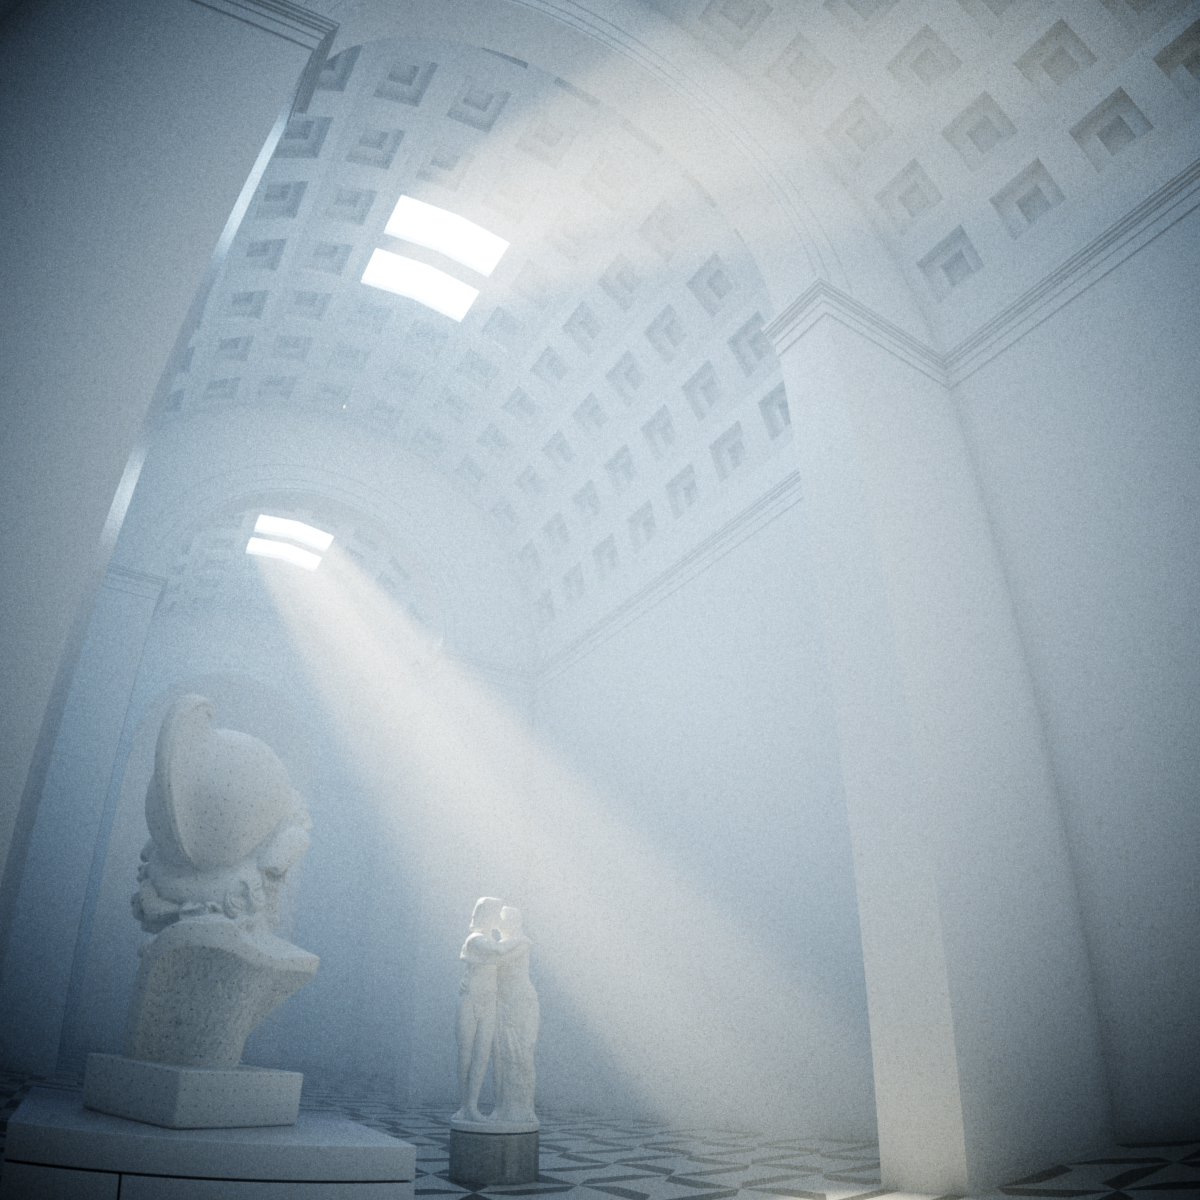
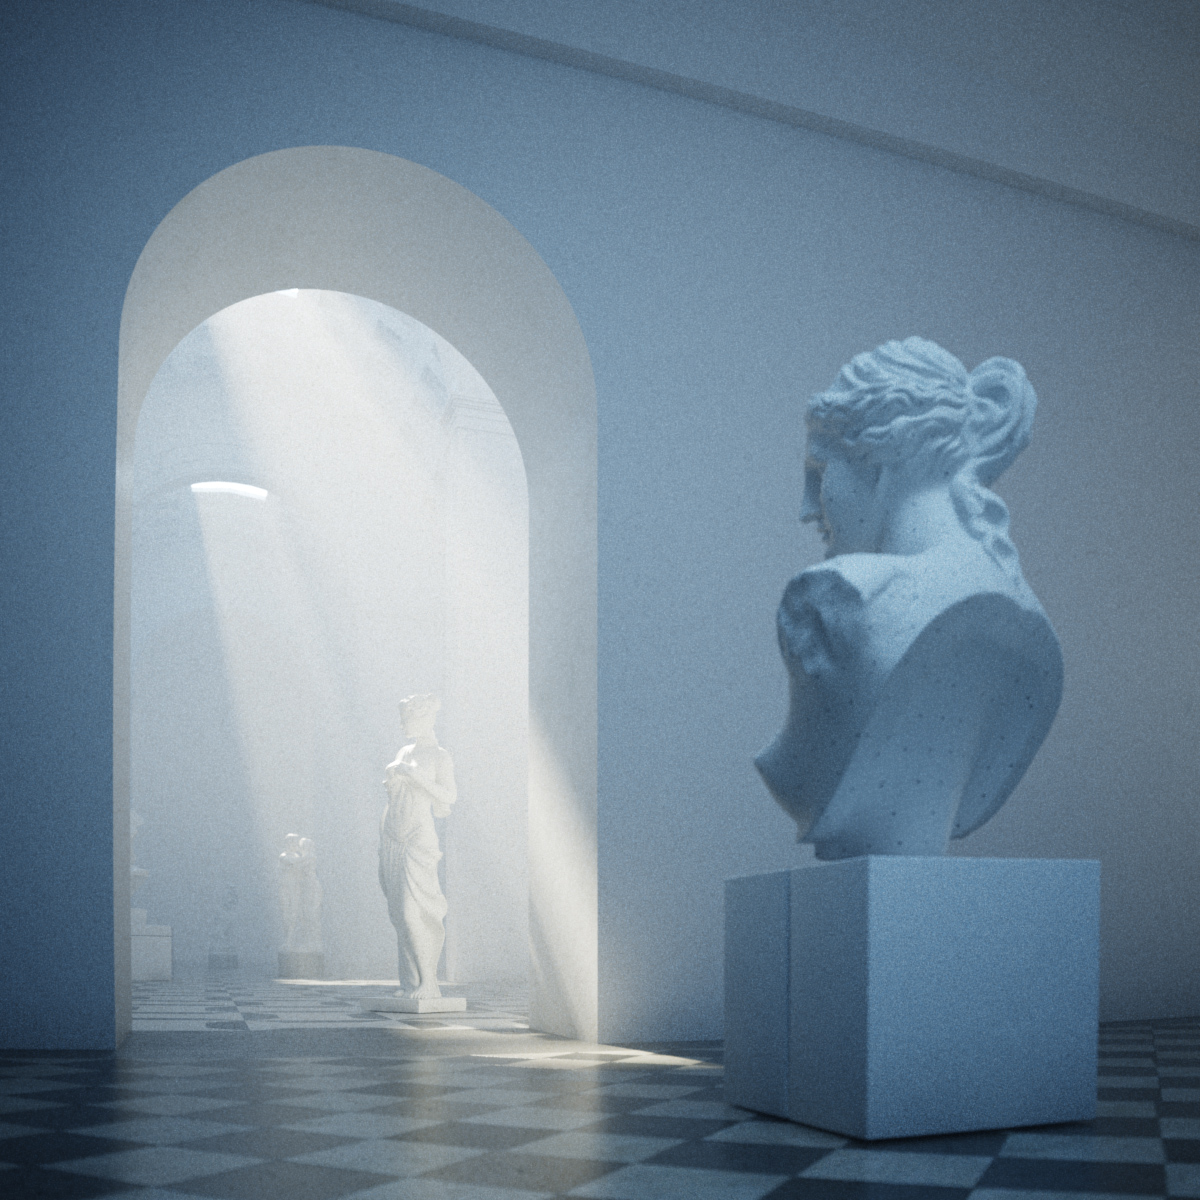
The steps for setting up the environment fog in 3dsmax couldn't be simpler: I just added a VrayEnvironmentFog effect in the environment & atmospherics window (8), set the density to 20,000 (20 metres), enabled scatter GI (100 bounces) and set the fog height to cover the whole building. Plus, from the vray manual: "When using VRayEnvironmentFog, it is recommended to turn on the Optimized atmospherics evaluation option in the System rollout of the V-Ray settings."

It is also possible to shape the fog by assigning procedural maps to change the density. Here is a nice tutorial by Francesco Legrenzi on using VrayEnvironmentFog to make clouds: Legrezni Studio Forum

The sketchup model for the Scarpa scene is available to download on pushpullbar. Or you can grab it here.