PG TIPS - Clipping planes focal point trick

A handy trick I use all the time to set your focus point in a more intuitive way. It is especially useful if, like me, you prefer working in one big viewport and don't want to switch to the top viewport in order to measure the distance to your object.

Steps:

1. In your vray or physical camera, activate clipping and then move either the near or far clipping plane to see the distance from the camera to where you want to set the focus point. 

2. Note the distance.

3. Put that value into the override focus distance on your camera. Easy!

GRADUATED FILTER IN 3DSMAX

Hopefully one day Corona will have the option to add linear and radial graduated filters in the frame buffer, in addition to the new and improved vignetting that is on it's way. Until then, I've been experimenting with making a 'real' virtual linear grad that sits in front of your camera lens.

GPU maintenance

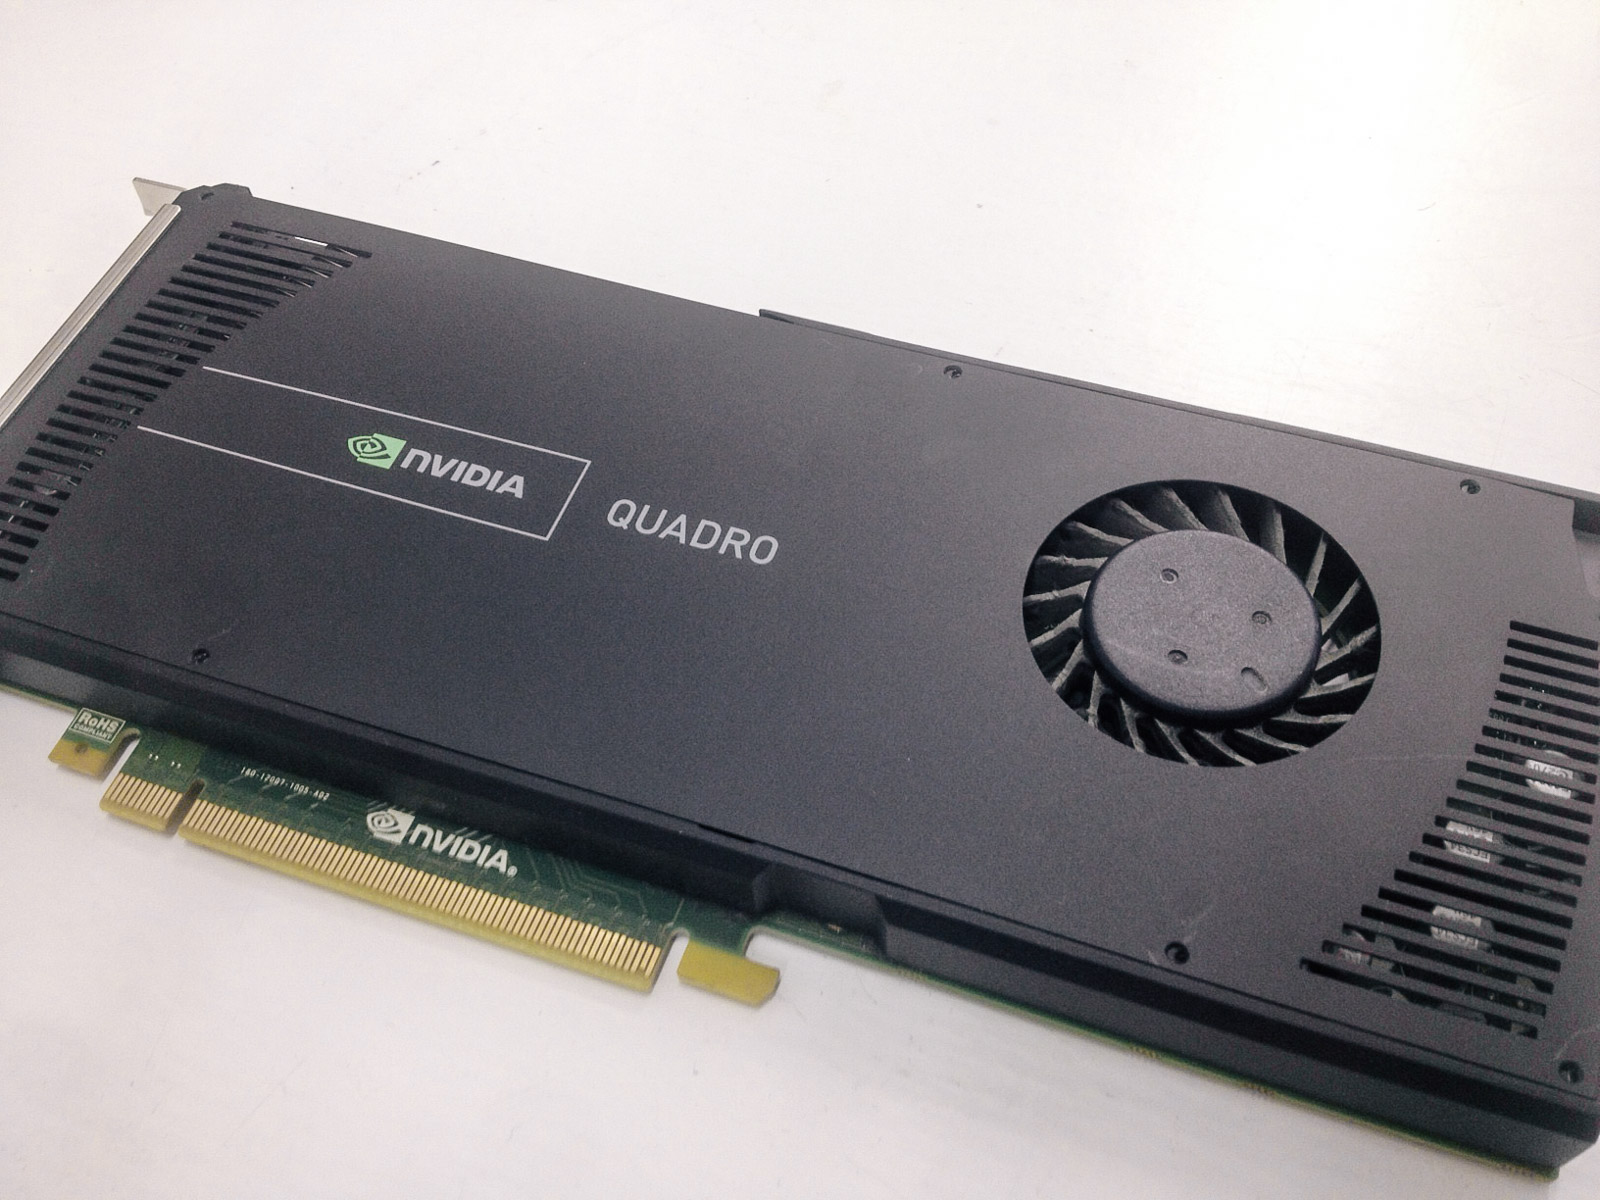
Super geeky entry under the category 'PG Tips' here, but might be useful to someone... 

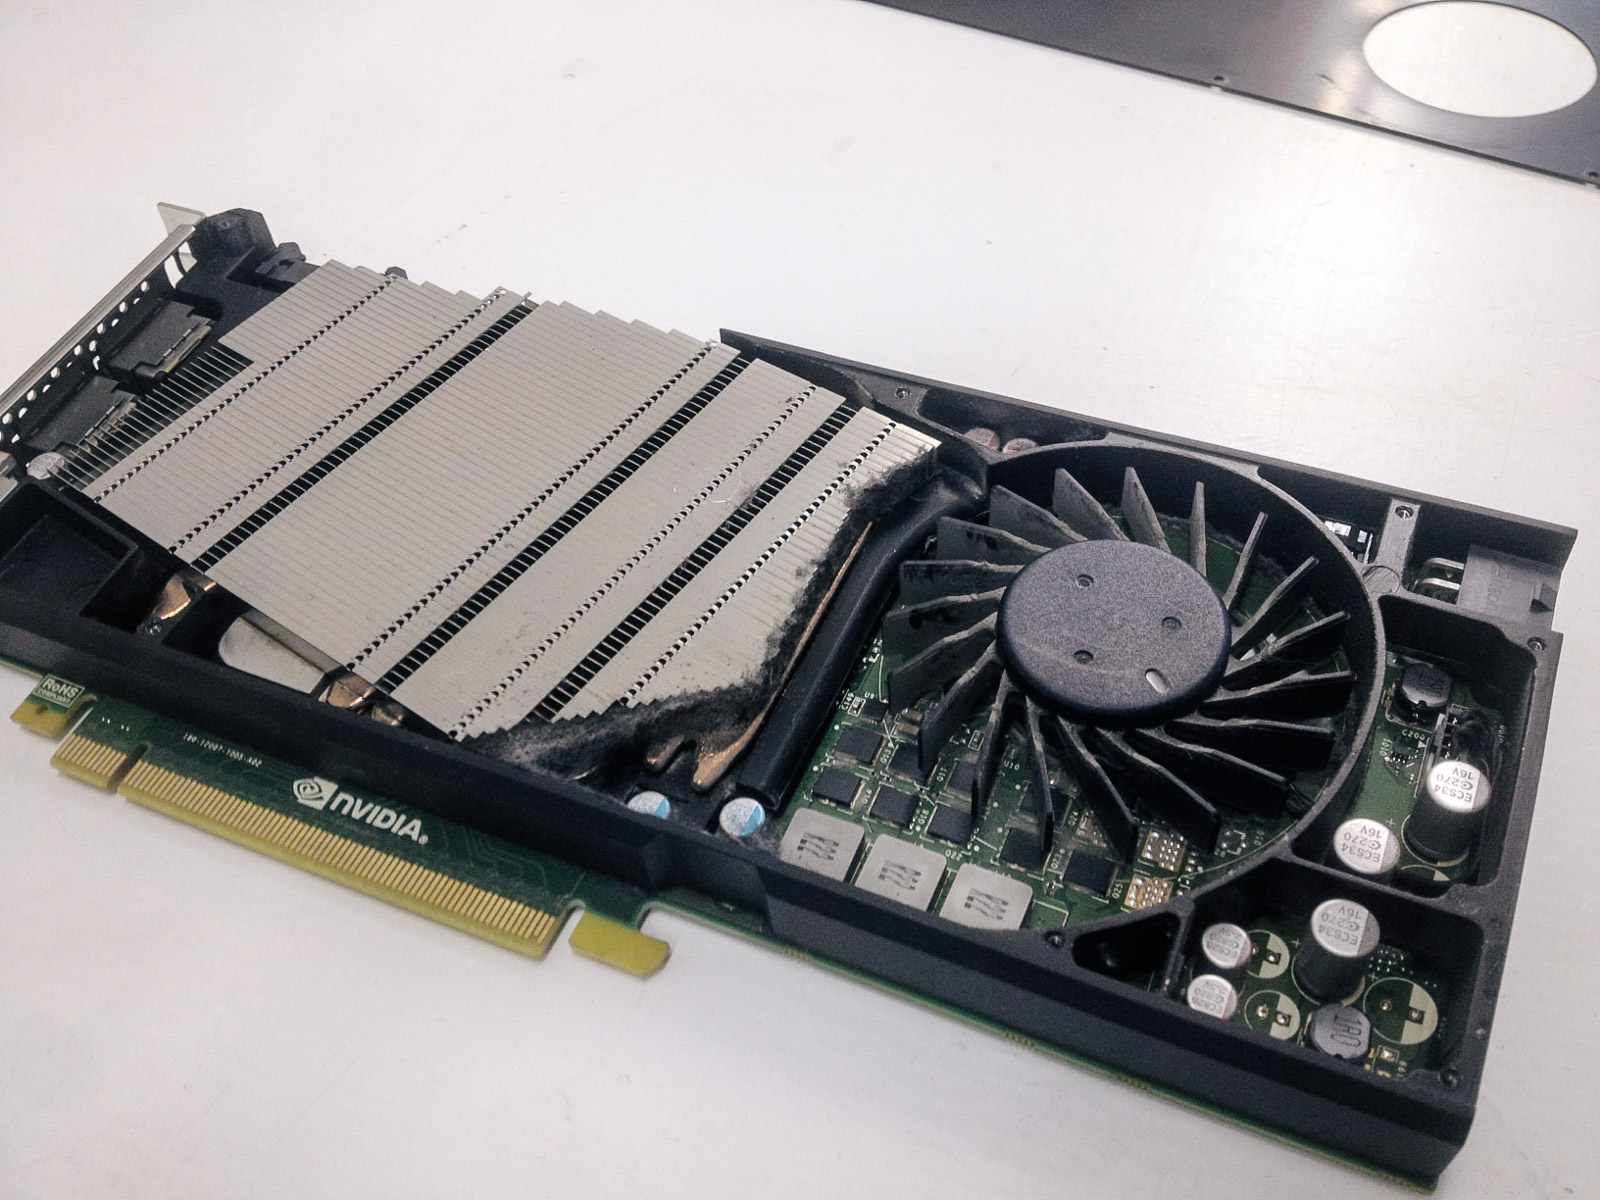
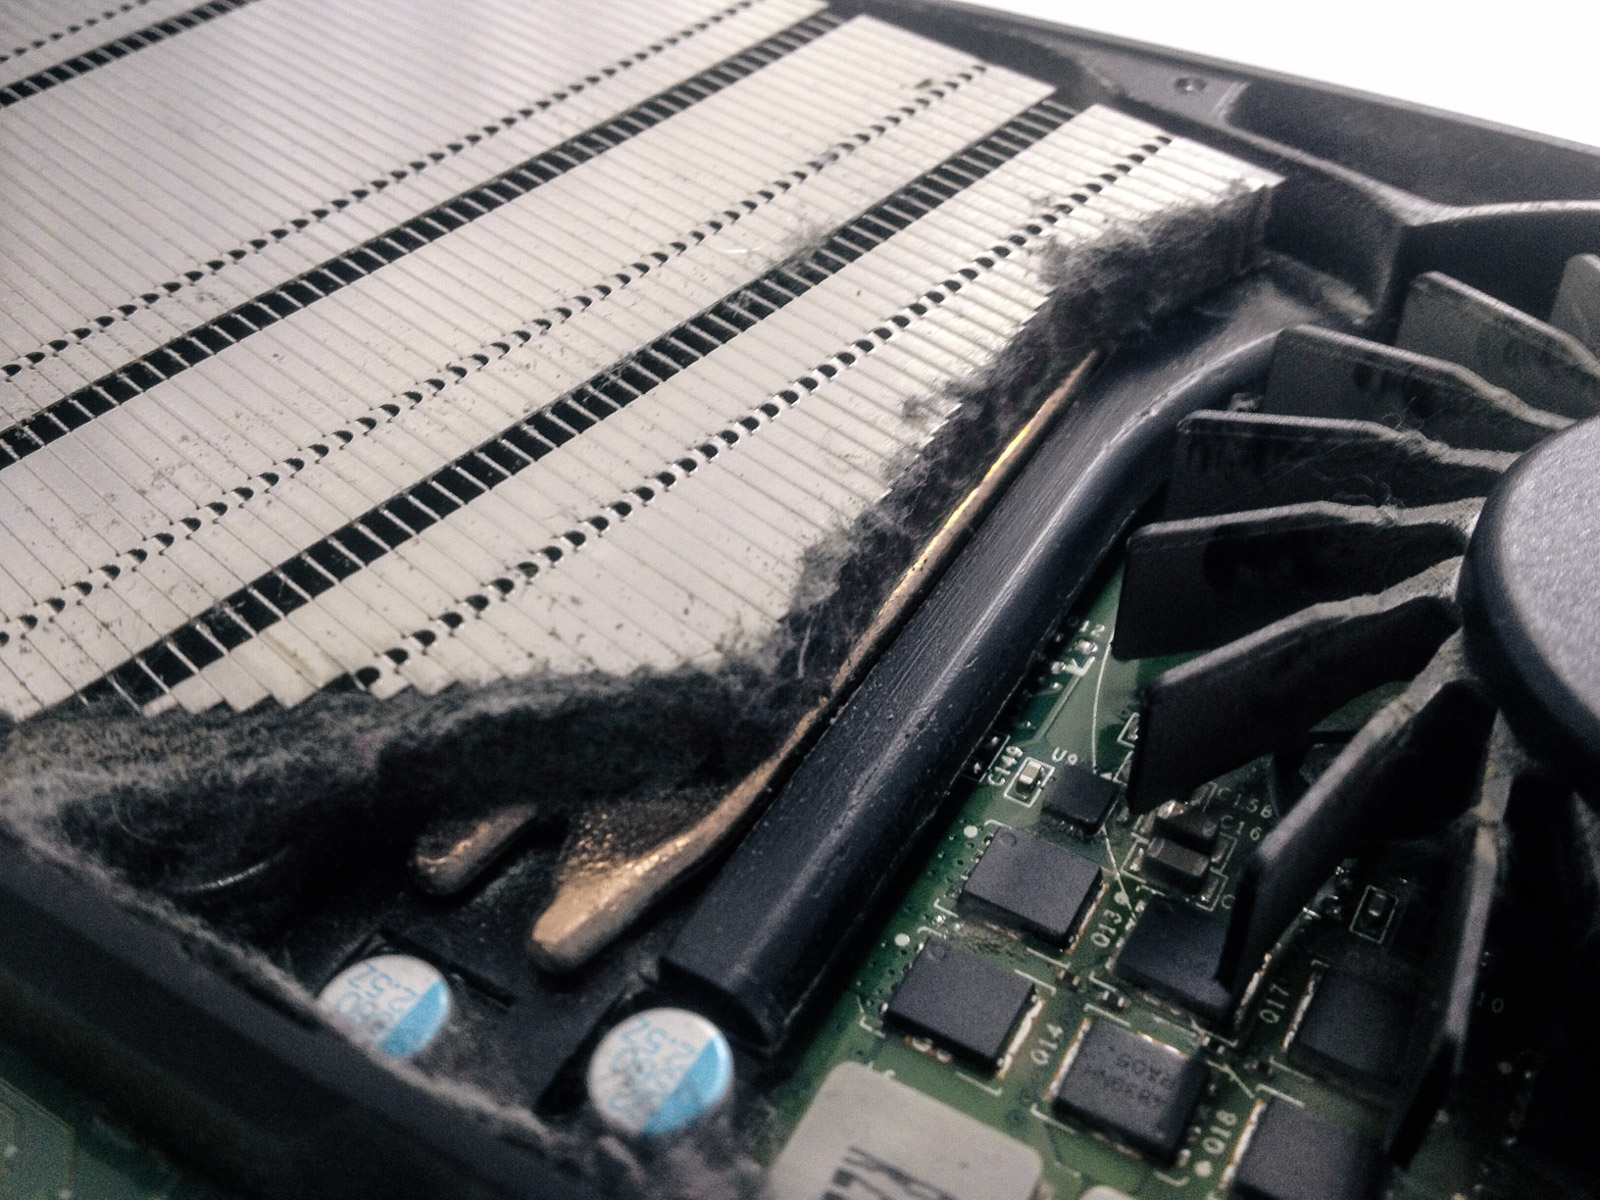
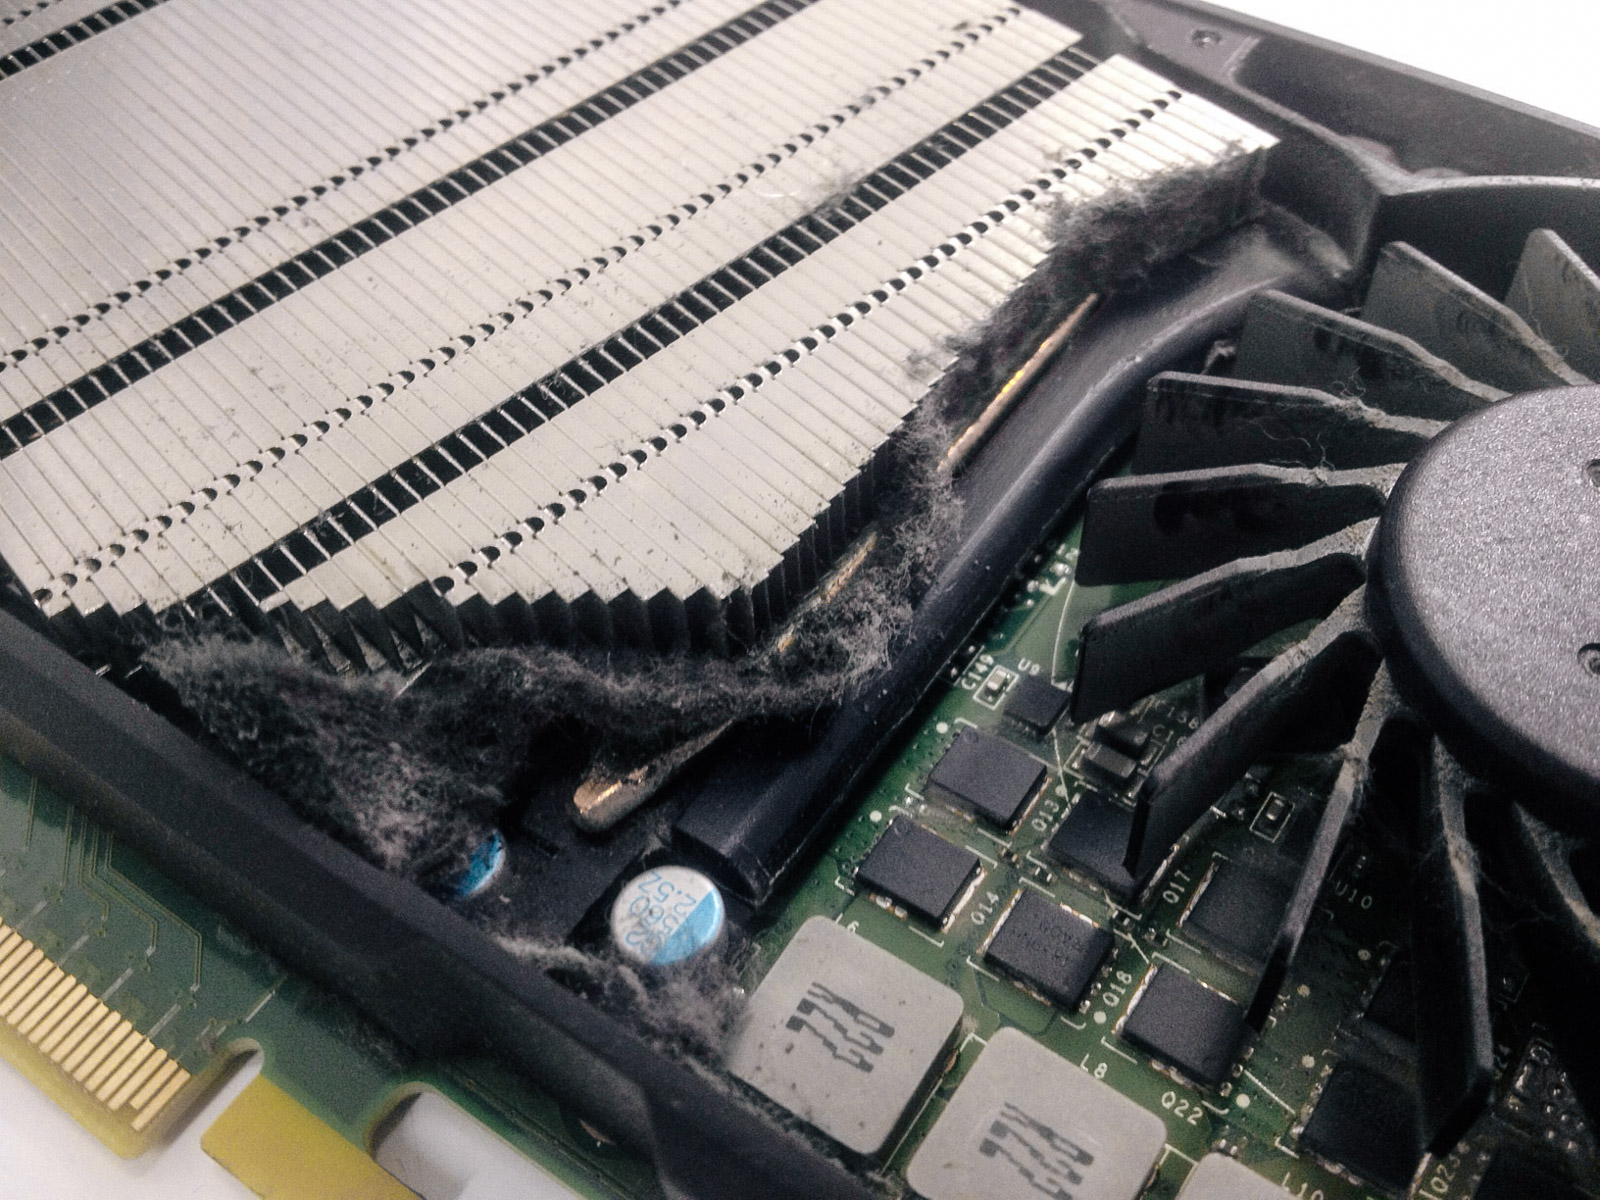
I noticed my GPU was running really hot (over 90 degrees idle) so decided to open it up and see what was going on. Due to a not-very-clever design, dust was completely blocking the path of the air over the heatsink. If you have a similar graphics card, might be worth investigating!

Or if you can't be bothered going to such lengths, I would still advise downloading GPU temp or similar to check if it is overheating. (my temps dropped 15 degrees once i had removed the dust)

Vray 3 new features part 1

A good example of where the new 'Max Ray Intensity' feature in Vray 3 can come in handy. In the render below you can see the dreaded 'fireflies' or 'speckles' that often plague vray users, especially if using a hdri sky (you might need to click the image bigger to see them). 

render 'A' - settings as they were for vray 2. render time: 7 mins 31 s

fireflies!

Simply turning on max ray intensity (MRI from here on) removes these fireflies from the main render (reflection element included above as it is in the reflections that the fireflies occur). You can also see that vray isnt havent to work as hard from the sample rate element and so it is noticeably quicker into the bargain.

The only time I have found that having MRI on can slow down a render, is when doing particularly hard to light interiors where there is very little light bouncing around. In those cases vray seems to perform better with it turned off, but otherwise I would recommend you generally leave it on by default.

render 'B' - turned Max Ray Intensity on. render time: 6 mins 49 s

Below is the same scene but with embree turned on. A small percentage gain, but again, I mostly leave embree on by default these days.

render 'C' - turned Embree on. render time: 6 mins 29 s

TIND panorama fun

Bit of a fresh take on old technology, but really quite effective I think. The resulting panorama is HTML5 so should be viewable on mobile devices too.

I asked for advice on the chaosgroup forum on what the best way of making panoramas is these days and the general consensus seemed to be that Pano2VR is the way to go. Apart from that, rendering a suitable image is very straightforward with vray:

  • Make sure your aspect ratio is 2:1 ie. width twice the height.
  • Set up your camera (I used a vrayphysicalcamera)
  • Under the camera settings in the vray render settings, change the camera type to spherical and override the field of view to 360deg.

the rendered equirectangular (?) image

Double clicking the panorama should launch it in fullscreen (IE and mobile users might have to make do with non fullscreen I'm afraid).

(not quite so) universal settings

With Vray 3.0, a new parameter has appeared under 'image sampler' called min shading rate. Inspired by some interesting discussion on the forum, I thought I'd find out what it does.

From help.chaosgroup.com

"Min shading rate - this option allows you to control the number of rays shot for AA versus rays for other effects like glossy reflections, GI, area shadows etc. It is especially useful with the Progressive image sampler. Higher values mean that less time will be spent on AA, and more effort will be put in the sampling of shading effects.

When loading scenes saved with V-Ray 2.x, the Min shading rate parameter is set to 1 in order to produce the same results as the previous V-Ray versions."

So.. as far as I understand it, it allows you to re-balance the work vray is doing away from AA (geometric detail, textures) and back to, ummmm all the other stuff (GI, lighting, reflections etc). That's as far as I get without my brain starting to hurt, so lets try it out in practice.

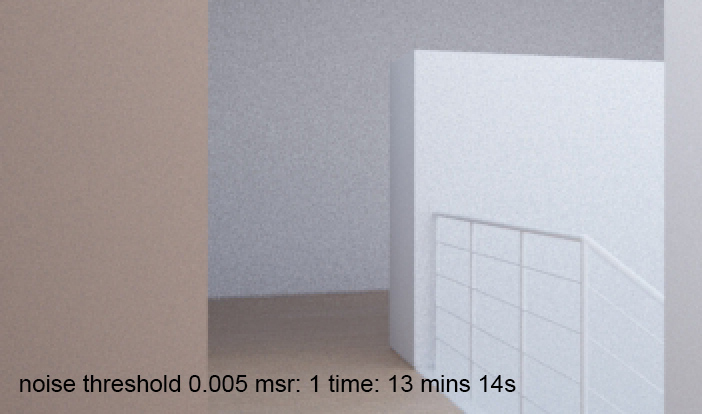
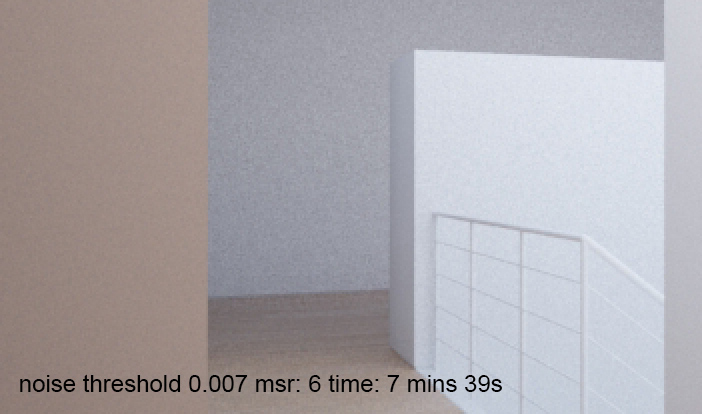
(click for bigger)  (for those interested, a shading rate of 20 took 15mins 46s)

The settings are all as per the vray universal settings and a noise threshold of 0.005, all I am doing is increasing the min shading rate from its default of 1.

As you can see, higher values don't necessarily mean longer render times in the world of adaptive sampling, presumably because the AA has less work to do as the GI, lighting, reflections and whatever else are cleaner. Don't ask me to explain this any further, I can't!

What is interesting to me though, is that at the shading rate of 6, not only is it faster, it is also less noisy. (marginal I know!)

With that in mind, and with the object for me being to reduce the render time, I increased the noise threshold slightly to 0.007.

So in summary, a reduction of render time from 13 mins 14s down to 7 mins 39s, and looks pretty much identical. I'd guess that this approach will work best with interiors but let me know if you have any success with exteriors. 

EDIT: same testing procedure on an exterior scene below, as expected, not as much of a difference as with the interior.

Colour correcting HDRi skies

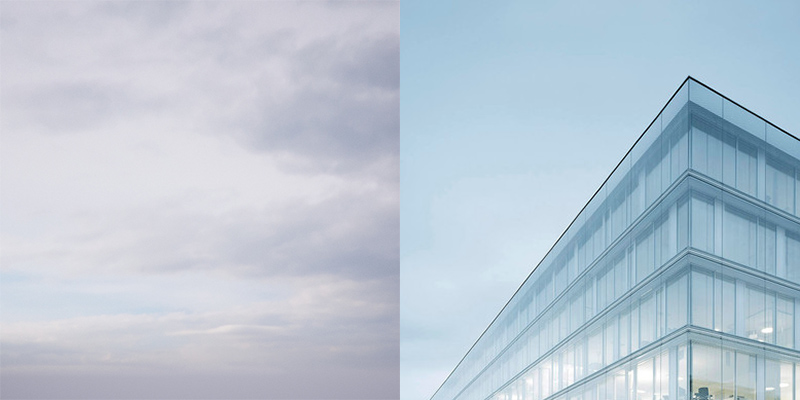
Photo by Brigida Gonzalez also on my scrapbook

Photo by Brigida Gonzalez also on my scrapbook

I quite often reference images I see on the internet when I am interested in achieving a particular mood or more often colour balance. This usually happens well into a project and quite often by accident rather than by design, but that's the subject of another, future post..

I liked the colour of the sky in the above photo, especially in combination with the pale yellow interior lighting. From looking through my HDR sky collection, I went for 0902 which was pretty close but not the right colour:

match01.jpg

I'm hoping chaosgroup will eventually grant my wish of adding some colour temp/tint controls to the vrayHDRi map, but in the meantime you can adjust the colour using the color map in the output roll up. I simply took some red out of the sky by unchecking G and B and dragging down the red curve.

output.JPG

Which results in a much closer match:

match02.jpg

You might be able to achieve the same thing with either the native max color correction map or colorcorrect but I think this is a neater solution. You could also colour correct the camera, but then you would have to compensate the temp of all of your lights as well.

Work-in-progress: a new project done in collaboration with Henry Goss for Ström Architects.

Work-in-progress: a new project done in collaboration with Henry Goss for Ström Architects.

Banksy

banksy.JPG

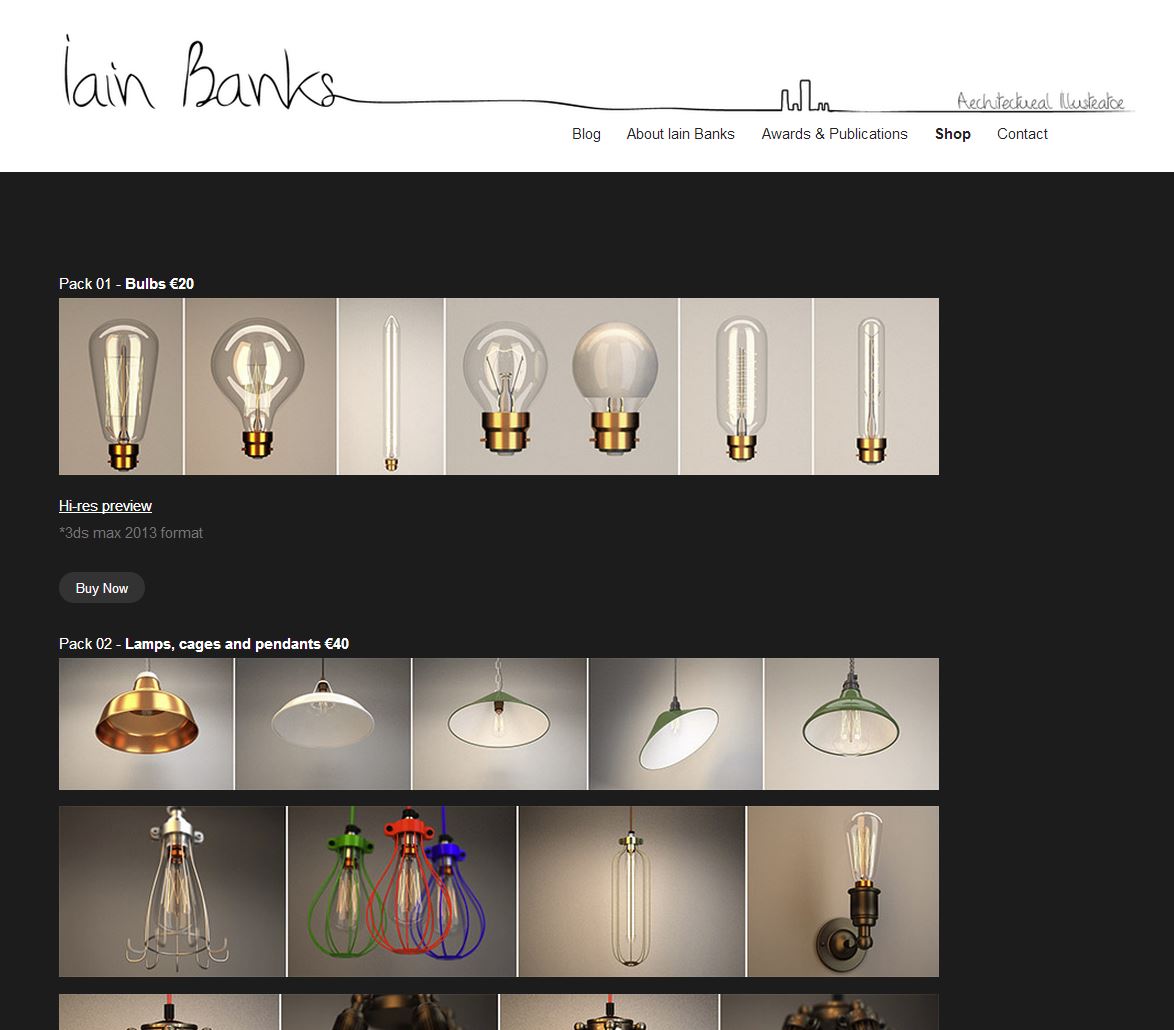
Iain Banks AKA Banksy is a bit of a legend in arch viz, so make sure you check out his recently launched shop and blogLooking forward to reading his blog, and am sure there will be loads of great tips and tricks. 

Sketchup Extensions

With the recent release of Sketchup 2013 and its brand new extension warehouse it seems like a good time to do a round up of my favourite extensions (or as I used to refer to them, plugins). There are hundreds of extensions available but these are the ones I actually use regularly. I'm looking forward to discovering new ones through the extension warehouse as it makes extensions more accessible and easier to use. RoundCorner

RoundCorner is great for adding bevels and fillets to geometry, in fact I prefer the workflow to how you would normally do it in 3dsmax.

As sketchup doesnt have any kind of modifier stack though, I like to 'hide' the non modified version of the object inside the component. As it is hidden it won't be exported as geometry and it allows you to go back easily and make changes. In the image above, I have a hidden copy of the window frame 2m to the right that I can move back into place and redo the bevel/fillet if needed.

FredoScale

A great plugin for doors and windows, you can take a group and stretch it but retain the width of the frame. In the image below, the original door is on the left, the fredoscale stretch version next, and the scaled one on the right. It can do a LOT more but I just use it for this one function.

JointPushPull

Push pull non planar surfaces! Occasionally a god-send, for example extruding terrain surfaces (pavements, roads etc). Can work according to the surface normals or on an axis.

Instances

Right click a component, 'select all instances'. Very handy.

BezierSpline

A whole set of curvy line drawing tools. Can also divide up splines into equal length segments which is useful when making contours.

Curviloft

Good for simple lofts between two lines.

ComponentStringer

For copying components along splines. Useful for stairs, balustrades, fences etc.

ShapeBender

I recently had to make some curved windows, this plugin made the process very simple. Make your component as usual, then draw a curve to bend it, easy!

I haven't had a chance to see which of these extensions are available on the new extension warehouse yet, but will update this article with new links once they are online. Might also add new handy extensions to this list so feel free to let me know which ones you find handy!

Finally, if you are new to Sketchup, Ronen's blog post from 2009 9 Sketchup tips.. is still essential reading to get you off to a good start.

overscan

Quick 3dsmax tip.

If you need to enlarge the frame of a camera without altering the perspective of your original composition, try this:

Divide the original width of your frame by the new width, which in my case was 1200/1600 which gives 0.75. Then multiply your camera focal length by this ratio to find what the new focal length should be. For the example I'm using my original focal length was 35mm, which multiplied by 0.75 is 26.25mm.

Set your camera to this new focal length, change the format accordingly and you have effectively added width to your composition.

Thanks to twitter.com/VisualEyesMedia for this handy tip!

(There is also a script for this purpose www.scriptspot.com/3ds-max/scripts/overscan but it doesn't work with vray cameras)