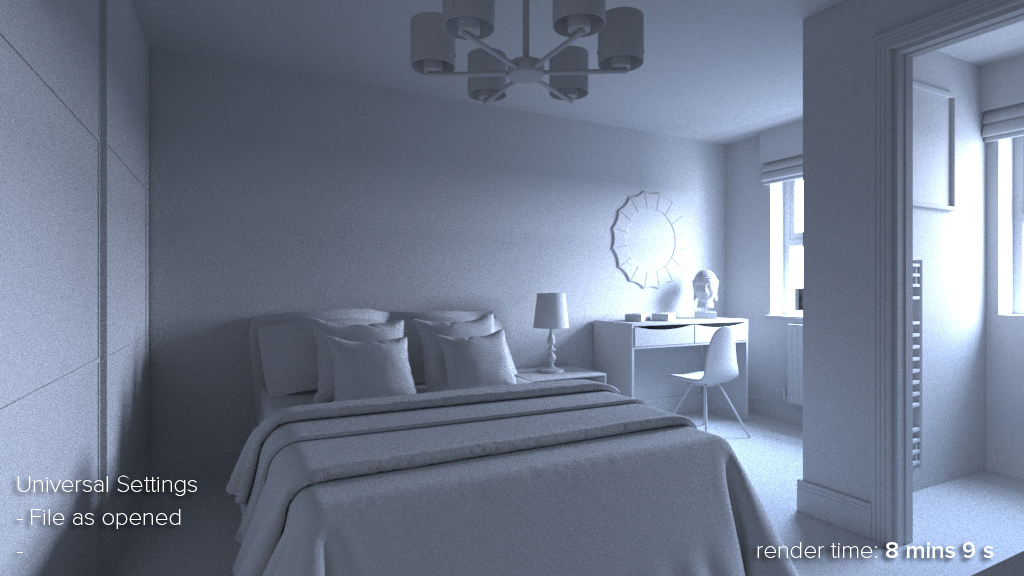
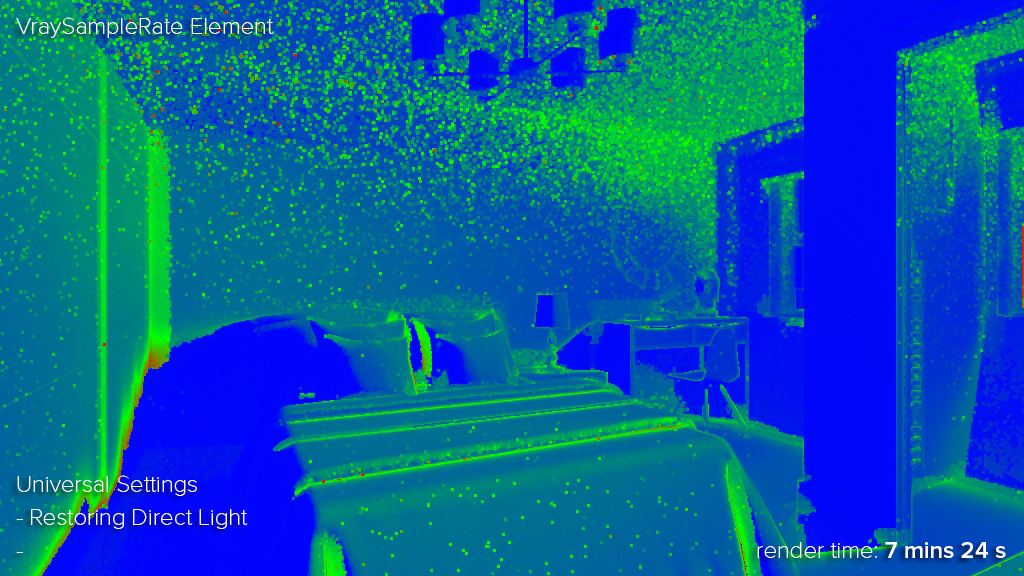
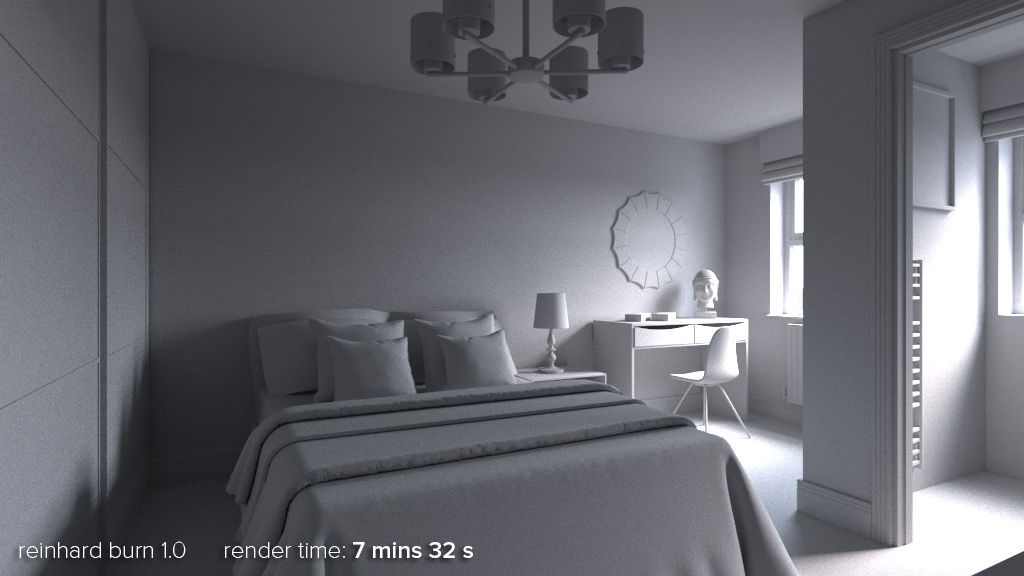
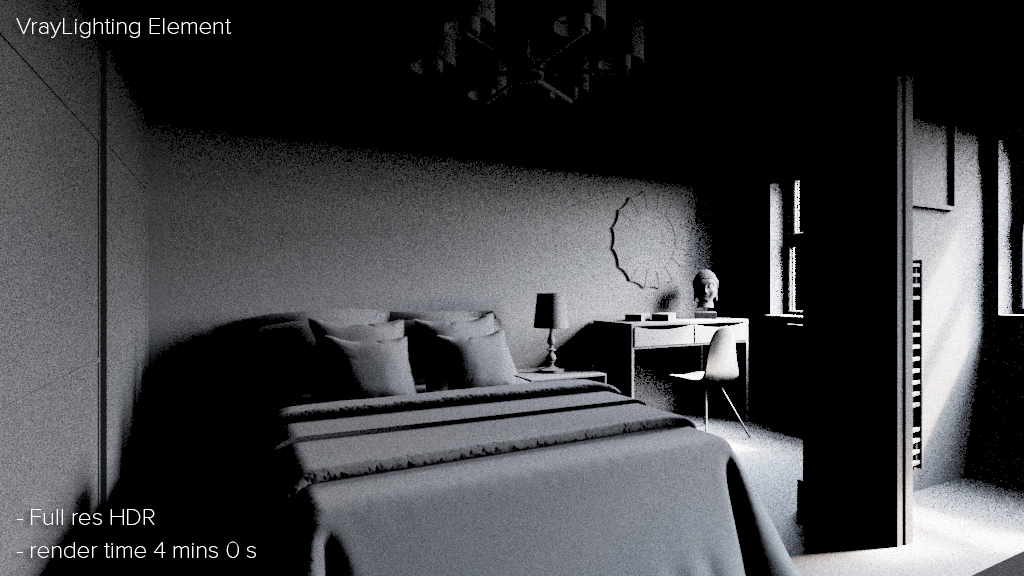
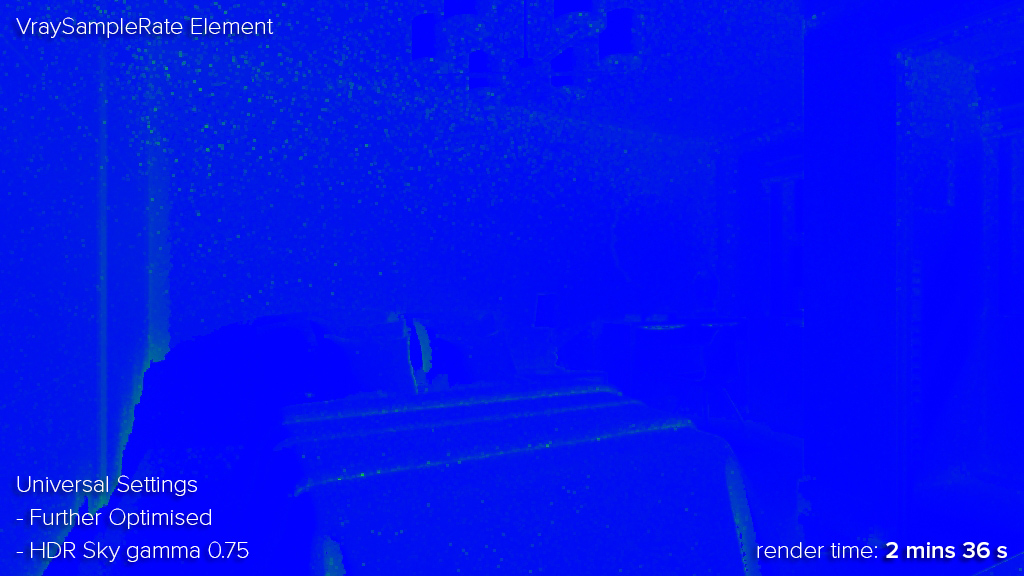
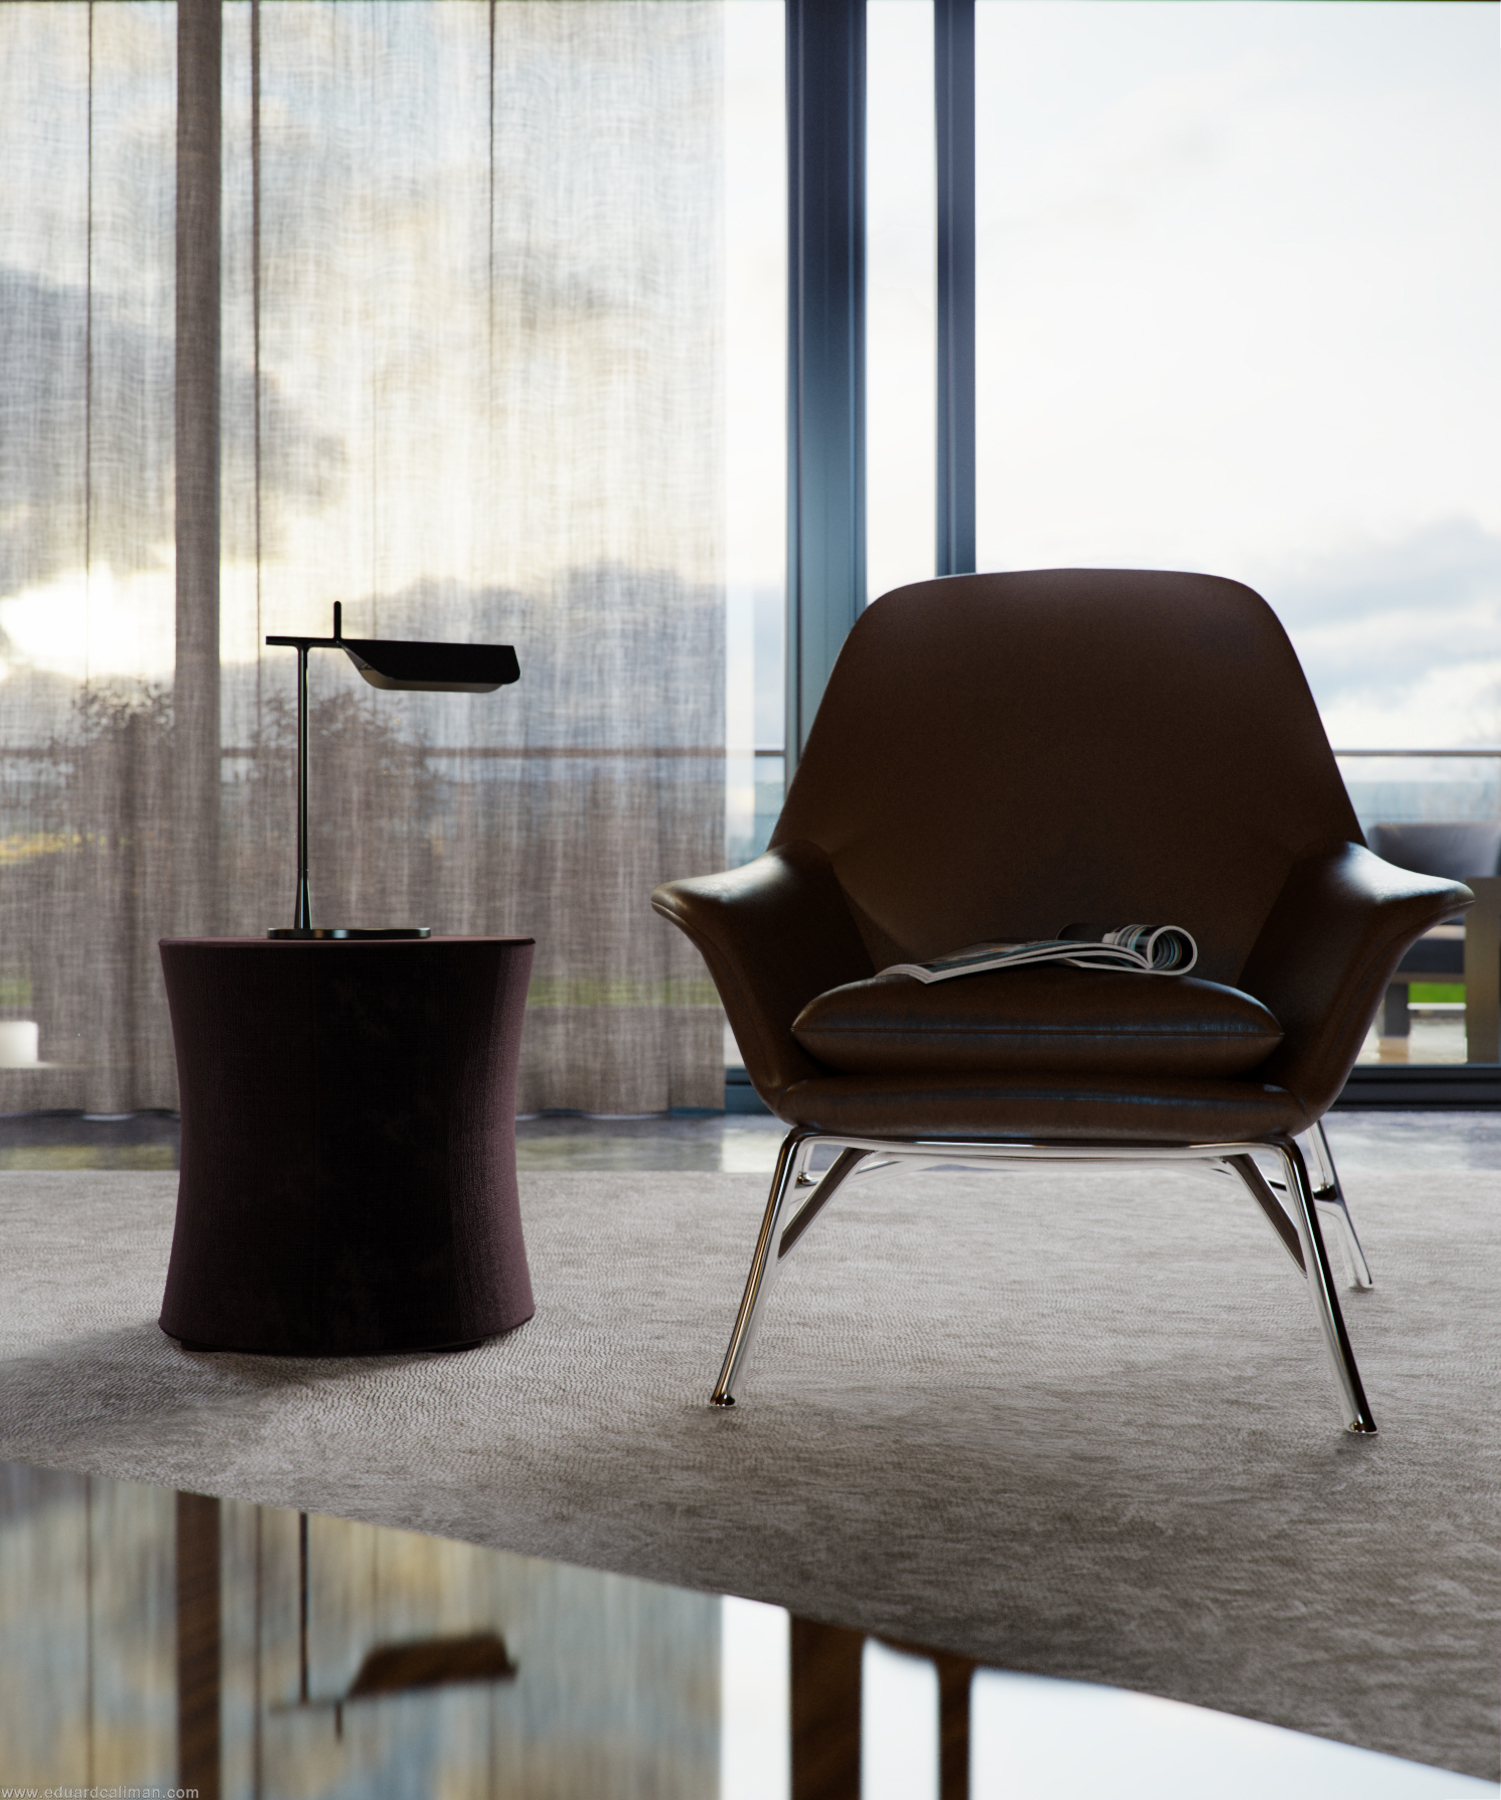
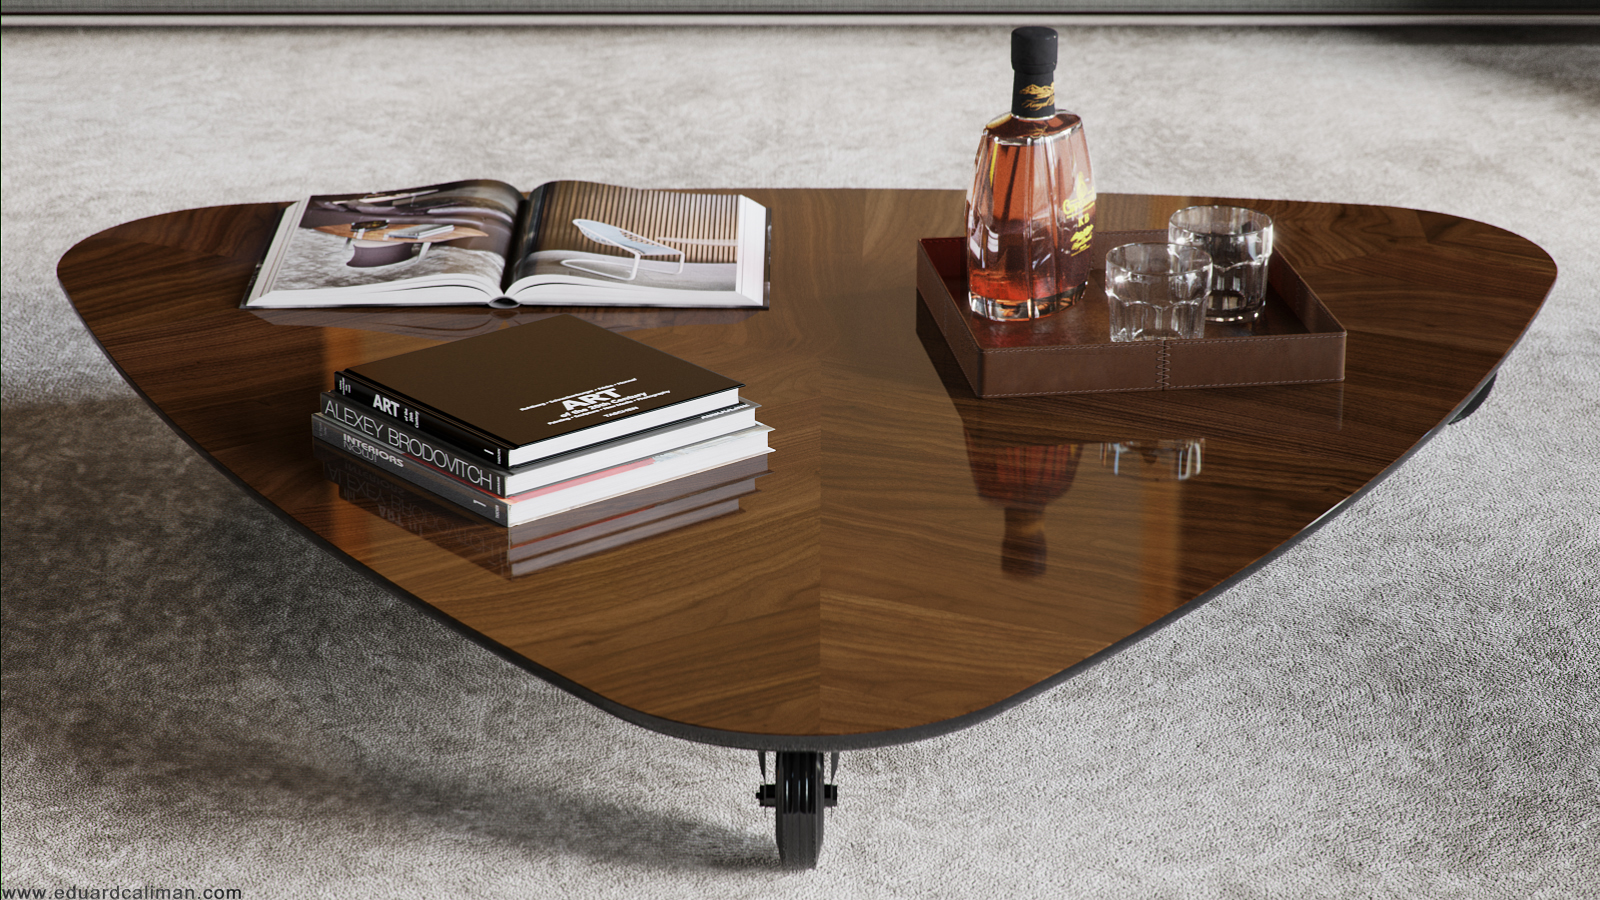
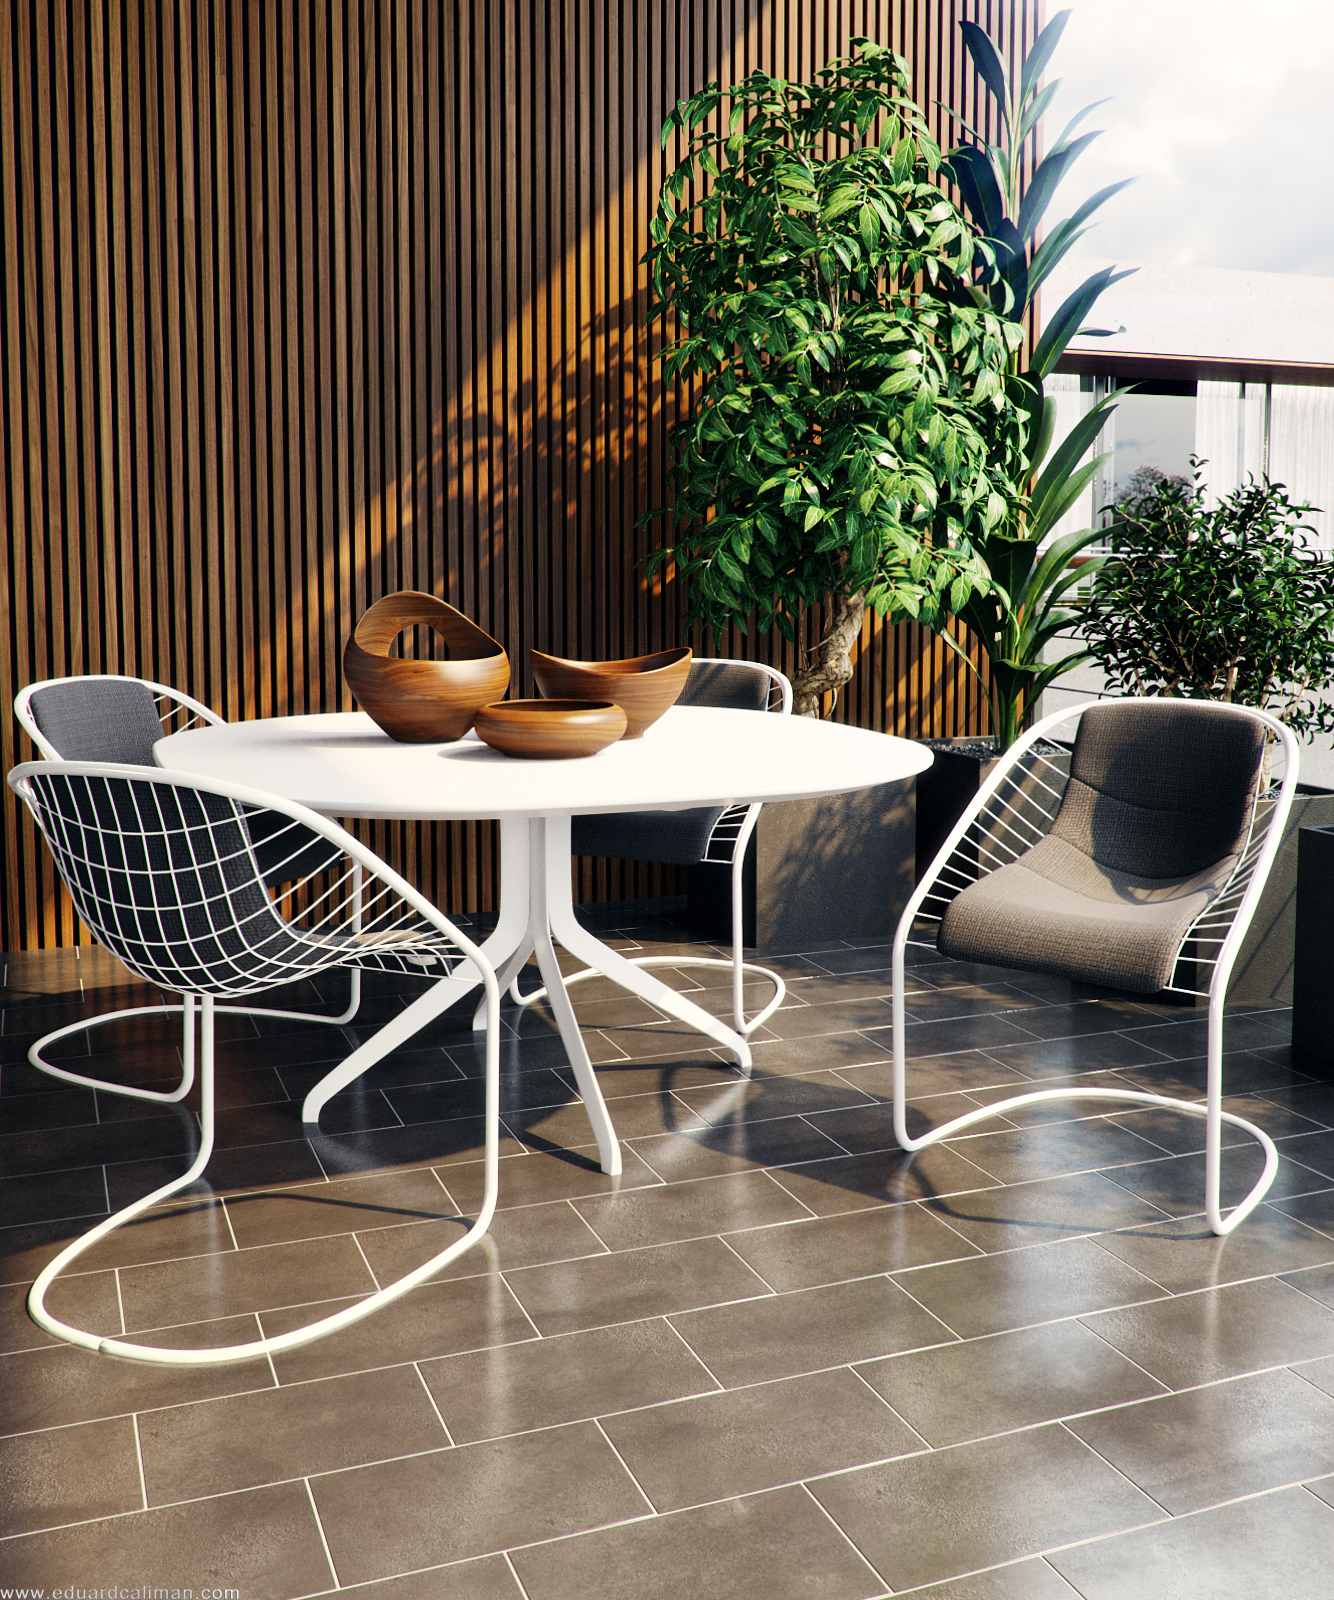
Aventador Quest

Just for fun, a Lamborghini in front of the Quest house by Ström Architects.

I didn't use them, but I thought the render elements for this image looked cool. Can you name them? (you don't need to specify if its rawreflection or just reflection)

EDIT: Free sky to the first person to guess the correct render elements!

EDIT 2: Competition Over!


I used 2028 for this render, don't think I've used it before but I like it!

Goodbye 3DOcean

After many years selling my products on 3DOcean, it's time to say goodbye and concentrate on improving my products and preparing new ones for my own online shop.

This post is mainly for all the people who have bought my products over the years and may have missed the fact that all of the skies received a much needed update in September 2012. If so, you should log in to your 3DOcean account and download your purchased products again!

Once the skies are gone from 3DOcean, there will be no way for you to get the update. I will leave the skies online until the end of August.


Architectural Photographers in NYC?

I'm interested in collaborating with any GOOD New York City based architectural photographers who might be up for working on various projects in Manhattan/Brooklyn.

Please do email me if interested of if you know anyone who might be. Thanks!!

HDR Sky Lighting for Interiors

I get a lot of emails from people asking how they can use my HDR skies for arch viz interiors and if it is even advisable. I haven't used anything but a HDR sky lighting set up (interiors & exteriors) for about 4 years so thought I would try to answer a lot of the questions here.

Fewlo from the chaosgroup forum has kindly allowed me to use his interior as an example. The first step is to figure out what is going on in the scene, and to render it as opened. There were a couple of things I changed right away:

1.

Disabled bitmap paging In some versions of 3dsmax/Vray it seemed to slow things down, so I always disable it.

Universal Settings. I prefer working in vray universal settings mode, so to do most of my testing I am switching over to that set-up. Of course it takes a lot longer to render, but it will help me to optimise the scene. I will switch to Irradiance map later on to show how it compares.

Universal Settings uses Brute Force for primary GI and Light Cache for secondary GI, if you are unsure how to set it up, take a look at the vray help files section on Universal Settings.

2.

Change HDR Rotation

A bit of artistic license here, but I decided to rotate the sky so that the sun was coming in the window. I also adjusted the vrayphysicalcamera exposure to allow for the increased amount of light coming in. The vrayHDRi loader works slightly differently to the max bitmap loader, this is a handy visual reminder that I have stuck to the bottom of my monitor at all times:

copyright: Phil Coyle, Hayes Davidson

copyright: Phil Coyle, Hayes Davidson

3.

No direct light

Now, inspecting the vraylighting element (click the sliders to compare VRayLighting passes) told me that there was no actual direct lighting making its way in the window. To fix this I:

- Unticked Store with Irradiance Map on the VRayDomeLight
- Changed the glass material to have full (255) refraction, and ticked affect shadows
- In the VRayProperties of the glass objects I unticked 'Visible to GI'

4.

Color Mapping

Next step was to take a look at the gamma settings. The way I see it, you are either baking gamma in to your image (what I do) or you render your image with as much info in it as possible so that you can mess around with it to your hearts content in post. Either way, for arch-viz at least, I think you should be using reinhard mapping and a low burn value. 

As you can see, adjusting the color mapping settings has a big effect on render times

The cool thing with vray's color mapping is that even if you are rendering to 32 bit exrs (or 16 bit images) and dont want to burn in the gamma, you can still make use of reinhard burn to speed up your renders. In this example the slow one is set up using strict linear workflow (well actually reinhard burn 1.0 which is the same thing) and the quick one is reinhard burn 0.05 but with the mode changed to 'NONE (don't apply anything)'. This means vray internally uses a burn of 0.05 for adaptation, but doesn't mess around with the rgb values in your image. In the examples below the fast one is noticeably noiser, but the difference in speed is huge so you could easily reduce the noise and still be a lot quicker.

For both of these images, I saved out a 32bit exr and lowered the exposure 2 stops in photoshop to demonstrate that the full range is there in both.

So to recap, either you are burning the gamma in to your image, in which case you should set up the vray color mapping settings like this

gammaoptionA1.jpg

OR you want complete control in post production in which case you keep it set up like this:

For VRay 2.x users:
Mode "color mapping and gamma" = Don't affect colors (adaptation only) OFF
Mode "None (don't apply anything)" = Don't affect colors (adaptation only) ON

5.

HDR sky setup

The scene was set up with two versions of my 1222 sky, one for reflections, and a low res version for lighting. I always keep my HDR set up as simple as possible, just the full res version in a dome light. Switching to this had a minimal effect on render times.

Note how much better the shadows from the sun look:

Clarification on my HDR setup:
I always use just one full resolution HDR sky in a vraydomelight to do all lighting reflections etc.
The scene I was sent had a low res copy of the HDR sky in the vraydomelight, and a full res version in the environment override slots in the vray settings. This is maybe a bit of an old skool trick to try and encourage faster render times, but as demonstrated above it might not be much faster and it loses a lot of definition in the shadows.

6.

Further optimising brute force settings

First off I set the Min Shading Rate to 6, which made a huge difference. See blog post on Universal Settings in VRay 3.0 for more info. Secondly I enabled EMBREE as my processors support it for an extra reduction in render time.

HDR Domelight subdivs: In the past I have had success with changing the subdivs of the domelight, but for brute force with this scene it didnt make any difference. I suspect this was because the Min Shading Rate was already optimising things as far as they could go.

7.

Adjusting gamma of HDR sky

Refer to this tutorial from 2012 if you arent familiar with the concept of reducing the gamma of the HDR sky in order to boost contrast (and thereby stronger shadows).

I think the render below is starting to show some nice warm light from the sun landing on the desk and chair in the corner along with making the darker areas more blue.

8.

Irradiance Map

A lot of people still use irradiance map for primary GI, if so, adjusting the subdivs of the vraydomelight definitely helped remove noise and didn't increase the render time by much. I guessed a value of 128. Remember that in the weird world of adaptive DMC higher figures can sometimes mean lower render times, so experiment to see at what point higher no longer means faster.

(click image to zoom)

9.

HDR lighting, VRaySun lighting, Brute Force and Irradiance Map compared

I have compiled my results for the HDR sky and universal method, VRaySun and universal method and also irradiance map renders below for comparison. 

(click image to zoom)

Results:

HDR sky & Brute force: 2 mins 36s
HDR sky & Irradiance map: 1 min 36s
VRaySun & Brute force: 2 mins 57s
VraySun & Irradiance map: 0 mins 46s

My Irradiance map set-up was as universal but with the following differences (otherwise all values as default):

Adaptive DMC min, max: 1,12 instead of 1,100
Adaptive amount 0.85
Irradiance map as primary, min, max: -4, -1 
Irradiance map subdivs: 250

Conclusion

In general, I would say the VRaySun versions dont look as good as the HDR sky versions. The direct light from the dome light adds so much more detail everywhere.

The irradiance map version of the HDR sky render looks pretty good actually, but I would still pick the universal one every time.


Notes on noise..

For people thinking that the above renders look too noisy for their uses.. then I would just change the noise threshold from 0.01 to something lower. The renders are just for comparison purposes. When I do high res renders, like over 5k, I sometimes even increase the noise threshold to 0.02.

I never do animation work so have no experience with having to output super clean renders so please bear that in mind in the comments.

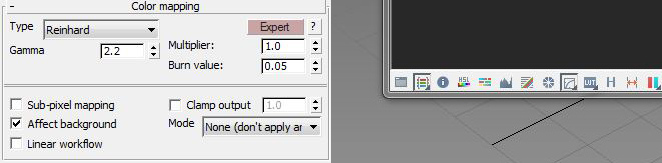
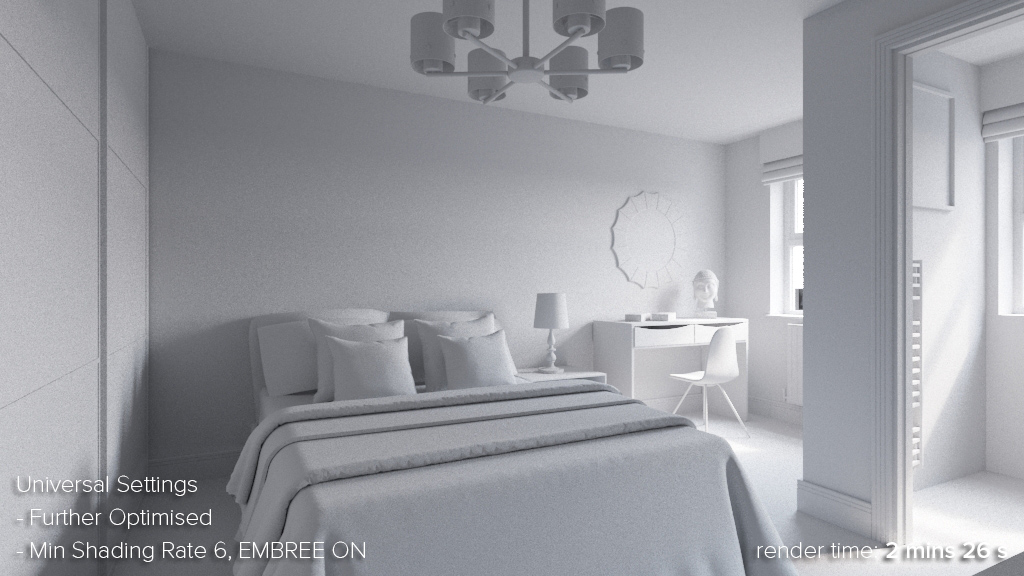
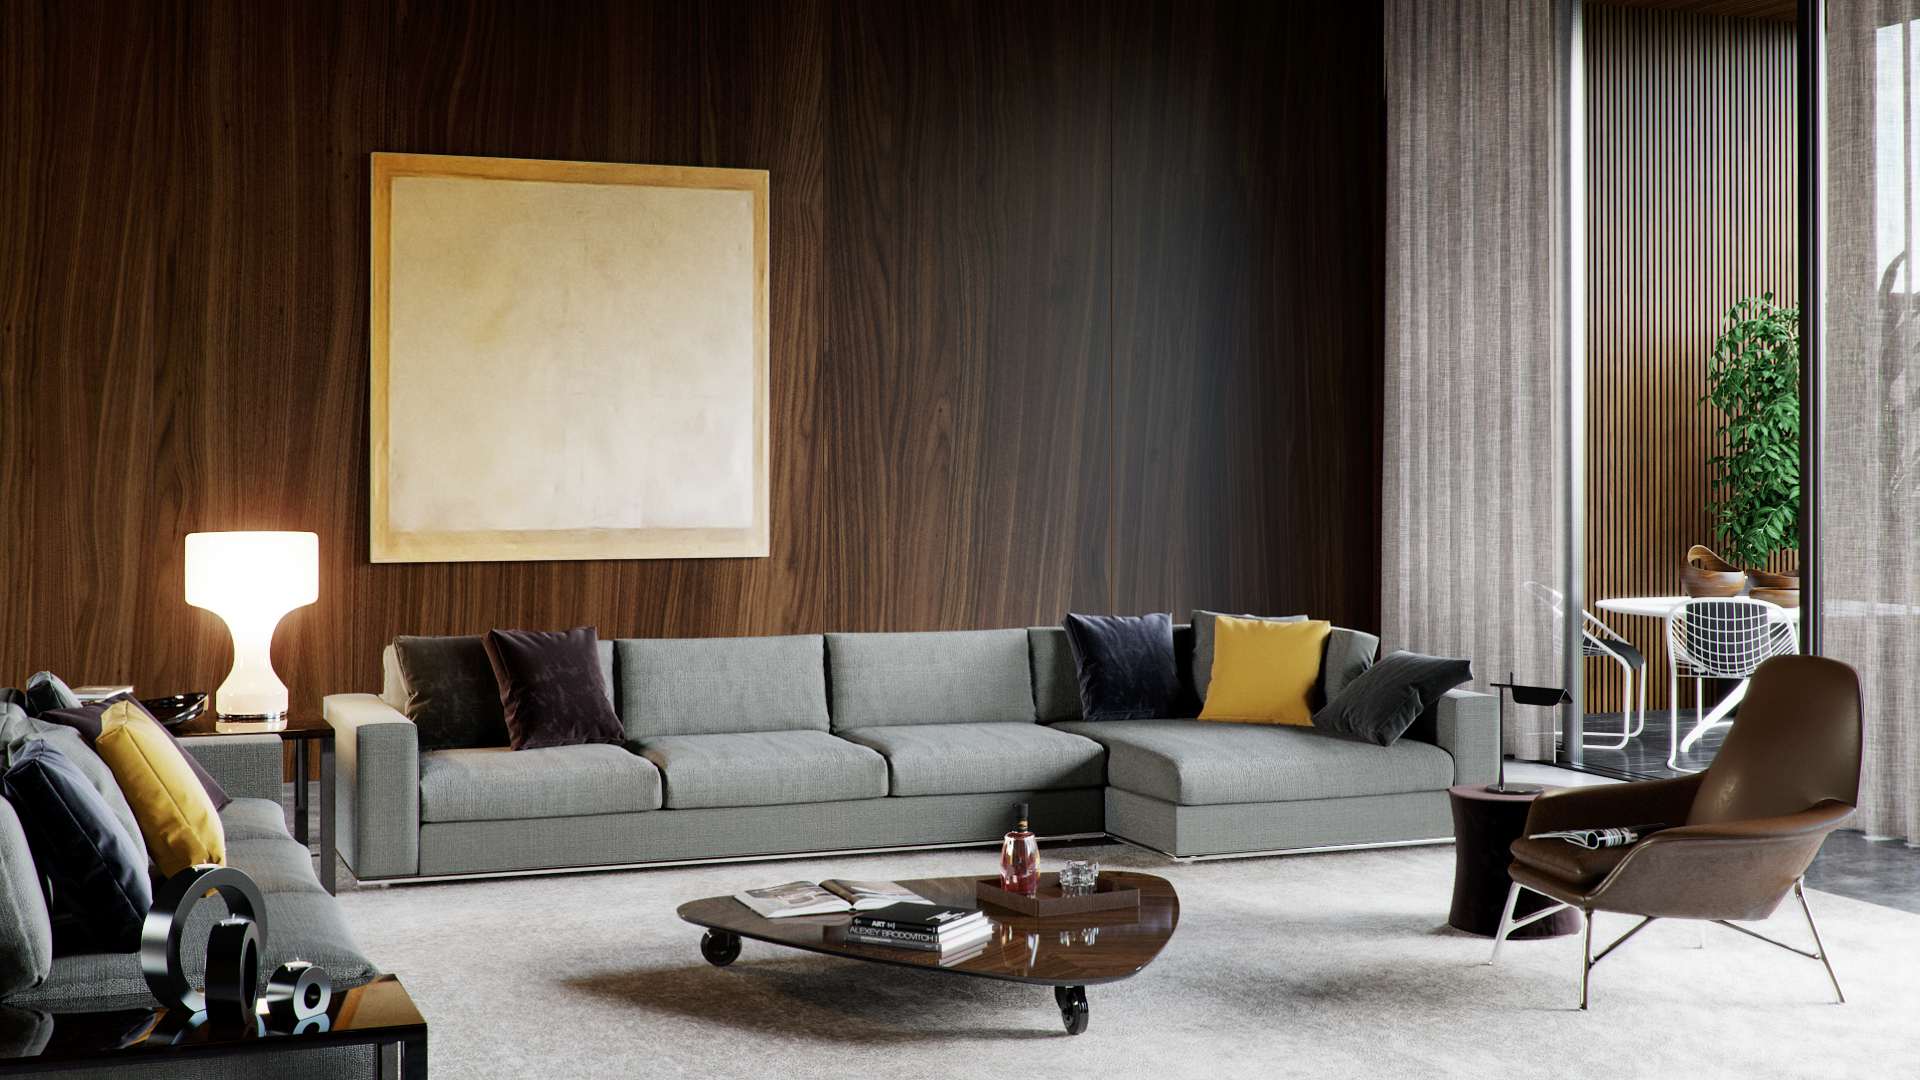
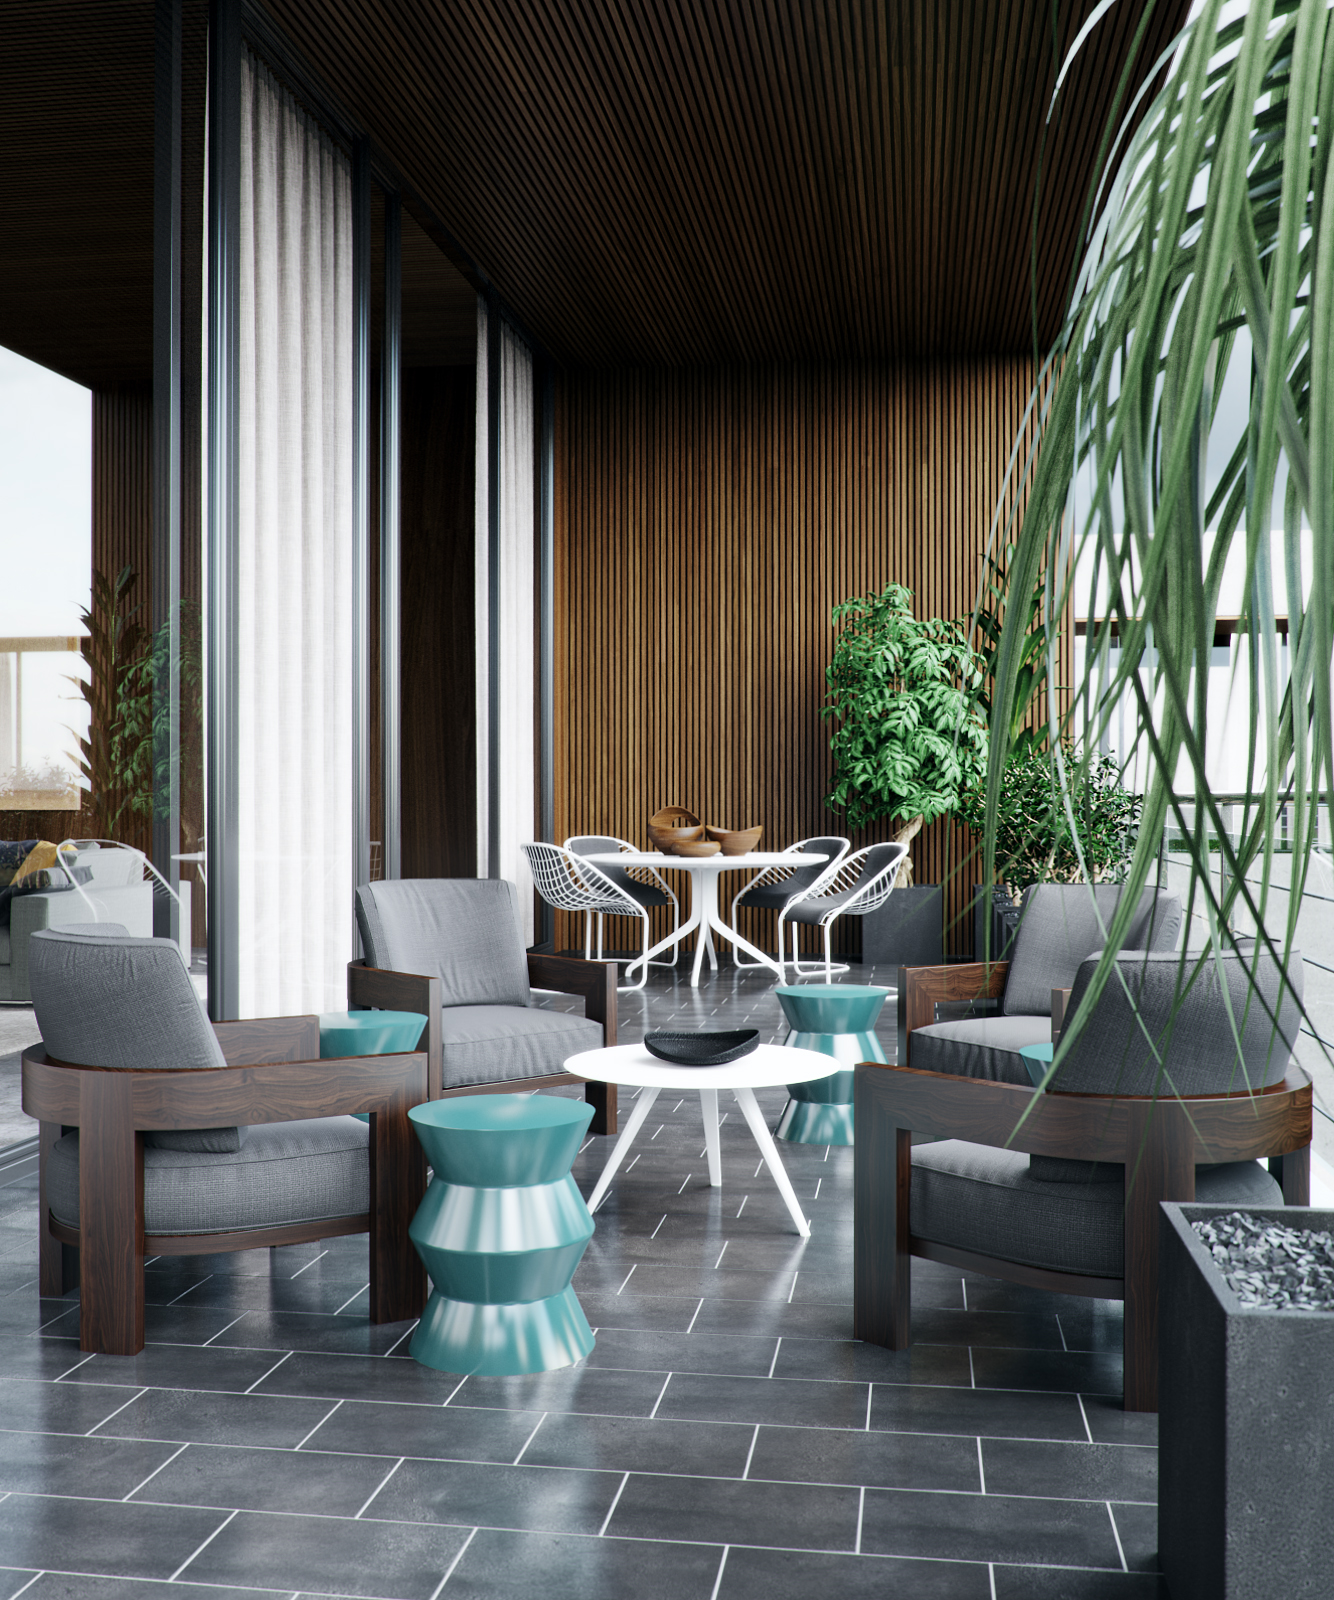
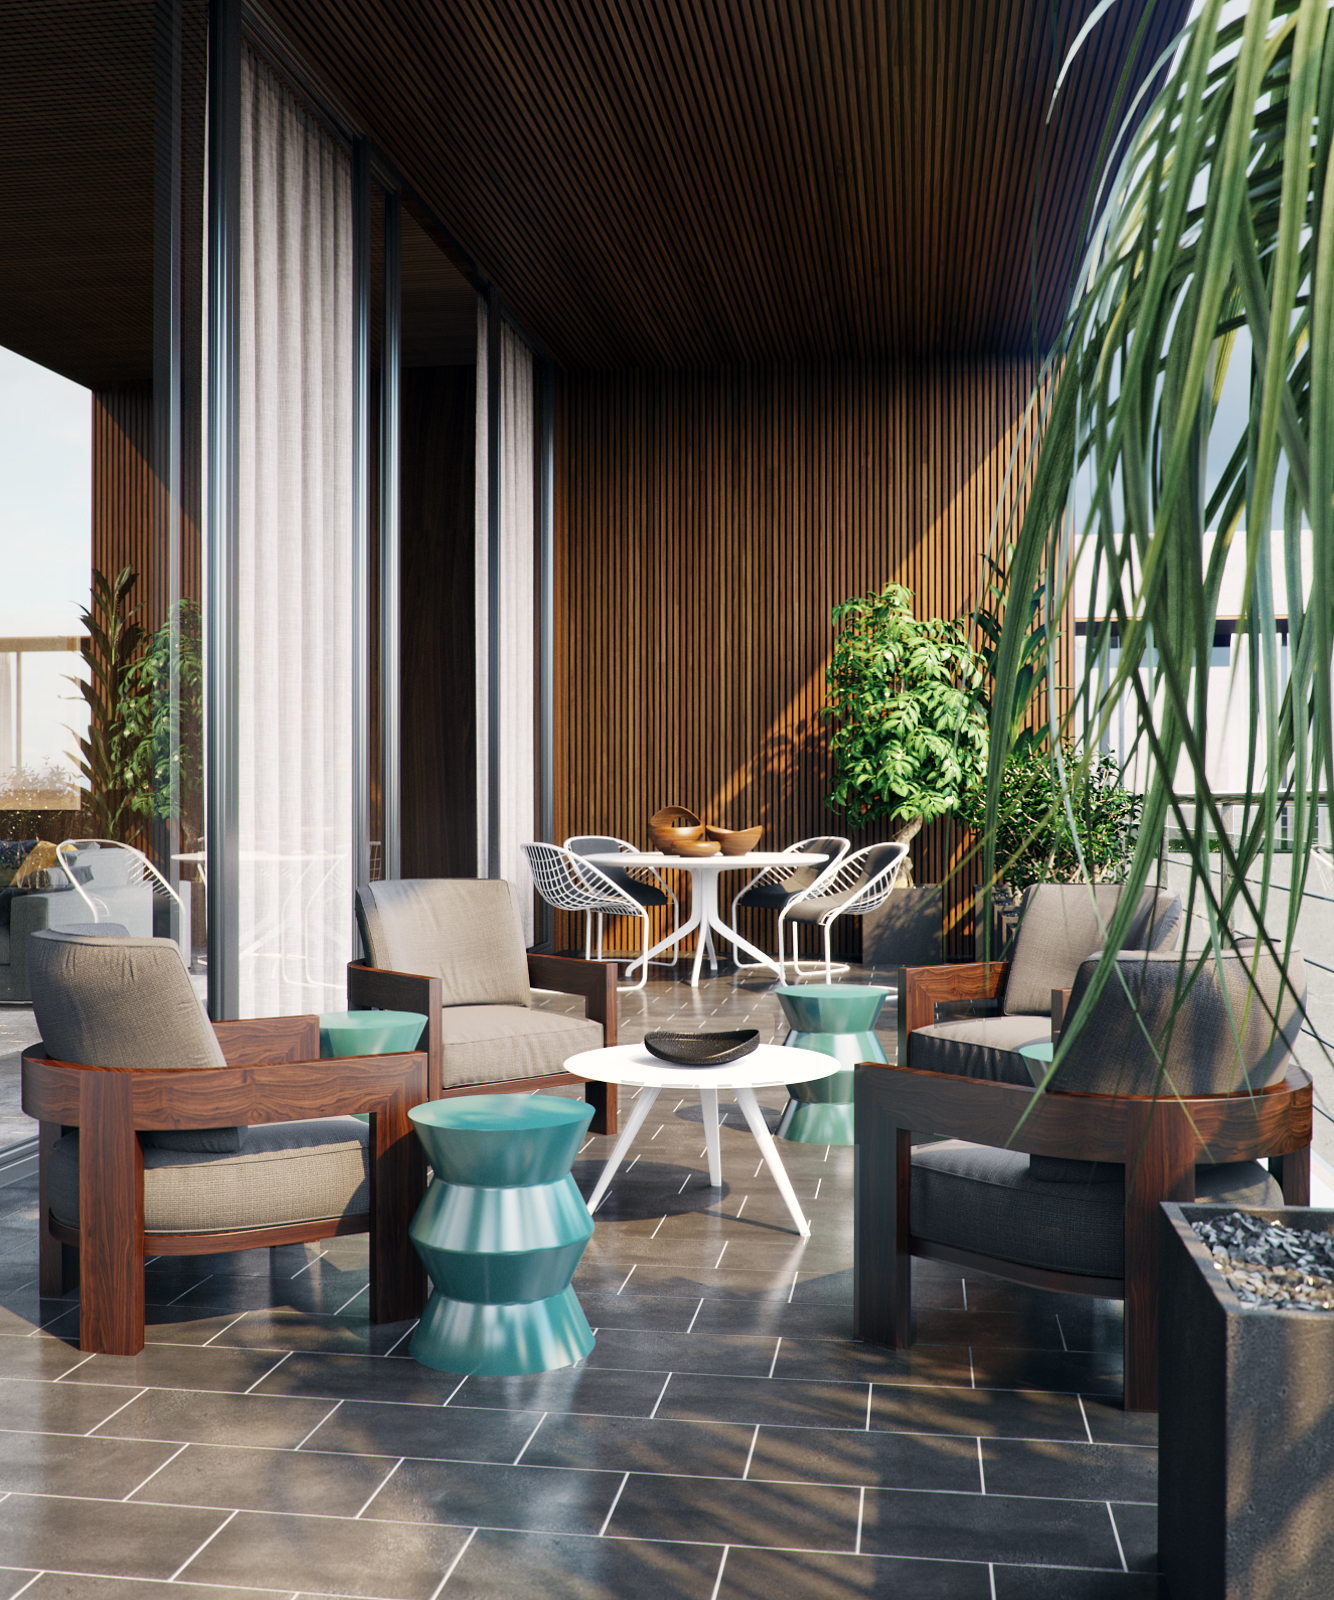
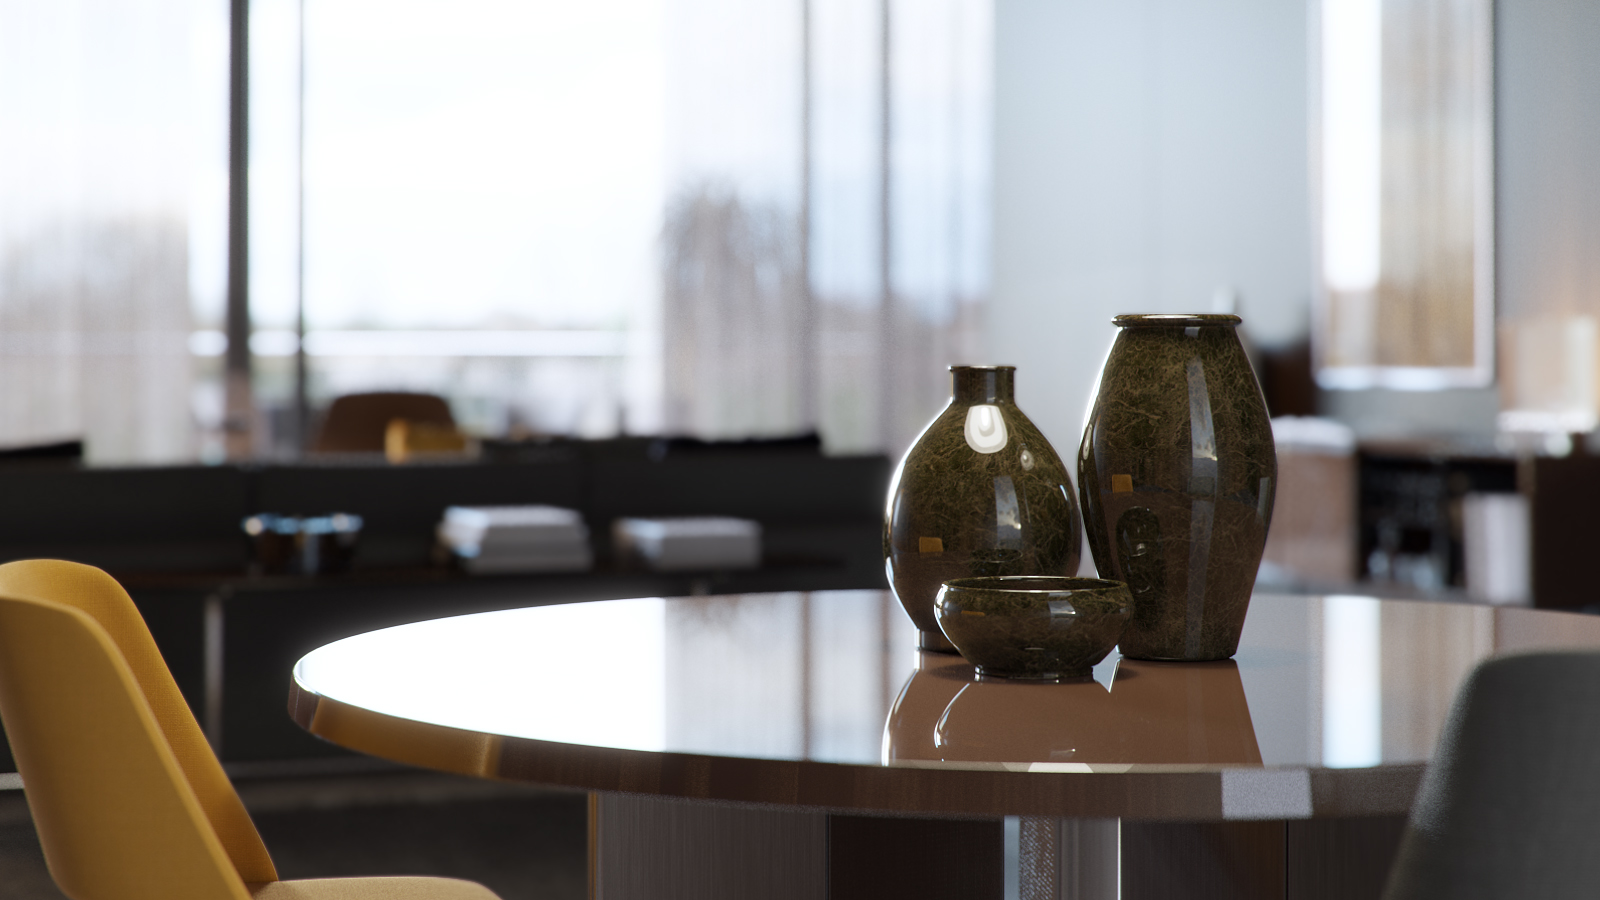
Notes on render times

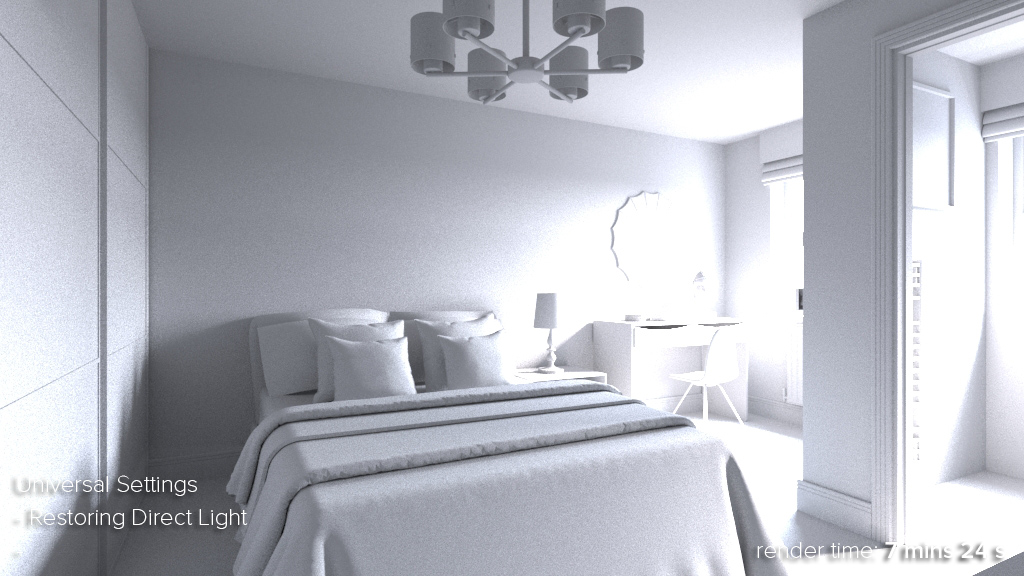
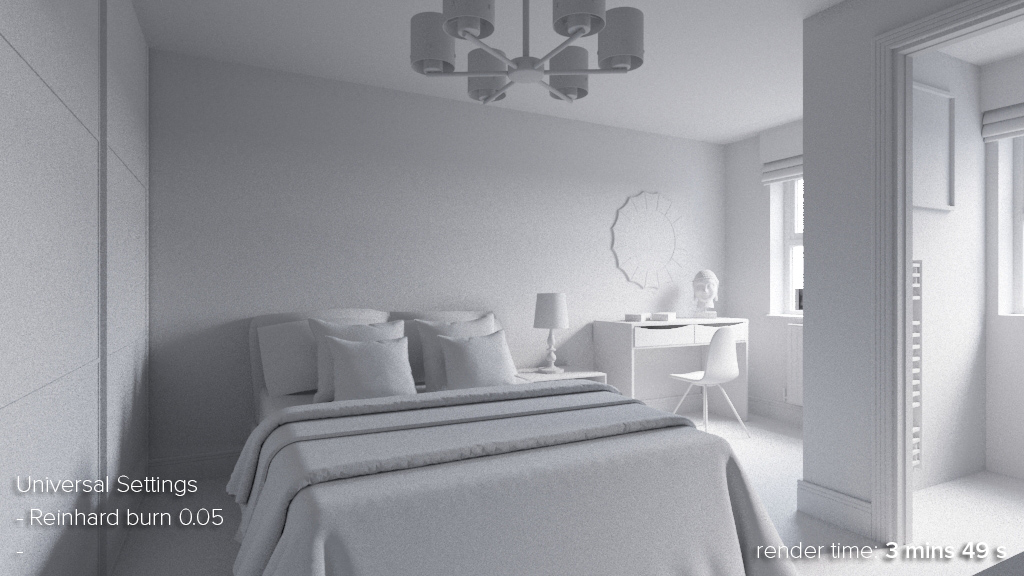
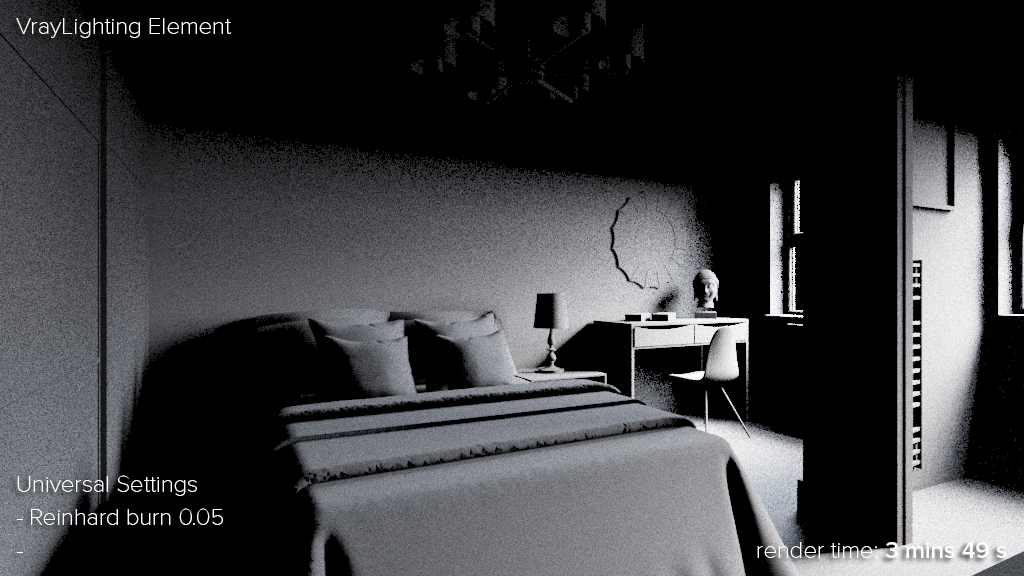
All images here were rendered at 1024 x 576 pixels, but on TWO dual xeon workstations. For the render times for one workstation just double the stated render times. Adding the render times on the images is just so that we can compare one method with another method, I'm not trying to fool anyone here! 
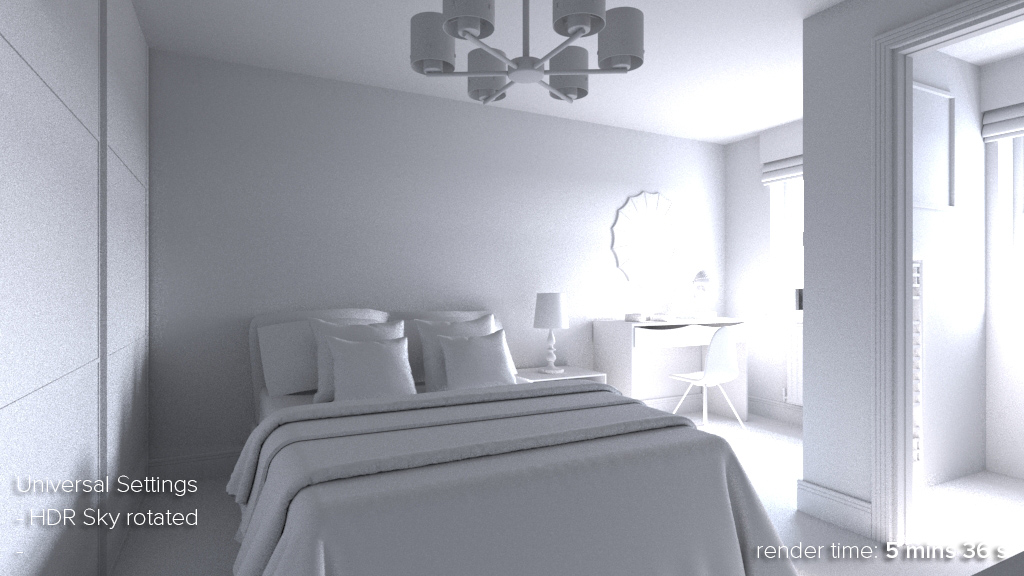
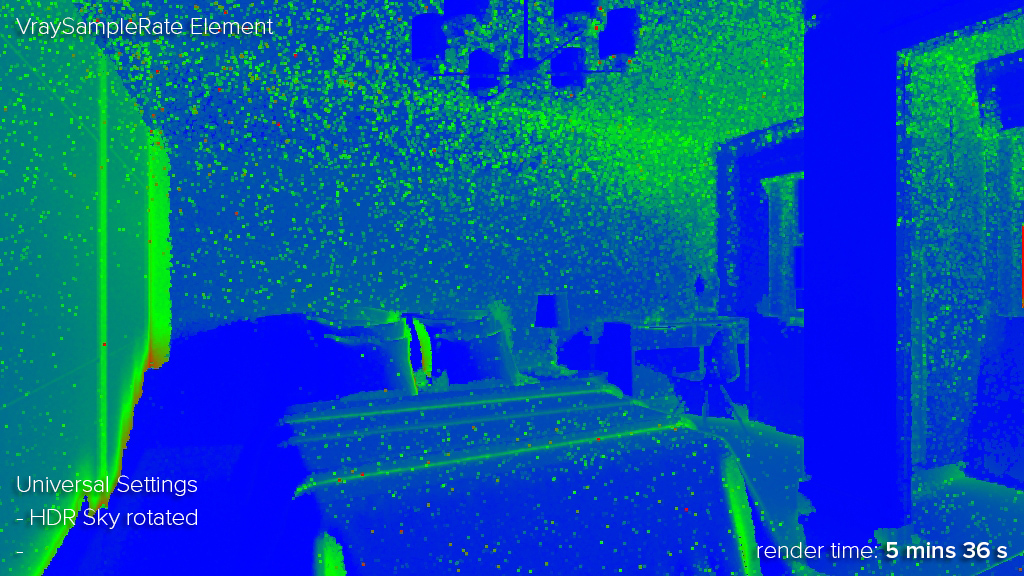
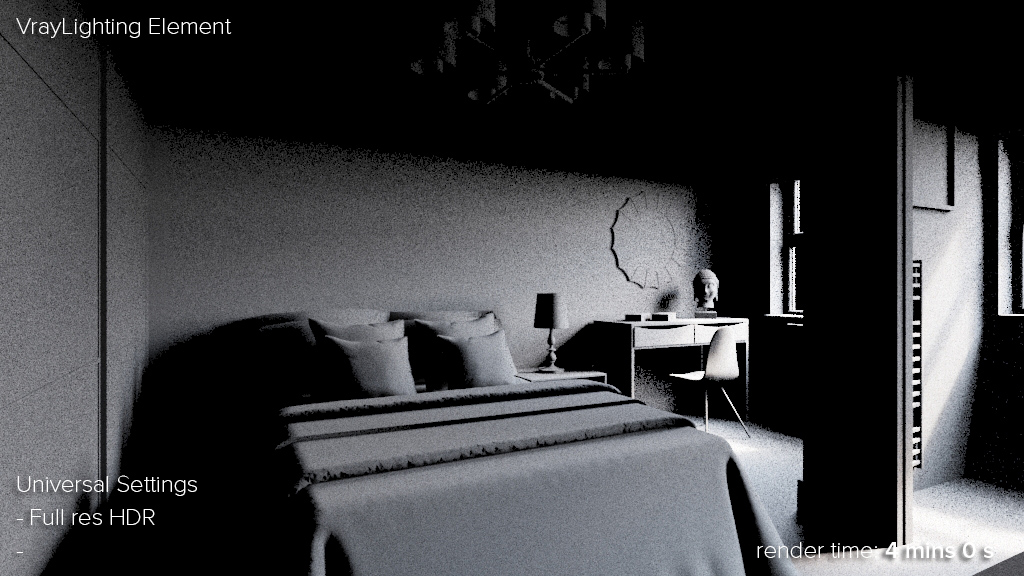
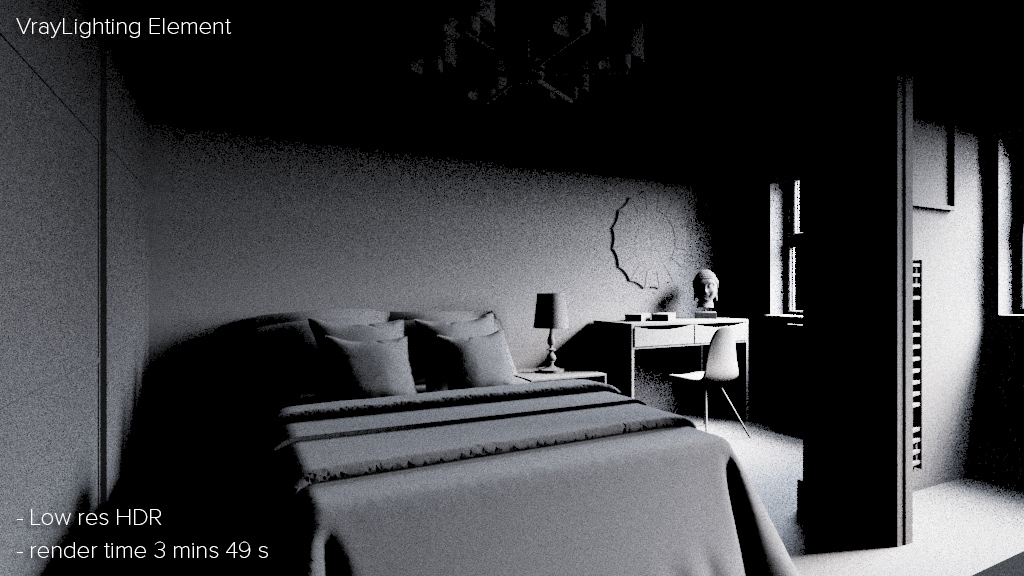
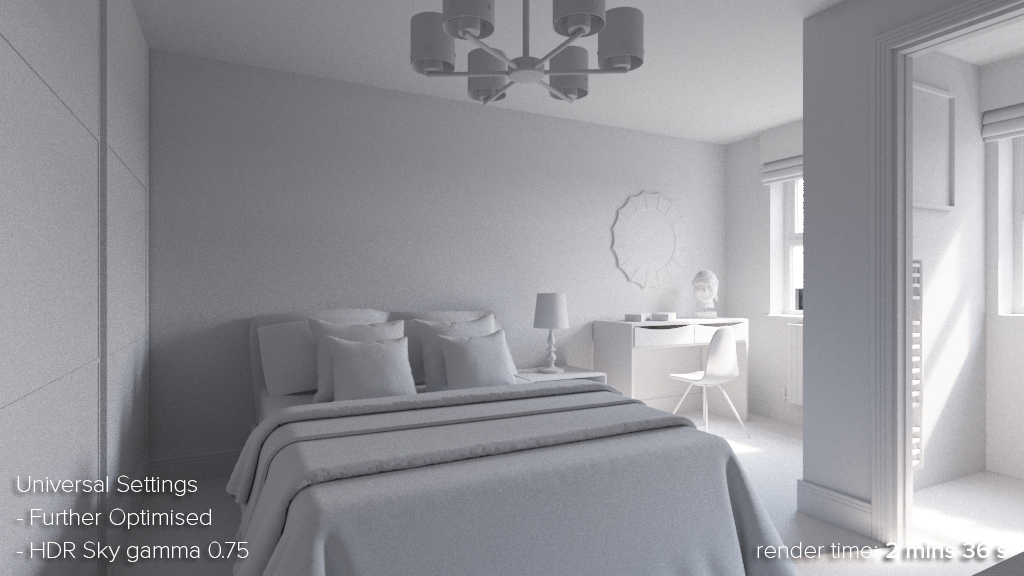
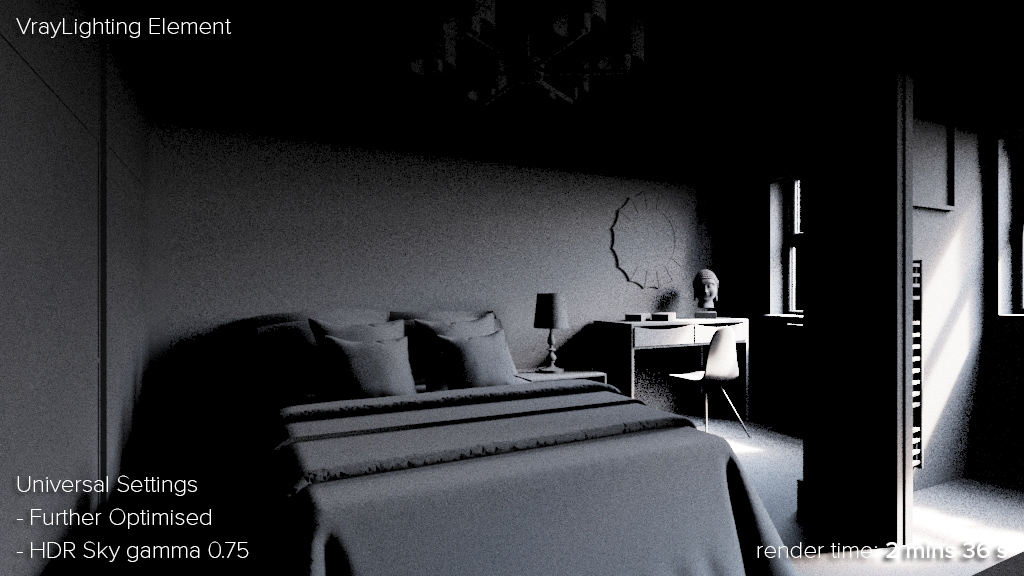
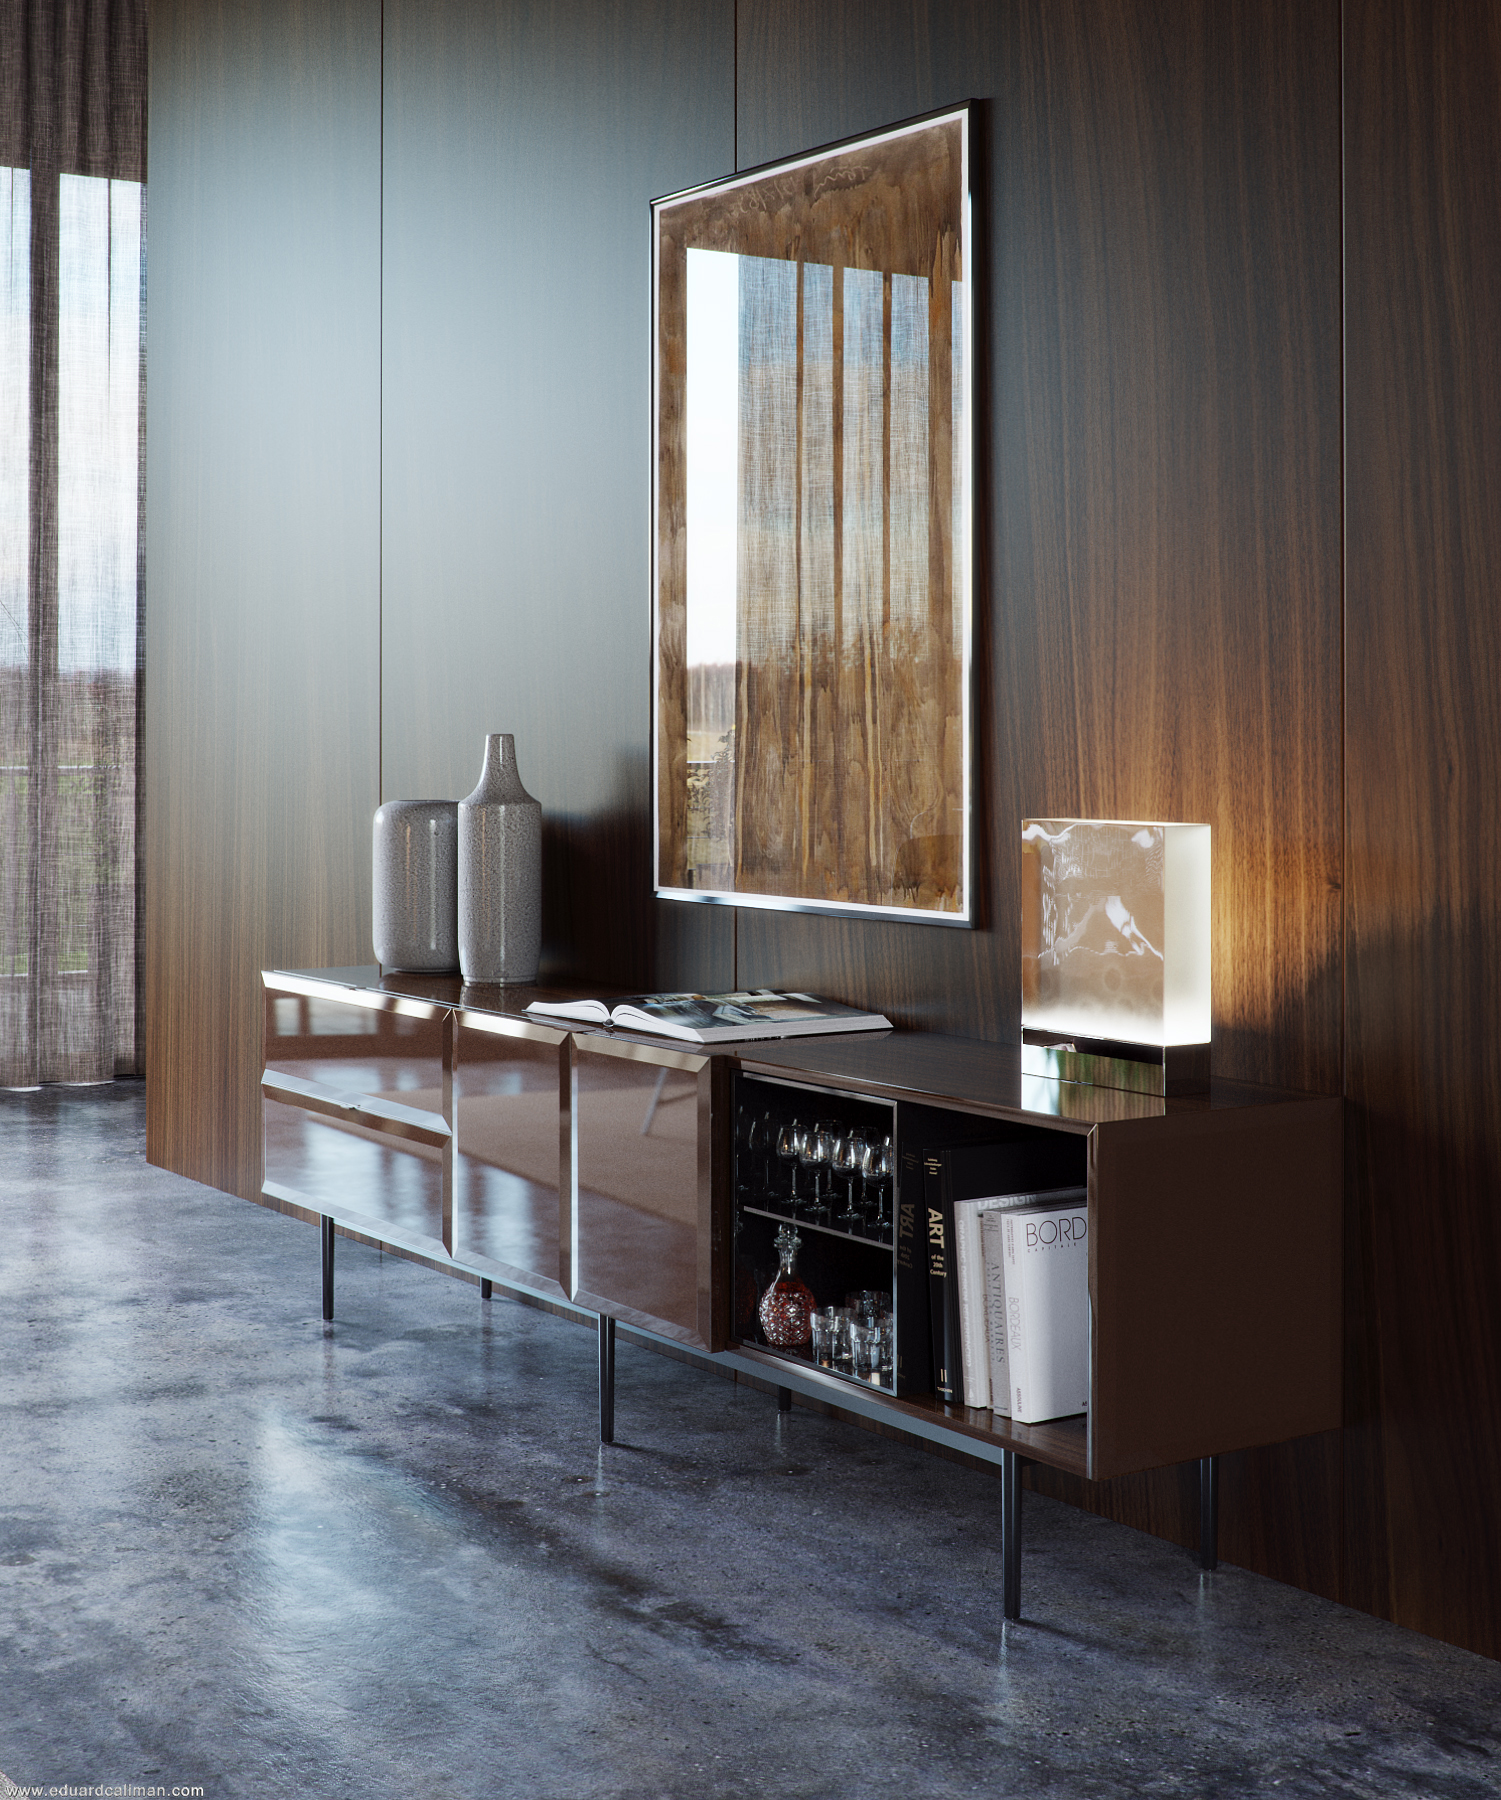
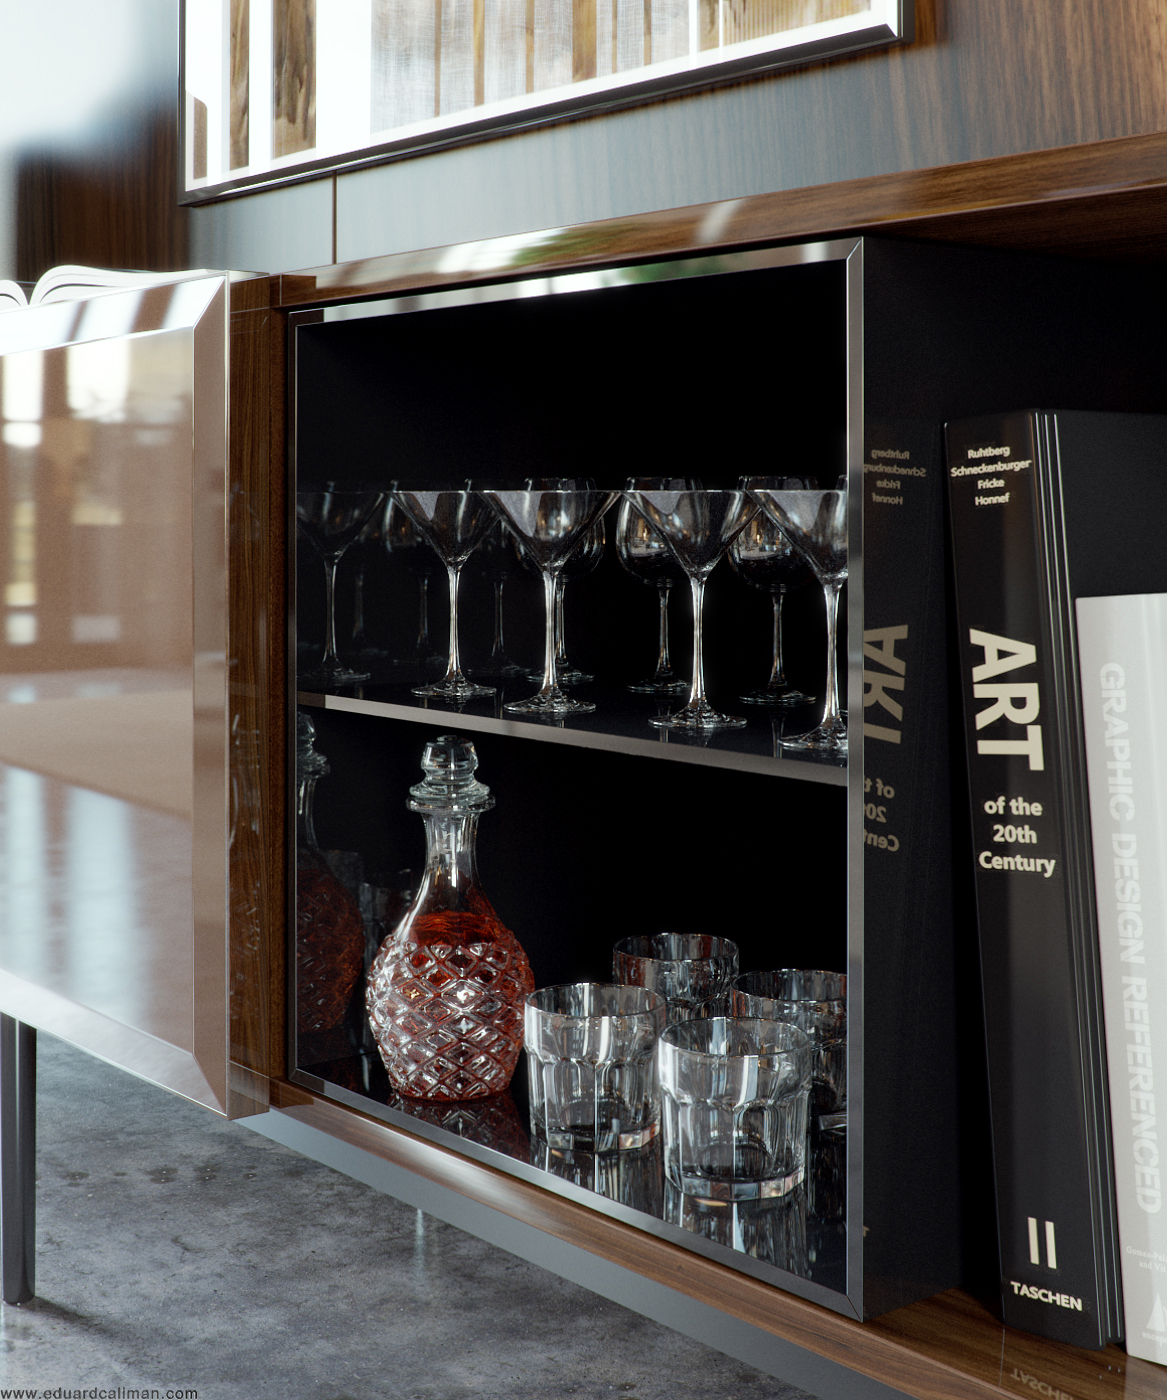
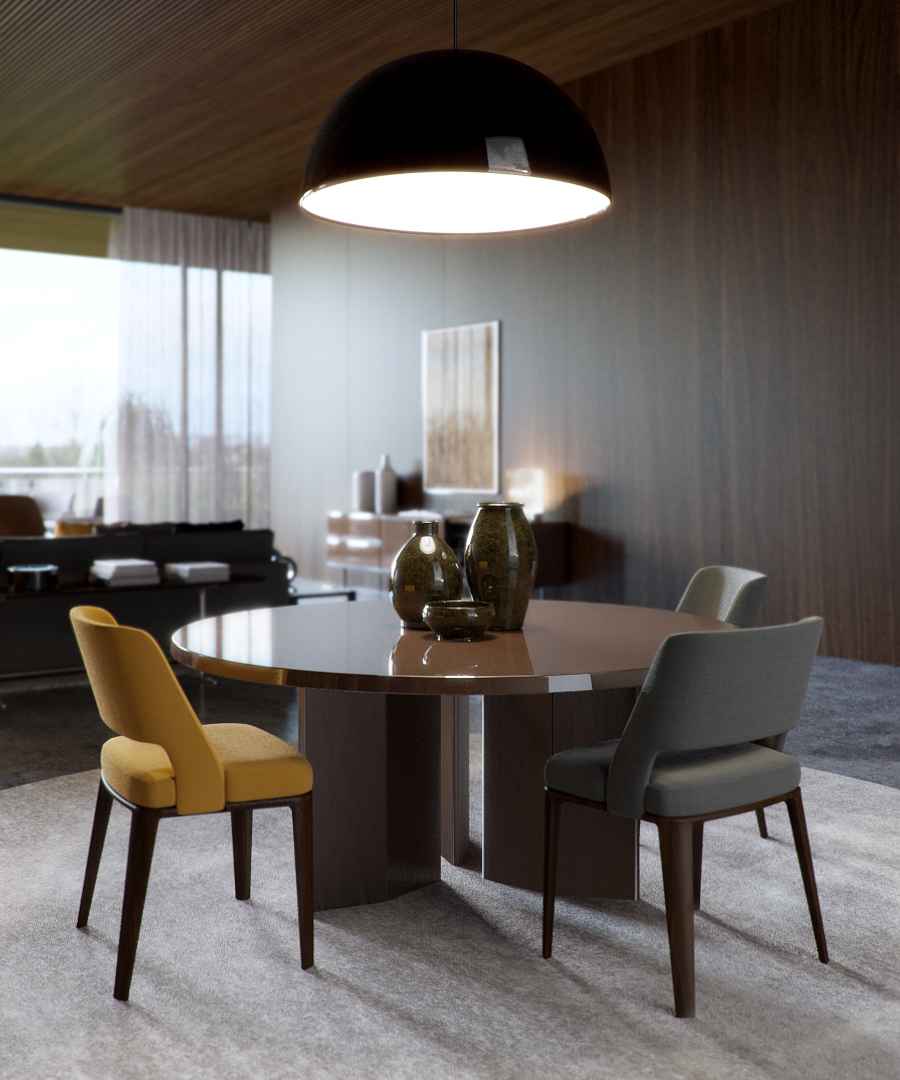
Addendum 1

Someone on twitter asked me to clarify why I prefer the universal version of the HDR sky render over the irradiance map version. As I work solely with high res stills, I'm mainly interested in visual quality. (My attitude to render times is that if they are too high, it means I need to buy an additional workstation.) Here are the 2 renders at 1600x900 pixels, by all means use whichever GI solution suits your needs. I like that the universal one retains all the detail round the door without getting muddy, and in general shadows look better defined.

The point of this article isn't to try to persuade you into using brute force, more that it IS possible to use HDR sky lighting on interiors and that in my opinion it is well worth it.

HDR Skies - Series One Favourites

Not sure which skies to buy? Obviously I would suggest that you buy all of them, but I decided to put together a list if you are looking for a good selection which happen to be my most used and favourites from series one.


0743 - Dramatic, a great mix of low sun and moody clouds, as used on Quest.
0839 - Lovely warm light - see my interiors on the Haus Hafner project.
0902 - Overcast sky, very flexible. I used it on Glenstone and even the Tind Dusk shots.
1008 - VERY overcast! As seen on Allandale and Twins.
1123 - High sun angle, useful in a lot of scenarios. One example: Plain Space.
1433 - Nice sunny day with some white clouds.
1739 - Similar to 1725, but I prefer this one. I used it for the Kilburn Vale project.
1847 - A nice soft dusk sky, used on some of the Ziphouse renders.
1928 - A great general dusk sky. Examples here and here.
1941 - My favourite dusk sky, used most recently on the Ando project.

Eduard Caliman - Minotti Space

These renders by Eduard Caliman caught my eye recently. A very sophisticated look which is hard to pull off. Great lighting and materials and all done in Corona Renderer which makes it extra interesting for me.

Here are a few notes from Eduard on how he did it:

After I had decided upon and set up the initial space I added temporary placeholders which allowed me to have a bit of detail when testing the lighting. I always like to have visibly some nice results when doing tests, that way I am compelled and inspired to keep on going with the project and also that is why I usually take care of the lighting and materials at an early stage.

Lighting

I knew from the get go that I wanted an overcast feel to the interior, and that is why I chose one of Peter Guthrie's great set of HDRIs. For this particular project I chose the 1313 Cloudy HDRI which worked out perfectly, I only fiddled a bit with the rotation of it just to get the shadows as I wanted them to be but as far as illumination quality it was ideal.

For the sunny balcony shots since you don't see too much the sky I kept the same HDRI but added a corona sun and that was it.

he material creation process was quite simple actually and not a lot of complex shaders were created. will say a few words though on the cushion, concrete and rug materials.

Cushion material

What is more interesting about this shader is the way I used the fallof map. Whenever I create a fabric material I usually do it this way: I plug in the base map in a composite layer, and I duplicate that slot. I will then colour correct the second slot and modify the gamma of that map, I usually raise it to 2/3 depending on the map. This will give me a darker map and a brighter map, I then add a fallof map in the mask of the brighter slot. Now, usually a fabric material has some imperfections on its fallof which is never perfectly shown; that is why I add a map on top of the fallof to show or hide some of the fallof effect, in the screenshot I will post below you can see that I have used that particular map in screen mode (3% opacity) to do just that, to use the brighter values of the map to add some brighter spots on other areas of the fabric. Some other times I also use the bump map in multiply mode to remove some of the fallof effect. 

Concrete material

To get to the bump map of a texture what I usually do is desaturate the image and then apply a Levels correction similar to the one below. Note how the sliders are placed at the beggining, middle and end of the colour information inside the histogram, that way one creates a texture that is easy to manipulate in 3DS Max using the various blending modes in the Composite map (usually Multiply and/or Screen in my case) as you will see below. A good advice would be not to go over the information in the histogram too much so that you don't clip and lose valuable colour information.

Rug material

A very simple one, the prerequisite here was to have good enough maps. The settings were very simple, bump at 1 and that's it.

I hope you enjoyed this explanation and if you have any questions feel free to ask and will try to reply in due time. 

Check out Eduard's website here and also a reminder that my shop is now open!

GPU maintenance

Super geeky entry under the category 'PG Tips' here, but might be useful to someone... 

I noticed my GPU was running really hot (over 90 degrees idle) so decided to open it up and see what was going on. Due to a not-very-clever design, dust was completely blocking the path of the air over the heatsink. If you have a similar graphics card, might be worth investigating!

Or if you can't be bothered going to such lengths, I would still advise downloading GPU temp or similar to check if it is overheating. (my temps dropped 15 degrees once i had removed the dust)

Online Shop now online!

Finally, after a LOT of work and about 6 months later than planned, I'm happy to announce that my online shop is now open for business. Next project: finish the 2nd series of skies...