
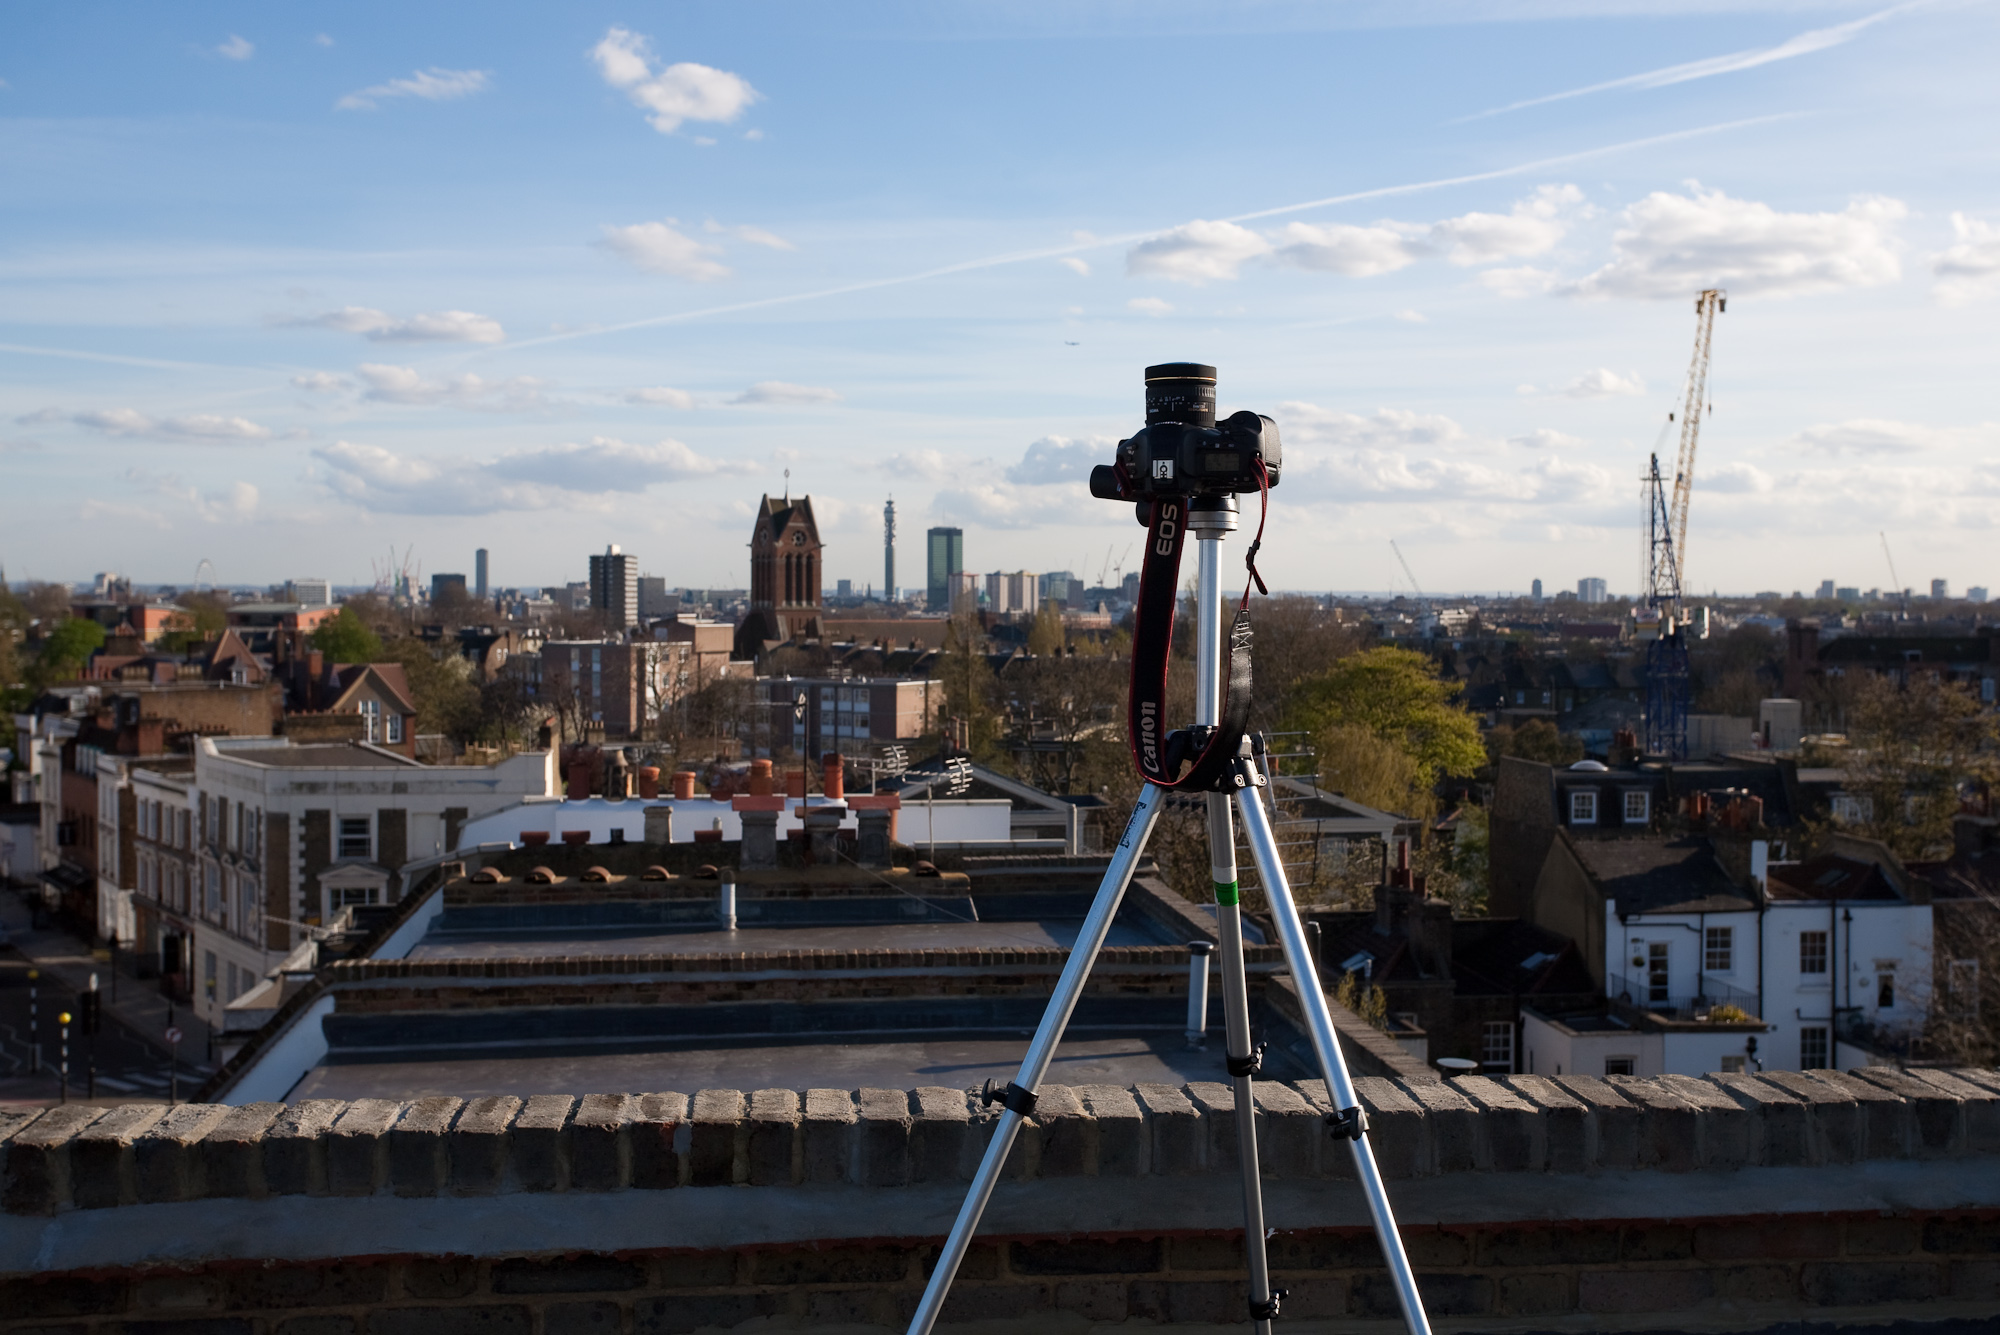
For the 7 shots used to make this HDR skydome I used a Canon 1ds mk3 which has superb auto bracketing abilities as well as being very fast and having 21 megapixels. The lens used for these shots was a sigma 8mm fisheye which gives a complete circular image on a full frame dslr. I set the AEB to 7 shots 2 stops apart, which gave exposure times of 0.5s, 1/8, 1/30, 1/125, 1/500, 1/2000 & 1/8000 all at F20. This range of exposures is crucial for capturing the full dynamic range of the sun, which will eventually mean you get good strong shadows when you use the HDR image to light a 3d scene.
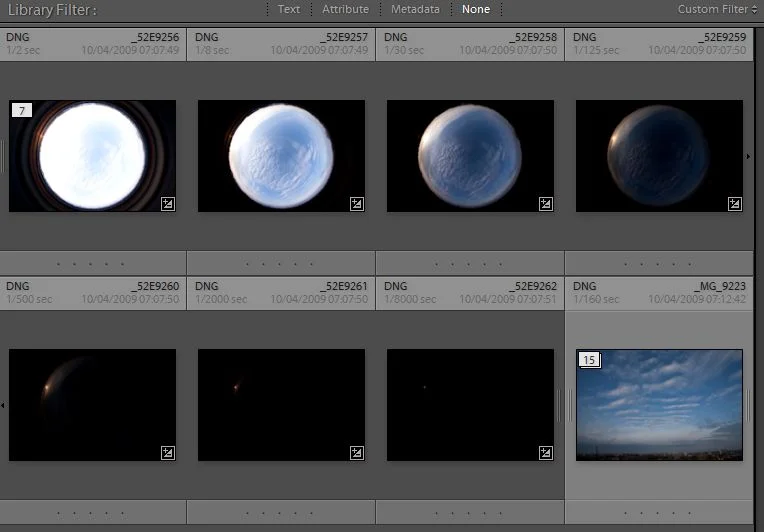
- Process raw files to remove chromatic aberration & to ensure white balance is consistent. I do this in Adobe Lightroom (pictured below), where you can copy the develop settings from the first file, and then batch process the remaining ones to save time.
- Export as 16 bit TIFFs
- Load TIFFs into Photomatix or Photoshop to blend into a single HDR, I use Photomatix as it seems to do a better job of removing ghosting artifacts (from moving clouds).
- Load HDR image file into Hugin. Choose lens type as fisheye when importing, and set the Horizontal field of view to 285 degrees (I arrived at this mostly through trial and error!)
- Hugin will complain that more than 1 image is required - ignore.
- Set pitch of image to 90, and adjust yaw so that sun is centred. If you know where the sun is, it helps later on when you come to rotating the skydome in your 3d application.
- in the stitcher tab, I take off soft blending as there is only 1 image, and press the 'calculate optimal size' button. Then hit 'Stitch Now!' (saving as a tif)
- Open 32bit tif in photoshop, clone out anything you dont want (dust in my case), save as 32 bit exr. Image below shows how the HDR should look when you drag the exposure slider in photoshop.


Sometime, I'll follow this up with something about how I use these in 3dsmax & Vray!